
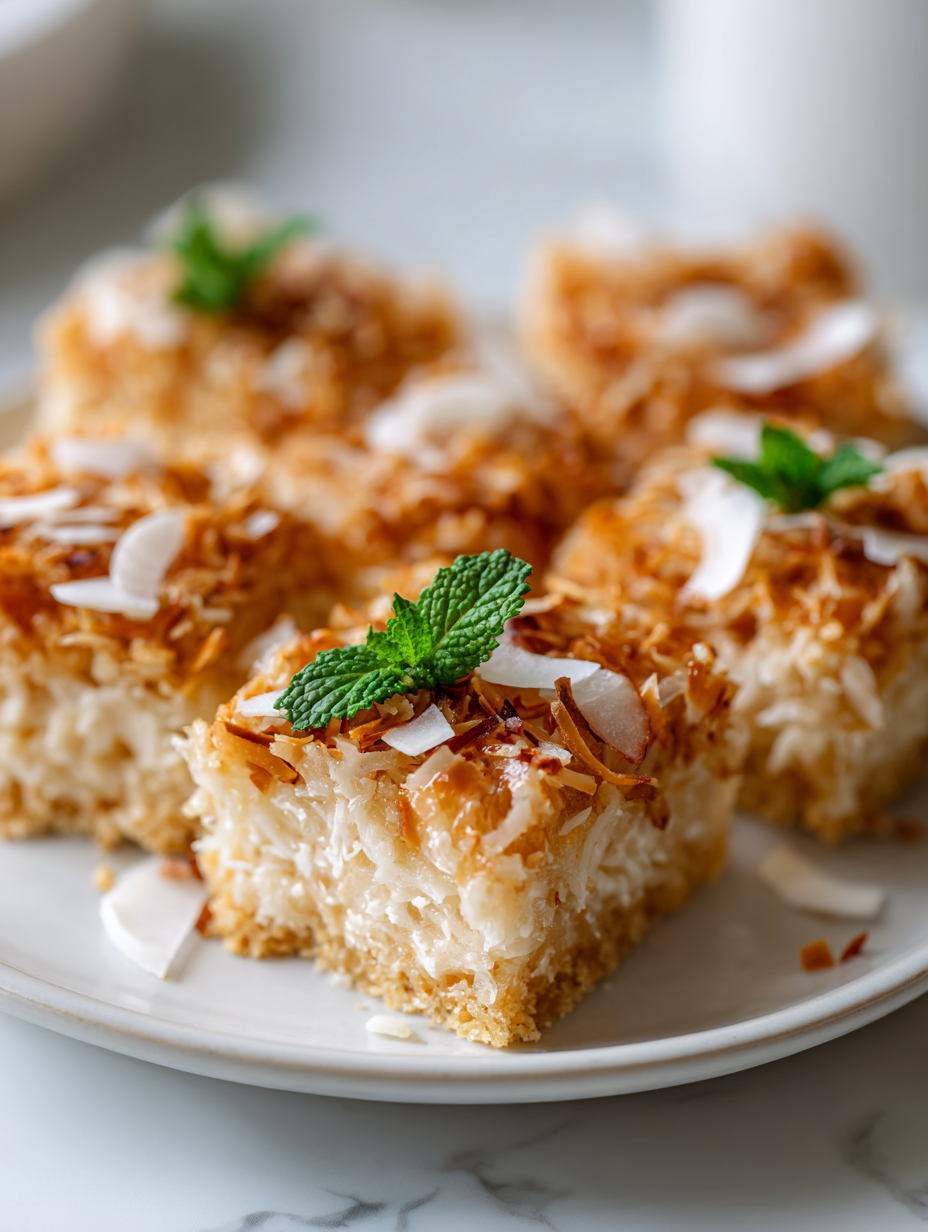
These no-bake coconut bars are like a warm hug from childhood, simple and honest. They come together without turning on the oven, which makes them perfect for lazy afternoons or unexpected sweet cravings. There’s something comforting about the way the coconut, honey, and butter meld into a chewy, golden treat that’s as nostalgic as it is easy to make.
I remember making these with my grandma when I was little, sneaking bites of the sticky mixture while she wasn’t looking. It’s that carefree, messy joy of a kitchen full of coconut aroma and the sound of spoon against bowl. Now, whenever I need a quick sweet fix, these bars remind me of those simpler days, but with a little grown-up twist.
Focusing on how these bars can serve as a nostalgic, no-fuss treat that brings back childhood memories of simple, carefree snacking without turning on the oven.
The story behind this recipe
- Making these coconut bars always takes me back to summer afternoons spent at my aunt’s house, where she’d whip up a batch with whatever she had in the pantry. The smell of toasted coconut and melting butter would fill the air, making the whole house feel cozy and alive. It’s funny how a simple recipe like this can carry so many memories of lazy, warm days.
- I started making my own version after I lost count of how many times I reached for store-bought treats that just didn’t hit the same. This recipe became my go-to—fast, forgiving, and packed with that intense coconut aroma that feels like a little piece of sunshine. Now, it’s a staple for quick gatherings or whenever I need a sweet escape that’s honest and no-fuss.
- heading
- story_type
Ingredient breakdown
- Sweetened shredded coconut: I love that toasty, caramel-brown aroma it develops when lightly toasted; feel free to skip to keep it softer, but the flavor deepens. Swap for unsweetened if you want less sweetness and add a touch more honey.
- Honey: It’s the glue that gives these bars their chewy bite and sticky sheen. If you prefer a milder flavor, maple syrup works, but expect a slightly different texture and aroma—more earthy and less bright.
- Butter: The richness of butter makes everything meld beautifully, giving a glossy finish. Vegan? Coconut oil or margarine can replace it, but you might miss that subtle dairy flavor and richness.
- Vanilla extract: Adds a warm, fragrant note that rounds out the coconut. Use vanilla bean paste for a richer, more intense vanilla hit—more aroma, less sweetness, but skip if you want to keep it simple.
- Salt: Just a pinch enhances the coconut and honey’s sweetness. If you’re using salted butter, reduce the added salt. A tiny sprinkle makes all the flavors pop, so don’t skip it.
- Optional add-ins (like chocolate chips or chopped nuts): I often toss in a handful for texture and surprise flavor bursts. Chocolate chips melt slightly when pressed into the warm mixture, adding gooey richness—use dark or milk, your call.
- Pan grease or parchment paper: I always line my pan to prevent sticking and make removal easier. A quick spray or a parchment sheet makes for a smoother, mess-free experience.
Spotlight on key ingredients
Sweetened shredded coconut:
- I love that toasty, caramel-brown aroma it develops when lightly toasted; feel free to skip to keep it softer, but the flavor deepens. Swap for unsweetened if you want less sweetness and add a touch more honey.
- Honey: It’s the glue that gives these bars their chewy bite and sticky sheen. If you prefer a milder flavor, maple syrup works, but expect a slightly different texture and aroma—more earthy and less bright.
Honey:
- It’s the glue that gives these bars their chewy bite and sticky sheen. If you prefer a milder flavor, maple syrup works, but expect a slightly different texture and aroma—more earthy and less bright.
- Vanilla extract: Adds a warm, fragrant note that rounds out the coconut. Use vanilla bean paste for a richer, more intense vanilla hit—more aroma, less sweetness, but skip if you want to keep it simple.
Notes for ingredient swaps
- Sweetened Coconut: I prefer the toasted, caramel aroma it develops; skip the sweetness for a more neutral flavor, but add a drizzle of honey or maple for mild sweetness. Swap for unsweetened shredded coconut if you want a less sweet, more natural coconut punch.
- Honey: It binds everything with a chewy, sticky texture and adds a golden sheen. Use maple syrup for a plant-based version, but expect a slightly earthier flavor and different stickiness. Agave syrup works too, with a softer sweetness.
- Butter: The richness makes the bars melt-in-your-mouth smooth. Vegan? Coconut oil or margarine can stand in, but you might miss that dairy depth and slight creaminess butter provides.
- Vanilla Extract: Adds warmth and depth. Vanilla bean paste intensifies the aroma, making it richer. Skip if you want a cleaner, more straightforward coconut flavor.
- Salt: Just a pinch enhances all the flavors. If using salted butter, cut back or omit extra salt. A tiny sprinkle makes the coconut and honey pop in flavor.
- Add-ins (chocolate chips, nuts): Toss in a handful for texture and flavor bursts. Chocolate chips: melt slightly and add a gooey richness. Nuts: offer crunch, but toast first for extra aroma. Use dark or milk chocolate based on your preference.
- Pan Lining: I always line my pan with parchment paper for easy removal. A quick spray or parchment makes the cleanup less messy, especially when pressing down the mixture.
Equipment & Tools
- Parchment paper: Prevents sticking and makes removal easier
- Large mixing bowl: Holds the coconut, honey, and butter mixture
- Spatula or spoon: Mixes ingredients thoroughly
- 8×8 inch (20x20cm) square pan: Holds the mixture for setting
- Knife: Cuts the set coconut bars into servings
- Oven (optional): To toast the bars for extra flavor
Step-by-step guide to coconut bars
- Line your 20x20cm (8×8 inch) square pan with parchment paper, leaving some overhang for easy removal. This prevents sticking and makes cleanup a breeze.
- In a large mixing bowl, combine 2 cups shredded coconut, 1/4 cup honey, and 1/4 cup melted butter. Mix until the coconut is evenly coated and sticky. The mixture should feel like thick, gooey sand.
- Transfer the mixture into your prepared pan. Press firmly with the back of a spatula or your fingers to create an even, compact layer. Aim for a smooth, flat surface with some texture still visible.
- Chill the pan in the fridge for at least 2 hours, or until the mixture firms up and is easy to cut. If you’re in a rush, freeze for about 1 hour but keep an eye on the texture.
- Once set, lift the coconut block out of the pan using the parchment overhang. Place on a cutting board and cut into 12 rectangles or squares, depending on your preferred size.
- For a shiny, toasted finish, lightly toast the bars in a 180°C (350°F) oven for 5-7 minutes, watching closely to prevent burning. This adds a nutty aroma and enhances the coconut flavor.
- Serve immediately or store in an airtight container in the fridge for up to a week. The bars will become chewier and more intensely coconut-flavored over time.
- If the bars crack when cutting, briefly run your knife under hot water and wipe dry. This helps slices go smoothly without crumbling.
Chill the bars in the fridge for at least 2 hours until firm. Slice into desired pieces and serve. For a toasted touch, briefly bake at 180°C (350°F) for 5-7 minutes, then let cool slightly before serving.
How to Know It’s Done
- The mixture should be sticky and hold together when pressed.
- The bars should be firm but not hard after chilling.
- A light toasting should give a golden hue and fragrant aroma.
No-Bake Coconut Bars
Ingredients
Equipment
Method
- Line your square pan with parchment paper, leaving some overhang for easy removal. This makes lifting the bars out a breeze later.
- In a large mixing bowl, combine the shredded coconut, honey, and melted butter. Mix with a spatula until everything is evenly coated and sticky, and the coconut starts to feel like thick, sticky sand.
- Transfer the mixture into your prepared pan and press it down firmly with the back of a spatula or your fingers to create an even, compact layer. Make sure to press it flat and smooth on top.
- Place the pan in the fridge and chill for at least 2 hours, or until the mixture firms up and is easy to cut. If you're in a hurry, you can freeze it for about an hour.
- Once set, lift the coconut block out of the pan using the parchment overhang. Place it on a cutting board and cut into 12 rectangles or squares, depending on your preferred size.
- For a toasted, golden finish, lightly toast the bars in a preheated oven at 180°C (350°F) for 5-7 minutes, watching carefully to prevent burning. The bars will develop a fragrant nutty aroma and a slightly darker hue.
- Let the bars cool slightly before serving. They’re chewy, golden, and bursting with coconut aroma—perfect for sharing or enjoying as a quick treat.
Tips & Tricks for Perfect Bars
- Bolded Mini-Head: Use fresh shredded coconut for a more vibrant, chewy texture and aroma.
- Bolded Mini-Head: Toast coconut lightly until golden to deepen flavor without burning—keep an eye on it.
- Bolded Mini-Head: Press mixture firmly into the pan to avoid crumbling later; use the back of a spatula for even pressure.
- Bolded Mini-Head: Chill the bars for at least 2 hours to ensure they set properly; patience makes clean cuts easier.
- Bolded Mini-Head: For shiny, toasted edges, briefly bake at 180°C (350°F) for 5-7 minutes—watch for color change and smell.
- Bolded Mini-Head: When cutting, run your knife under hot water and wipe dry to prevent crumbling and get smooth slices.
- Bolded Mini-Head: Store bars in an airtight container in the fridge to keep them chewy and fresh, but serve at room temp for best flavor.
Common mistakes and how to fix them
- FORGOT to evenly spread the mixture? Press firmly and chill immediately.
- DUMPED too much honey? Add more shredded coconut to balance sweetness and texture.
- OVER-TORCHED the coconut? Reduce oven time or lower temperature for a golden hue.
- MISSED the chilling step? Delay firming up and risk crumbling when cutting.
Quick fixes and pantry swaps
- When mixture is too dry, splash in a teaspoon of hot water to loosen it.
- If bars are crumbly, patch with a tiny bit of melted butter and press again.
- Over-torched coconut? Shake the pan off heat immediately to stop browning.
- Forgot to line the pan? Splash a little oil or butter on the surface to prevent sticking.
- When bars are too soft, freeze for 30 minutes before slicing for cleaner cuts.
Prep, store, and reheat tips
- Preparing the mixture a day ahead allows the flavors to meld and makes assembly quicker. Keep it covered in the fridge to maintain freshness.
- Store the finished bars in an airtight container in the fridge for up to a week. The coconut will become chewier and more intensely aromatic over time.
- For longer storage, freeze the bars wrapped tightly in plastic wrap and then in foil. They can last up to a month but may lose some of their initial chewiness.
- Reheat chilled or frozen bars briefly at room temperature for 10-15 minutes or in the microwave at low power. Expect a warm, gooey texture and intensified coconut aroma.
Top questions about coconut bars
1. How do I pick the best shredded coconut?
Look for shredded coconut that’s moist and fragrant; it should feel slightly chewy and have a sweet aroma. If it’s too dry, the bars might be crumbly, so choose freshly shredded or toast it lightly for extra flavor.
2. What if the mixture is too sticky or dry?
If your mixture feels too sticky and hard to work with, add a bit more shredded coconut or chill it for 15 minutes. If it’s too dry, splash in a tiny bit of hot water or honey to loosen it up.
3. Can I skip lining the pan?
Use parchment paper to line your pan—this helps lift the bars out easily without sticking or breaking. If you don’t have parchment, lightly greasing the pan works, but expect more cleanup.
4. How long should I chill the bars?
Chill the bars for at least 2 hours, ideally longer, until they’re firm and set. If you’re in a hurry, freeze for about an hour but keep an eye on the texture to prevent freezing too hard.
5. My bars are crumbling when I cut them. What now?
If your bars crumble when cutting, run your knife under hot water and wipe it dry before slicing. This helps create cleaner, more precise cuts without crumbling.
6. How do I toast coconut properly?
Toast the shredded coconut lightly in a dry pan over medium heat until golden and fragrant—this deepens the coconut flavor and adds a nutty aroma. Keep stirring to avoid burning.
7. How should I store these coconut bars?
Store leftovers in an airtight container in the fridge for up to a week. The bars will become chewier and more coconut-rich as they sit. For longer storage, freeze them wrapped tightly for up to a month.
8. Can I reheat the bars?
To reheat, let chilled bars come to room temperature for about 10-15 minutes or microwave on low for a few seconds. They’ll be warm, sticky, and bursting with coconut aroma.
9. My mixture is too dry or wet, what do I do?
If your mixture feels too dry, splash in a teaspoon of hot water or a tiny drizzle of honey and mix well. If it’s too wet, add more shredded coconut to stabilize the texture.
10. Can I substitute honey in the recipe?
Use natural honey for that sticky, chewy texture and golden sheen. Maple syrup or agave are good substitutes but will give a slightly different aroma and consistency. Adjust quantities as needed.
Making these no-bake coconut bars is like capturing a moment of childhood simplicity, a quick way to bring back warm, coconut-scented memories. They’re honest, unpretentious, and perfect when you need a sweet fix without fuss.
In a world that’s constantly rushing, these bars remind me that sometimes, the best treats are the simplest—chewy, fragrant, and made with just a few pantry staples. They’re a little piece of nostalgic comfort that’s easy to whip up anytime.

I’m Emily Richardson, the heart and soul behind Playing with Flavors. Cooking isn’t just a hobby for me – it’s a passion that I’ve cultivated for years, and it’s become the driving force of my life.
From the kitchen of my cozy café to the pages of this blog, every dish I create is a reflection of my love for food and the joy it brings to people.


