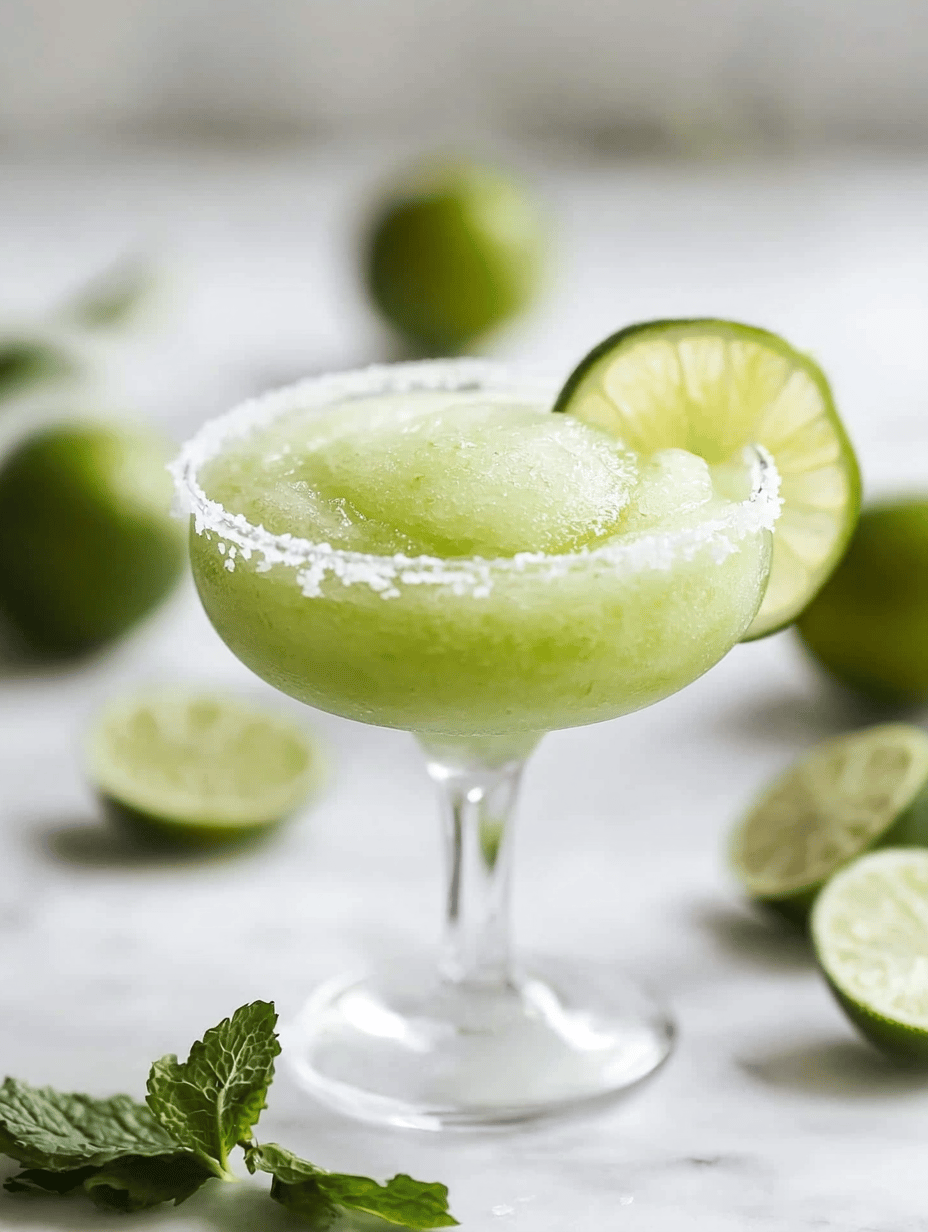
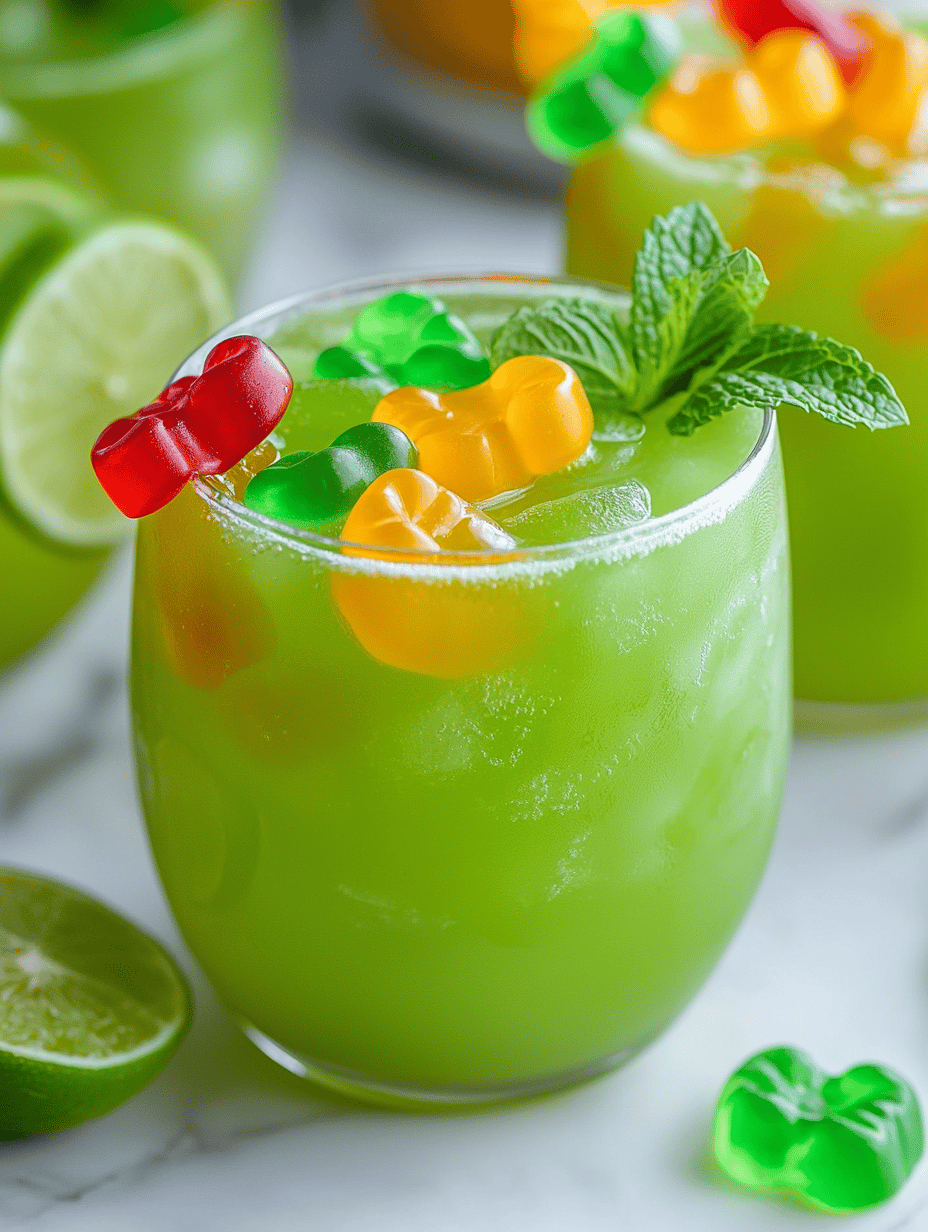
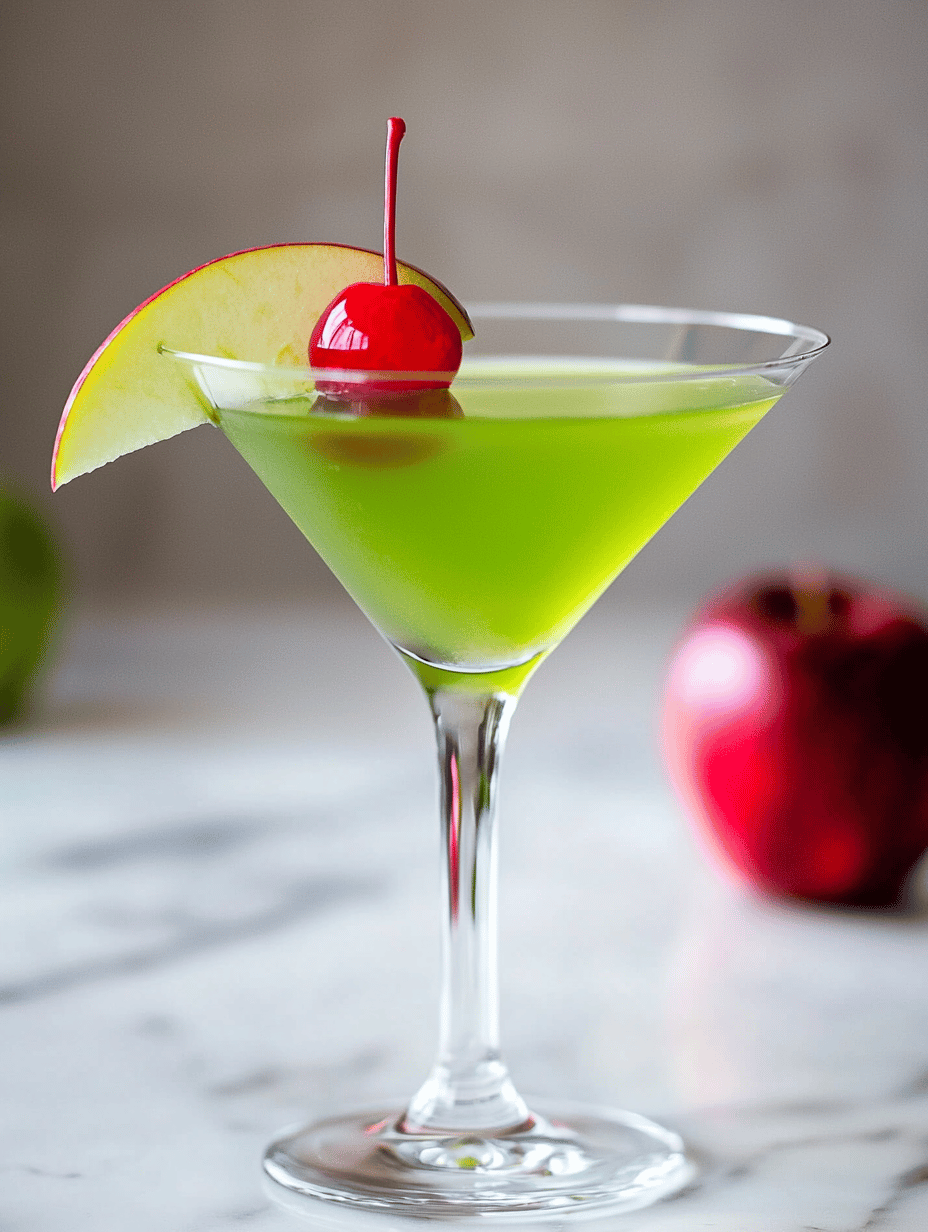
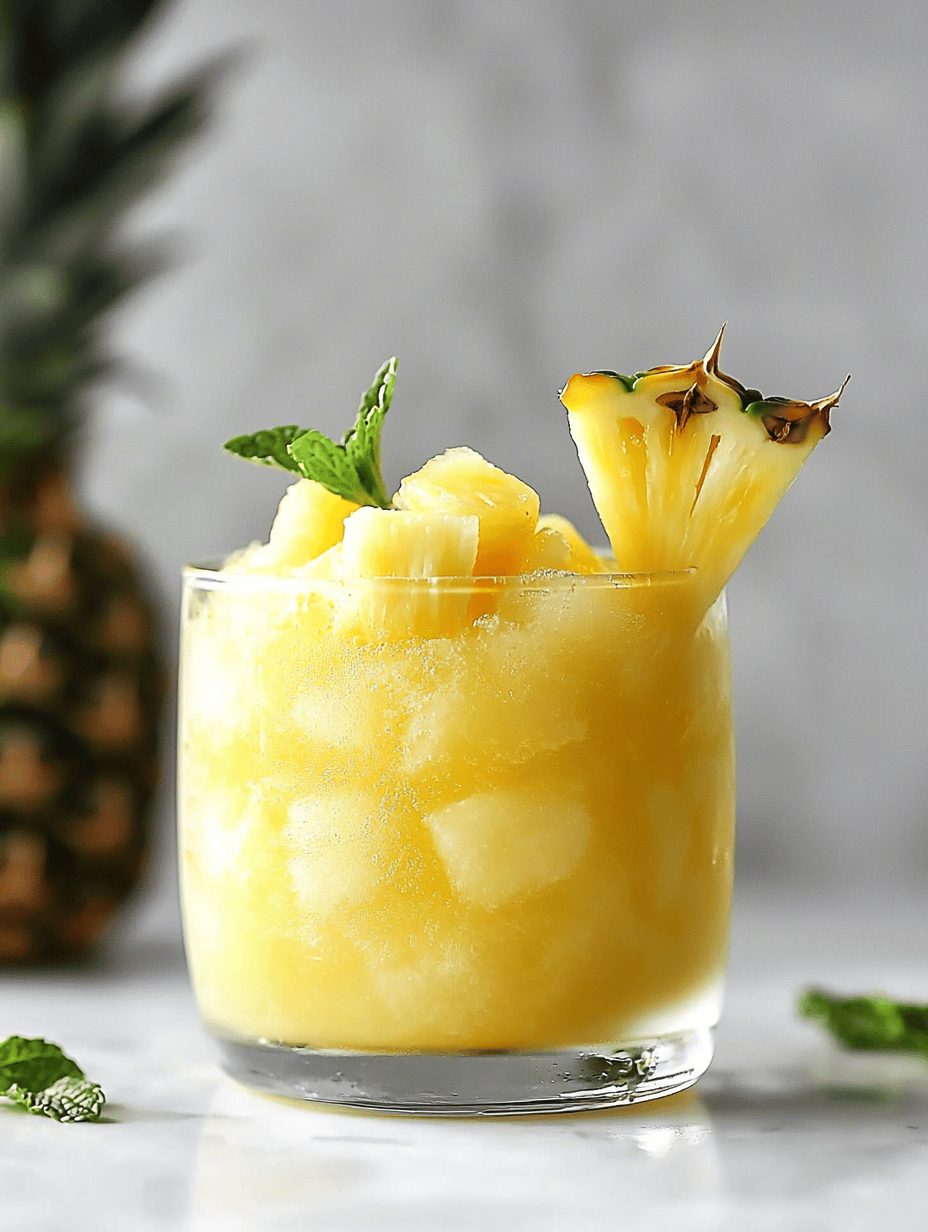
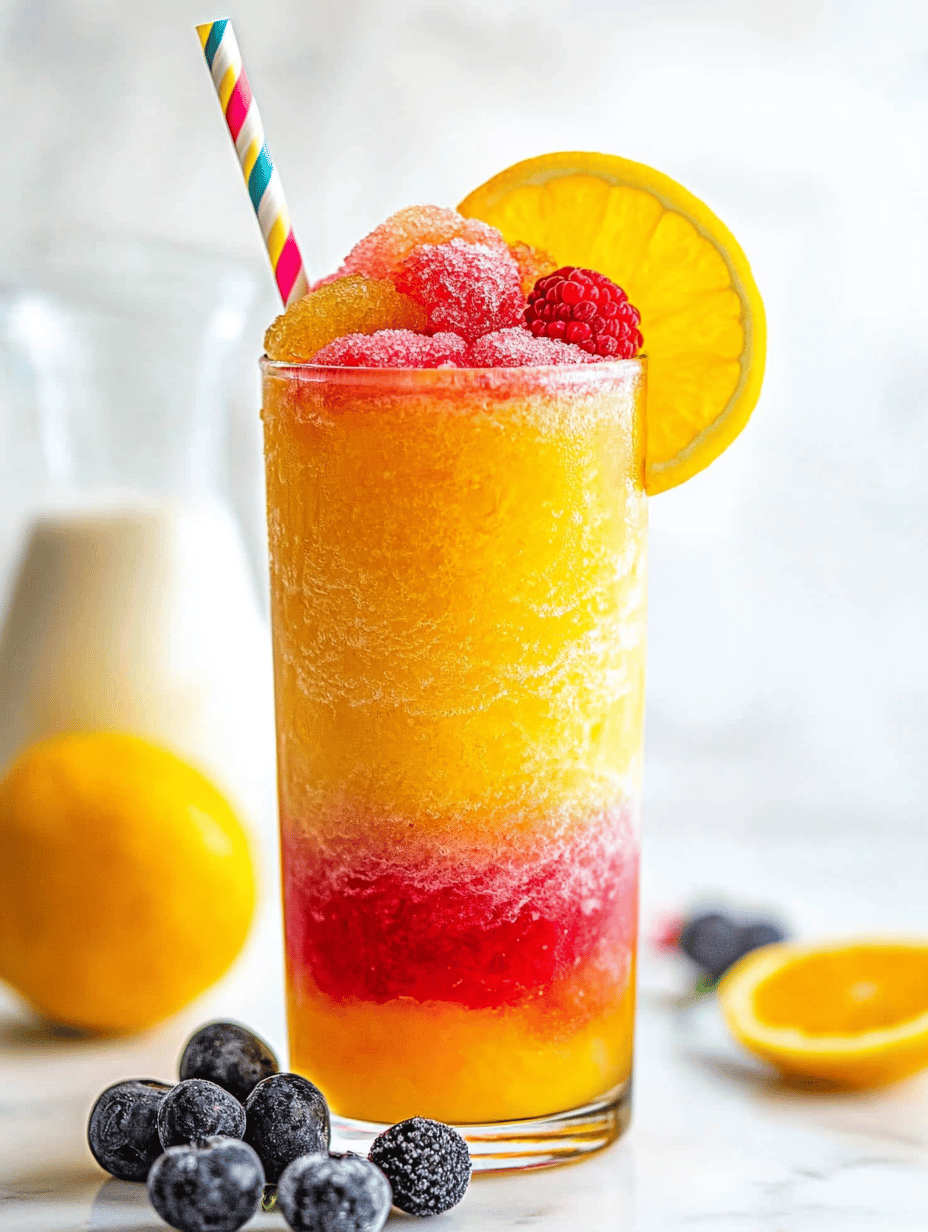
Chill Out with This Unusual Rosé Slushie Hack!

Most of us reach for a bottle of rosé during warm weather, but I found a way to make it even more refreshing—by turning it into a slushie. This isn’t just a frozen drink; it’s a playful twist that transforms your usual glass into a frozen fiesta. Plus, it’s the perfect excuse to indulge in … Read more