Crispy Skin Salmon Recipe
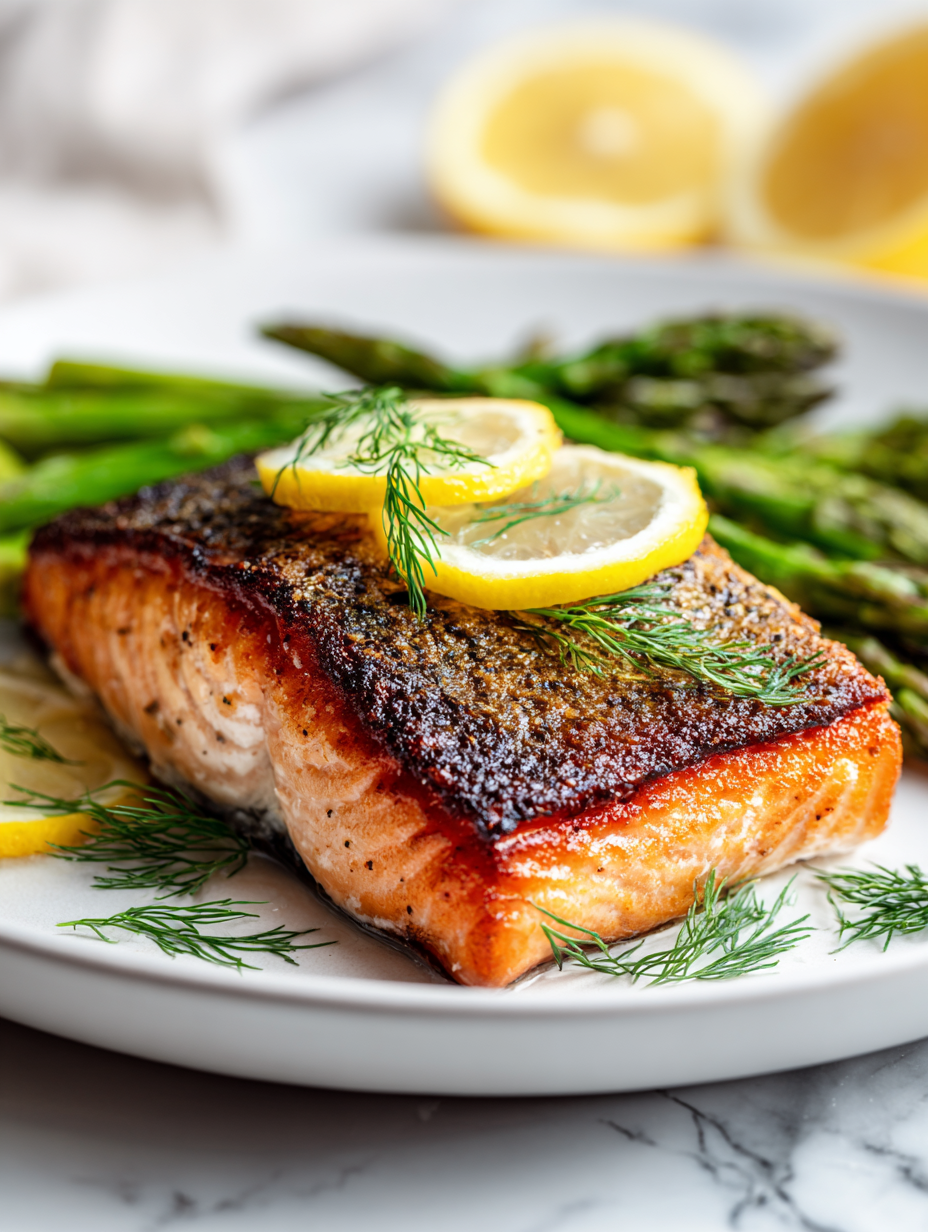
Crispy skin salmon is one of those dishes that feels almost magical when it works perfectly. That crackly, golden crust gives such a satisfying contrast to the tender, flaky fish inside. It’s the kind of thing I’ve always loved to get right, especially since it’s surprisingly simple once you understand the science behind it. I’ve … Read more