
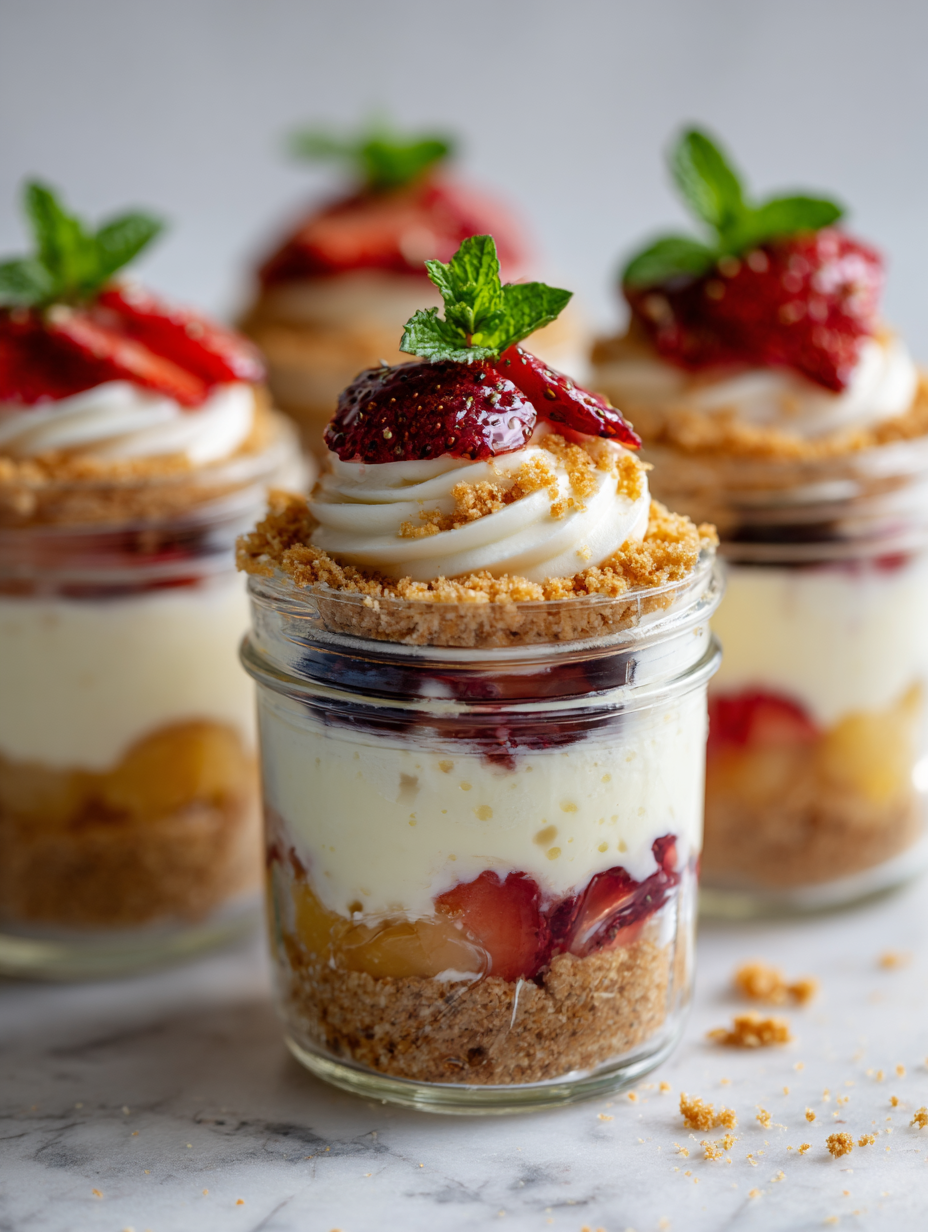
This no-bake cheesecake jars recipe is a game-changer for anyone who loves dessert but hates the fuss. It’s all about assembling layers of creamy, tangy filling in small jars, making each bite feel like an indulgent secret. The best part? No oven needed, so it’s perfect for hot days or when you want dessert fast and fuss-free.
I stumbled on this idea during a busy week when I needed something sweet but didn’t want to turn on the oven or make a mess. These jars became my go-to for last-minute gatherings, picnics, or just a cozy night in. They’re flexible, forgiving, and downright satisfying—the kind of dessert that feels fancy but is really just about mixing, layering, and chilling.
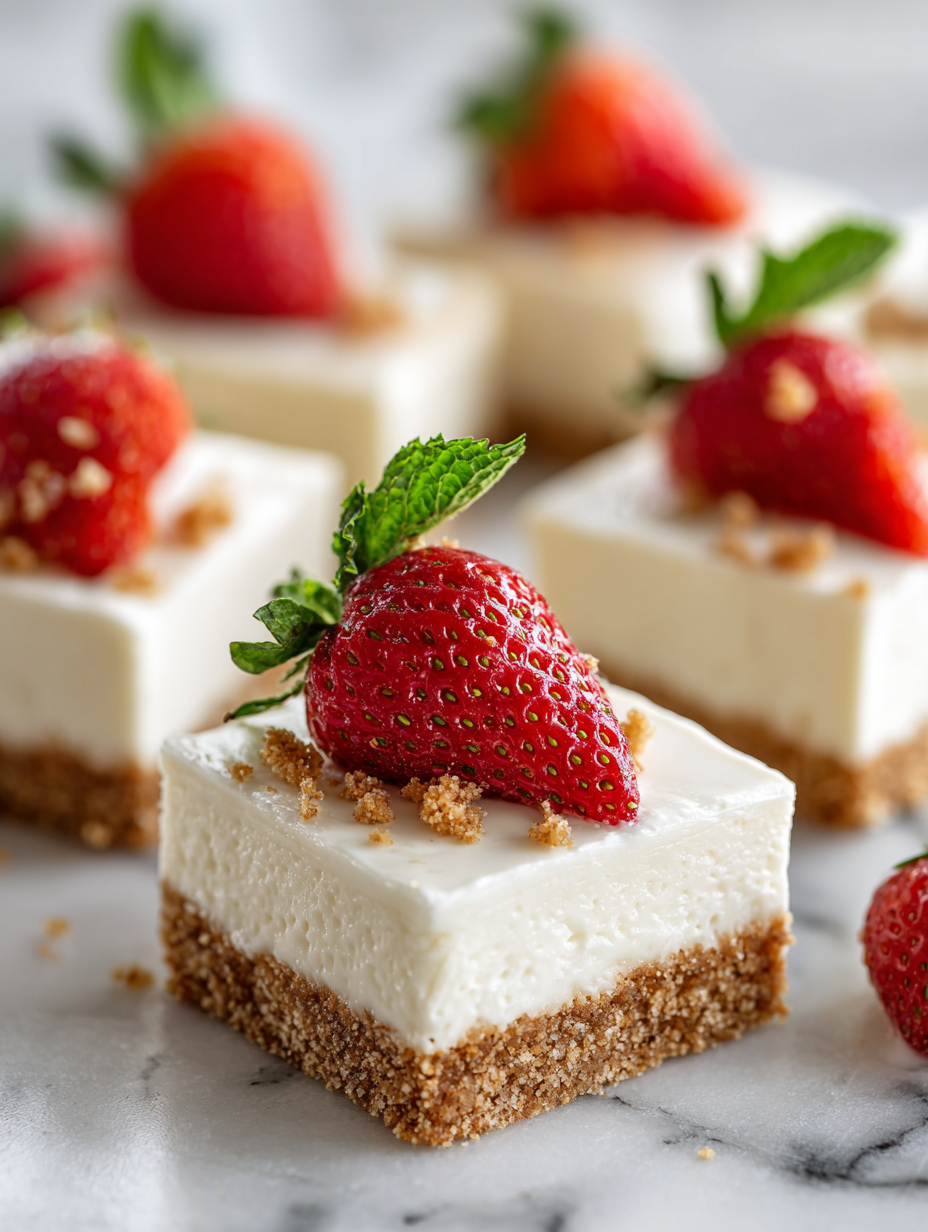
There’s something satisfying about personal-sized treats. They feel special, easy to serve, and you can customize each one with different fruit toppings or chocolate shavings. Plus, they keep well in the fridge, so you can prepare them ahead and forget about last-minute stress. It’s a simple method that turns a classic dessert into a portable, no-fuss delight.
This recipe is all about creating personalized mini desserts that feel indulgent yet are surprisingly simple to assemble, perfect for sharing or for those moments when you crave a sweet treat without the fuss of traditional baking.
Dessert in Your Pocket
- I love how these jars turn dessert into a personal moment, each one feels like a little secret.
- There’s a thrill in layering creamy filling without turning on the oven—so much easier on hot days!
- Filling these jars with rich, tangy cheesecake makes me proud; it’s a simple treat that feels fancy.
- Every time I make these, I remember lazy Sunday afternoons and the joy of sharing something homemade.
- There’s a quiet satisfaction in prep and chill—knowing I’ve got dessert ready without any last-minute fuss.
The story behind this recipe
This recipe was born out of a hectic weekend when I realized I needed a dessert that was quick, portable, and didn’t require turning on the oven. I wanted something that felt personal, almost like a tiny celebration in each jar, but without the fuss. The idea of layering creamy filling in small jars came from a picnic I did with friends—everyone grabbing their own and digging in. It’s simple, honest, and has become my go-to for when I want to impress without stress.
Trivia and origins
- This recipe originated from a desire to make dessert portable and mess-free, perfect for picnics and casual gatherings.
- The concept of layered jars dates back to old-fashioned parfaits, but this version simplifies it with no baking involved.
- Cheesecake in jars gained popularity in the early 2000s as a trendy, customizable dessert for brunches and parties.
- Using small jars as serving vessels makes each portion feel special and personal, a modern twist on a classic dessert.
Ingredient breakdown: key components
- Cream cheese: I love how it becomes silky and smooth when softened—use room temp so it mixes easily, or you’ll end up with lumps.
- Graham cracker crust: The buttery crunch adds a nostalgic feel—try digestive biscuits if you want a different flavor, but don’t skip the crunch.
- Sugar: Just enough to balance the tang—go light if you prefer a less sweet finish, or add a pinch more for a sweeter bite.
- Lemon juice: Brightens everything—use fresh for that zesty, citrus aroma that wakes up the richness, or skip if you want it milder.
- Heavy cream: It whips up into fluffy clouds—try full-fat for richness, but a splash of milk can lighten it if you’re watching calories.
- Fruit toppings: Fresh berries or compote—think about adding a dash of balsamic for depth, or keep it simple with just a sprinkle of mint.
- Jars: Small glass containers—think about using recycled jam jars or tiny mason jars for charm and convenience, and don’t forget to sterilize!
Spotlight on Key Ingredients
Cream cheese:
- I love how it becomes silky and smooth when softened—use room temp so it mixes easily, or you’ll end up with lumps.
- Graham cracker crust: The buttery crunch adds a nostalgic feel—try digestive biscuits if you want a different flavor, but don’t skip the crunch.
Heavy cream & Lemon juice:
- Heavy cream: It whips up into fluffy clouds—try full-fat for richness, but a splash of milk can lighten it if you’re watching calories.
- Lemon juice: Brightens everything—use fresh for that zesty, citrus aroma that wakes up the richness, or skip if you want it milder.
Notes for ingredient swaps
- Dairy-Free: Swap cream cheese for coconut cream or cashew-based cheese. Keeps it rich but adds a nutty or tropical note.
- Gluten-Free: Use crushed gluten-free cookies or graham crackers. The texture stays crispy, but flavor can be a bit milder.
- Sweetener: Replace sugar with honey, maple syrup, or agave nectar. Adjust quantity to taste; honey adds a floral sweetness.
- Lemon Juice: Use bottled lemon juice if fresh isn’t available, but fresh gives a brighter, zestier flavor.
- Heavy Cream: Coconut milk or almond cream can substitute for a dairy-free option, though the texture may be slightly lighter.
- Fruit Toppings: Fresh berries, sliced peaches, or fruit compote. For a tangy kick, add a splash of balsamic vinegar or citrus zest.
- Crust Base: Swap graham crackers for crushed cookies, biscotti, or even toasted nuts for a different crunch and flavor profile.
Equipment & Tools
- Small glass jars: For layering and serving individual portions.
- Mixing bowl: To prepare and combine the filling ingredients.
- Whisk: To whip cream and mix smooth.
- Spatula: To fold whipped cream into the cream cheese mixture gently.
- Spoon or piping bag: To fill jars neatly with the cheesecake mixture.
Step-by-step guide to no bake cheesecakes
- Equipment & Tools: Gather small jars (preferably glass, sterilized), a mixing bowl, a spatula, a whisk, and a spoon for layering.
- Prepare the crust: Crush 200g of graham crackers or digestive biscuits into fine crumbs. Mix with 100g melted butter until combined. Divide evenly into the bottom of each jar, pressing down firmly to create a sturdy base. Chill in the fridge for 15 minutes to set the crust.
- Make the filling: In a large bowl, soften 250g cream cheese at room temperature for 20 minutes. Add 50g powdered sugar and 1 teaspoon vanilla extract. Whisk until smooth and fluffy, about 2-3 minutes. In a separate bowl, whip 150ml heavy cream until soft peaks form, about 3-4 minutes. Gently fold the whipped cream into the cream cheese mixture until well combined.
- Assemble jars: Spoon or pipe the cheesecake filling over the chilled crust, filling each jar about three-quarters full. Be gentle to keep layers neat. Cover with lids or plastic wrap.
- Chill and set: Refrigerate the jars for at least 4 hours, preferably overnight. The filling should firm up and meld with the crust, developing a creamy texture and tangy flavor.
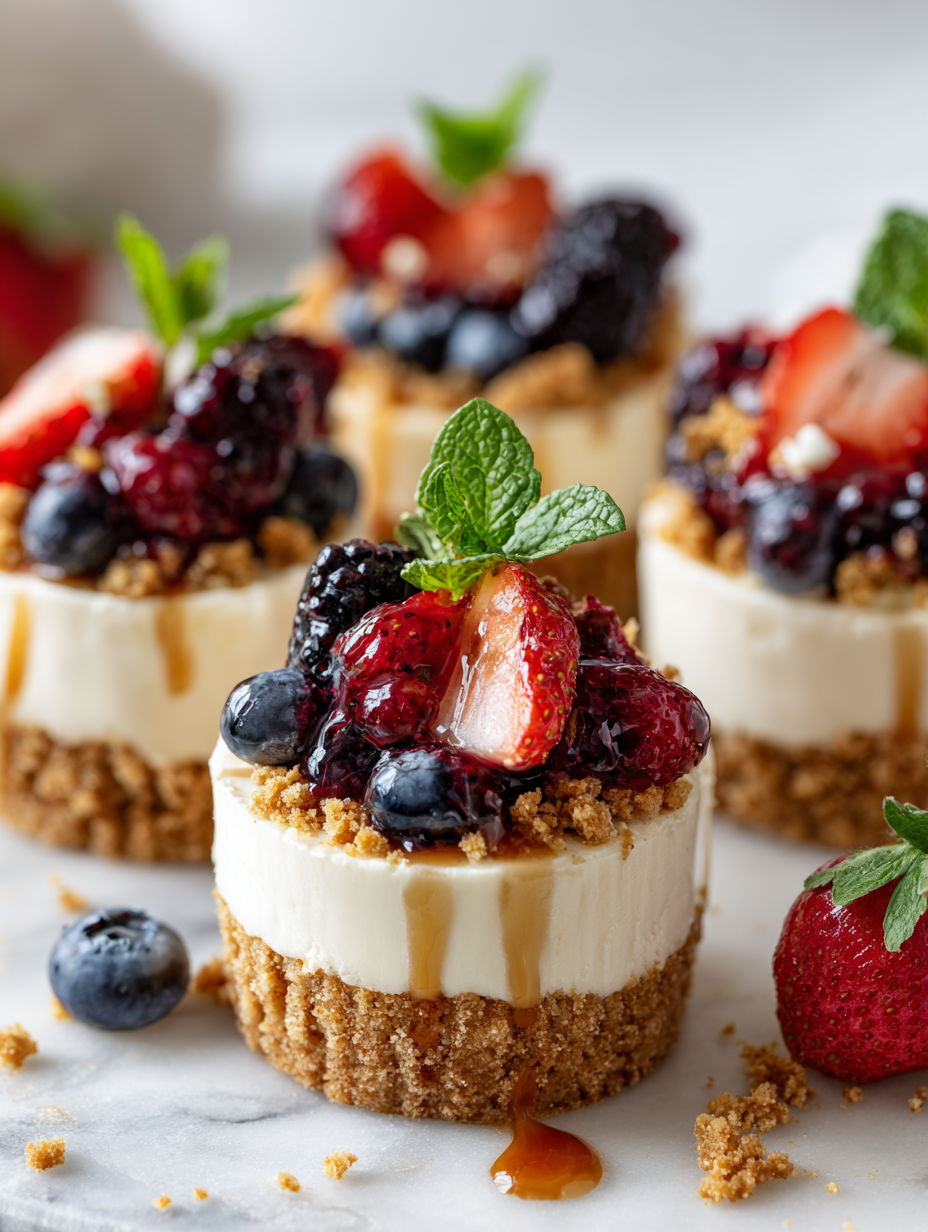
- Add toppings: Just before serving, top each jar with fresh berries, fruit compote, or chocolate shavings. For a bright finish, a spritz of lemon zest works beautifully. Serve cold, straight from the fridge.
Cover the jars tightly and refrigerate for at least 4 hours, preferably overnight. Just before serving, add toppings for a fresh burst of flavor. Serve chilled, directly from the fridge.
How to Know It’s Done
- Crust: Firm, golden, and crumbly after pressing. No sogginess when chilled.
- Filling: Smooth, creamy, with no lumps, holds shape when piped or spooned.
- Chill: Jars are cold to touch, filling is set but still creamy, with slight jiggle when shaken gently.
No-Bake Cheesecake Jars
Ingredients
Equipment
Method
- Crush the graham crackers or digestive biscuits into fine crumbs and place them in a bowl.
- Mix the melted butter into the crushed crackers until the mixture resembles wet sand.
- Divide the crumb mixture evenly among your small jars, pressing down firmly to create a compact crust at the bottom of each.
- In a mixing bowl, beat the softened cream cheese with powdered sugar and vanilla until smooth and creamy.
- Pour the chilled heavy cream into a separate bowl and whip with a whisk or mixer until soft peaks form, about 3-4 minutes.
- Gently fold the whipped cream into the cream cheese mixture, combining until smooth and fluffy.
- Spoon or pipe the creamy filling over the crust in each jar, filling about three-quarters full.
- Cover the jars tightly and refrigerate for at least 4 hours, or overnight, to let the filling set and develop its creamy texture.
- Just before serving, top each jar with fresh berries or your preferred fruit toppings for an added burst of flavor and color.
- Enjoy these individually layered cheesecakes straight from the fridge for a cool, creamy, and satisfying treat.
Tips for perfect no-bake jars
- Bolded mini-head: Chill the crust thoroughly → ensures it stays firm and crisp when layered.
- Bolded mini-head: Soften the cream cheese → prevents lumps and creates a silky filling, avoid cold blocks.
- Bolded mini-head: Whip the cream until soft peaks → adds lightness, stop when it holds shape but isn’t stiff.
- Bolded mini-head: Fold gently to combine → preserves air in the whipped cream, keeping the filling fluffy.
- Bolded mini-head: Chill jars for at least 4 hours → helps set the filling fully, resulting in a creamy texture.
- Bolded mini-head: Add toppings just before serving → maintains freshness and prevents sogginess.
- Bolded mini-head: Use a piping bag for neat layers → makes assembly tidy and visually appealing.
Common mistakes and how to fix them
- FORGOT to chill crust? Rework by pressing again and refrigerate for 10 minutes.
- DUMPED filling? Mix until smooth; avoid over-beating to prevent cracks.
- OVER-TORCHED crust? Reduce oven time or lower temperature, then brush with butter.
- MISSED the setting point? Check firmness after 4 hours; longer chilling may be needed.
Quick fixes and pantry swaps
- When filling is runny, chill the mixture for 15 minutes before layering.
- Splash a bit of vanilla into the crust for an extra flavor boost.
- Patch cracks in the cheesecake by smoothing with a spatula and chilling again.
- Shield jars from direct sunlight during chilling to prevent melting or softening.
- If the crust is too soft, press again and refrigerate for 10 minutes.
Prep, store, and reheat tips
- Prepare the crust and filling components a day in advance. Keep the crust in an airtight container at room temperature, and the filling refrigerated in a sealed jar for up to 24 hours. The flavors meld better after a night in the fridge, enhancing the tang and creaminess.
- Cover the assembled jars tightly with lids or plastic wrap and store in the fridge for up to 2 days. The cheesecake will stay firm and creamy, but avoid letting toppings sit too long to prevent sogginess.
- If you want to serve these later, top with fresh fruit or delicate toppings just before serving to keep them vibrant and fresh. The chilled cheesecake jars taste best when cold, with a slight firmness that melts in your mouth.
- Reheating isn’t necessary, but if you prefer slightly softer texture, let the jars sit at room temperature for 10-15 minutes. You’ll notice the filling soften just enough for a more indulgent spoonful, with no change in flavor or appearance.
Top questions about no bake cheesecake jars
1. How do I get a smooth filling?
Use softened cream cheese and whipped cream for a smooth, fluffy filling. Lumps mean you didn’t soften enough.
2. How long should I chill the jars?
Chill the jars for at least 4 hours, preferably overnight, to let the filling set properly and develop flavor.
3. Can I swap the crust ingredients?
Replace graham crackers with digestive biscuits or crushed cookies for different flavors, but keep the butter ratio similar.
4. When should I add the toppings?
Use fresh berries or fruit compote. Add just before serving to keep toppings vibrant and prevent sogginess.
5. The filling is too liquid, what now?
If filling is too runny, refrigerate for 15 minutes, then gently stir or re-whip before layering.
6. What jars should I use?
Use clean, sterilized jars to prevent spoilage. Small mason jars or recycled jam jars work well.
7. Can I prepare this in advance?
You can make the crust ahead and store it at room temperature. The filling can be prepared a day in advance and refrigerated.
8. How do I avoid cracks in the cheesecake?
Avoid over-beating the cream or the filling may crack or become too airy. Stop whipping once soft peaks form.
9. My crust is soft, what do I do?
If the crust is too soft, press it again firmly and refrigerate for 10 minutes before adding the filling.
10. How long can I store these?
Refrigerate the assembled jars for up to 2 days. Keep toppings fresh and add just before serving for best texture.
These no-bake cheesecake jars are more than just a quick dessert; they’re a little moment of indulgence that feels personal and special. I love how simple ingredients can turn into something creamy, tangy, and satisfying, especially when served chilled on a warm day.
They’re perfect for making ahead, and I find myself reaching for these jars when I want a sweet treat without the fuss. Plus, they remind me that sometimes, the best desserts are the ones we assemble with a little love and a lot of patience—no oven required.
 Hello, I’m Emily Richardson, the heart and soul behind Playing with Flavors. Cooking isn’t just a hobby for me – it’s a passion that I’ve cultivated for years, and it’s become the driving force of my life.
From the kitchen of my cozy café to the pages of this blog, every dish I create is a reflection of my love for food and the joy it brings to people.
Hello, I’m Emily Richardson, the heart and soul behind Playing with Flavors. Cooking isn’t just a hobby for me – it’s a passion that I’ve cultivated for years, and it’s become the driving force of my life.
From the kitchen of my cozy café to the pages of this blog, every dish I create is a reflection of my love for food and the joy it brings to people.


