
This recipe is my secret weapon for sneaking a little joy into busy, chaotic days. It’s a no-fuss, no-bake delight that I turn to when I need a quick fix of chocolate comfort, especially during those moments when I crave something sweet but don’t want to spend ages in the kitchen.
There’s something oddly satisfying about how these chocolate biscuit bars come together without any oven time. It’s almost like a little rebellious act—no heat, just mixing, pressing, and waiting. And the best part? The rich, fudgy texture that melts in your mouth, making it perfect for spontaneous sweet tooth cravings.
I’ve made these for school treats, for friends dropping by unannounced, or even just for myself when I need a moment of simple pleasure. They remind me that sometimes, the easiest recipes are the ones that bring the most comfort, especially when they’re packed with chocolate and nostalgia.
This recipe is my secret weapon for sneaking a little joy into busy, chaotic days. It’s a no-fuss, no-bake delight that I turn to when I need a quick fix of chocolate comfort, especially during those moments when I crave something sweet but don’t want to spend ages in the kitchen.
The story behind this recipe
- This recipe started as a way to use up leftover biscuits from a baking frenzy that never quite happened. I was looking for a way to turn simple ingredients into something indulgent without firing up the oven. The moment I melted the chocolate and pressed it all into a pan, I knew I’d hit on something special. It’s a bit of a kitchen experiment that turned into my go-to treat for lazy weekends or last-minute cravings.
- Once, during a hectic week, I threw this together after a long day. The smell of melting chocolate and toasted biscuits filled the kitchen, making everything feel calmer. That night, I shared the bars with friends, and their surprised smiles when biting into that fudgy hit reminded me why I keep coming back to this simple, no-bake joy.
- heading:
Ingredient breakdown: key components
- Dark chocolate: I love a rich, slightly bitter chocolate that melts smoothly—look for high cocoa content. If you prefer sweeter, add a dash more sugar or choose milk chocolate for a softer, creamier finish.
- Digestive biscuits: These give the bars their crumbly, buttery base. If unavailable, graham crackers or graham cracker crumbs work, but expect a different texture—more crumbly and less chewy.
- Butter: I use unsalted, which helps control the saltiness. For a creamier, richer feel, try browned butter—adds a nutty aroma that wakes up the chocolate.
- Golden syrup or honey: Adds chewiness and depth. If you’re out, maple syrup or corn syrup can work, but they’ll tweak the flavor slightly—more floral or neutral.
- Vanilla extract: A splash enhances the chocolate’s richness. Skip if you’re out, but it really brightens everything—think of it as a little secret to deepen the flavor.
- Optional add-ins (nuts, dried fruit): I toss in toasted almonds or dried cherries for texture and contrast. Roasted nuts add a smoky crunch, while dried fruit offers chewy bursts of sweetness.
- Salt: Just a pinch, enhances all the flavors. If you prefer intensely sweet, cut back, but don’t skip—salt balances the richness and makes the chocolate pop.
Spotlight on key ingredients
Dark chocolate:
- I love a rich, slightly bitter chocolate that melts smoothly—look for high cocoa content. If you prefer sweeter, add a dash more sugar or choose milk chocolate for a softer, creamier finish.
- Digestive biscuits: These give the bars their crumbly, buttery base. If unavailable, graham crackers or graham cracker crumbs work, but expect a different texture—more crumbly and less chewy.
Butter & Golden Syrup:
- Golden syrup: It adds chewiness and depth. If you’re out, maple syrup or corn syrup can work, but they’ll tweak the flavor slightly—more floral or neutral.
- Butter: I use unsalted, which helps control the saltiness. For a creamier, richer feel, try browned butter—adds a nutty aroma that wakes up the chocolate.
Notes for ingredient swaps
- Dairy-Free: Swap butter for coconut oil or vegan margarine. Expect a slightly different richness and a softer set.
- Chocolate: Use milk or white chocolate if dark isn’t your thing. These will make the bars sweeter and creamier, with less cocoa intensity.
- Biscuits: Replace digestive biscuits with graham crackers or speculoos for a spiced twist. Expect a different crumbly texture and flavor.
- Sweetener: Honey or maple syrup can replace golden syrup. They add a unique aroma—honey is floral, maple is smoky and warm.
- Add-ins: Nuts or dried fruit can be omitted or swapped. Toasted almonds add crunch, dried cherries offer bursts of tartness.
- Salt: Use sea salt flakes for a more pronounced salty crunch. For a milder saltiness, reduce quantity slightly.
- Extra flavor: A splash of espresso or coffee can intensify chocolate flavor. It adds a subtle bitter depth without overpowering.
Equipment & Tools
- 20cm (8-inch) square pan: To hold and shape the mixture into square bars.
- Spatula: For mixing and pressing down the mixture evenly.
- Sharp knife: To cut the set bars cleanly.
- Parchment paper: To line the pan for easy removal and clean cuts.
- Double boiler or microwave-safe bowl: To melt chocolate and butter smoothly without burning.
Step-by-step guide to no bake bars
- Gather your equipment: a 20cm (8-inch) square pan, a spatula, a sharp knife, and a parchment paper lining for easy removal.
- Break the digestive biscuits into small pieces. You want a mix of fine crumbs and some larger bits for texture.
- Melt the butter and dark chocolate together in a heatproof bowl over a double boiler or in short bursts in the microwave (15-20 seconds, stir thoroughly each time). You’re aiming for a glossy, smooth mixture that smells rich and cocoasty.
- Pour the melted chocolate and butter into the biscuit crumbs. Add the golden syrup and vanilla extract. Mix everything well until the crumbs are evenly coated and the mixture feels thick but spreadable.
- Line your pan with parchment paper, leaving a little overhang for easy lifting. Transfer the mixture into the pan, pressing it down firmly with the spatula or the back of a spoon. Make sure it’s evenly spread and compacted.
- Use the spatula to smooth the surface, then press additional biscuits or nuts on top if you like for presentation and crunch.
- Place the pan in the fridge. Let it set for at least 2 hours, or overnight if you have the patience. The bars should firm up, shiny on top, and feel firm when pressed gently.
- Once set, lift the block out using the parchment overhang. Use a sharp knife to cut into squares or rectangles. Wipe the knife clean between cuts for neat edges.
- Serve immediately or store in an airtight container in the fridge. These are best eaten within 3-4 days for maximum fudgy goodness.
Once cut, serve immediately or store in an airtight container in the fridge. Let sit at room temp for 10 minutes before serving if chilled, for a softer bite.
How to Know It’s Done
- Chocolate mixture is glossy and smooth, no lumps or separation.
- The pressed mixture holds together when lifted slightly from the pan edges.
- Bars feel firm and give a slight crack when gently pressed, indicating proper set.
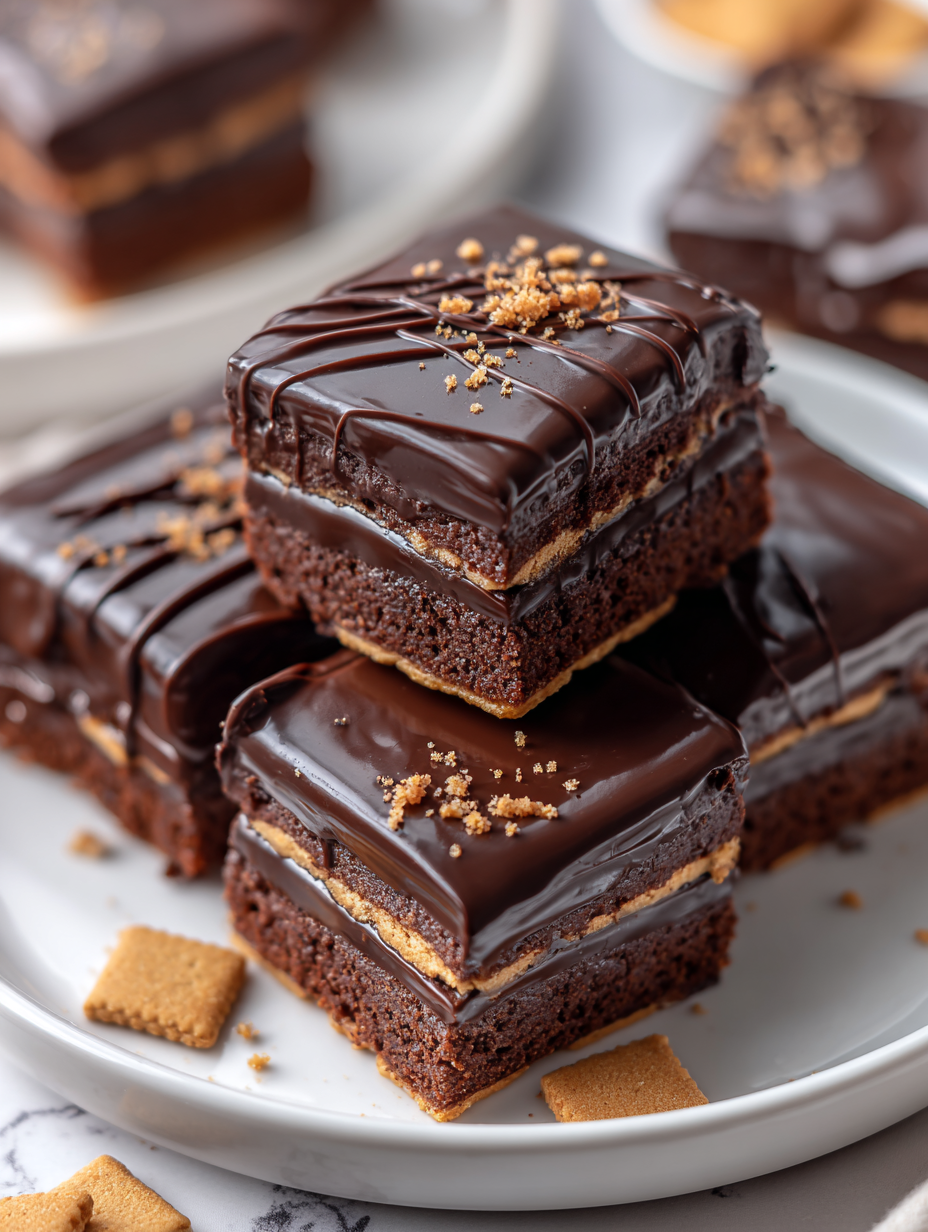
No-Bake Chocolate Biscuit Bars
Ingredients
Equipment
Method
- Line your square pan with parchment paper, leaving overhang on the sides for easy removal. Set aside.
- Break the digestive biscuits into small pieces, aiming for a mix of fine crumbs and some larger bits for texture.
- In a heatproof bowl, melt the dark chocolate and butter together over a double boiler or in short bursts in the microwave, stirring well after each. You're looking for a glossy, smooth mixture that smells rich and cocoasty.
- Pour the melted chocolate mixture into the crushed biscuits. Add the golden syrup and vanilla extract, then stir thoroughly until all the crumbs are coated and the mixture feels thick yet spreadable.
- Transfer the mixture into your prepared pan. Use a spatula to press it down firmly and evenly, making sure the surface is smooth and compacted.
- If desired, press extra biscuits or nuts onto the top for added crunch and presentation.
- Place the pan in the fridge and chill for at least 2 hours, or overnight if possible, until the bars are firm and shiny on top.
- Once set, lift the entire block out using the parchment overhang. Use a sharp knife to cut into squares or rectangles, wiping the knife clean between cuts for neat edges.
- Serve immediately for a fudgy treat, or store in an airtight container in the fridge for up to 4 days. For longer storage, wrap tightly and freeze, then thaw in the fridge when ready to enjoy.
Pro tips for perfect bars
- Melt chocolate gently → Use low heat or short bursts in microwave to prevent seizing or burning.
- Press firmly when spreading → Compact the mixture evenly in the pan for uniform bars and clean cuts.
- Chill thoroughly → Refrigerate for at least 2 hours until set, ensuring a firm, fudgy texture.
- Wipe the knife between cuts → Prevents sticking and keeps edges neat, especially with sticky chocolate.
- Add nuts or dried fruit last → Mix in or press on top for extra texture, avoiding sinking or uneven distribution.
- Use parchment overhang → Makes removal and slicing easier without sticking or crumbling.
- Adjust sweetness → Taste the melted chocolate mixture before setting, adding more syrup if you like extra chewiness.
Common mistakes and how to fix them
- FORGOT to level the mixture → Press firmly and evenly to prevent cracks.
- DUMPED too much chocolate → Use precise measurements; excess causes greasy bars.
- OVER-TORCHED chocolate → Melt gently over low heat or short microwave bursts, stir frequently.
- SKIPPED chilling time → Allow at least 2 hours in fridge for proper setting.
Quick fixes and pantry swaps
- If chocolate seizes, splash in a little warm cream to smooth it out.
- When bars crack, patch with a thin layer of melted chocolate for a seamless look.
- Splash a bit of hot water on the pan if biscuits aren’t breaking apart easily.
- Patch dull-looking bars with a quick drizzle of melted chocolate before serving.
- Shield melting chocolate from drafts to prevent it from hardening or cracking.
Prep, store, and reheat tips
- You can prepare the mixture a day in advance; keep it covered in the fridge to prevent drying out and to allow flavors to meld, enhancing the chocolate richness and biscuit aroma.
- Store the finished bars in an airtight container in the fridge for up to 4 days. The cool environment keeps them fudgy and prevents melting or spoilage, but expect a firmer texture over time.
- For longer storage, freeze the bars wrapped tightly in plastic wrap and then in foil—up to 3 weeks. Thaw in the fridge for a few hours before serving for best texture and flavor.
- Reheating isn’t necessary, but if you want a slightly softer bite, let chilled bars sit at room temperature for 10 minutes. The chocolate will become glossy and slightly gooey again, but avoid microwaving as it can make the chocolate seize.
Top questions about no bake bars
1. Can I use milk chocolate instead?
Use high-quality dark chocolate with at least 70% cocoa for the richest flavor. It melts smoothly and gives a velvety finish.
2. What can I substitute for digestive biscuits?
Digestive biscuits are traditional, but graham crackers or even crushed cookies work. Adjust texture according to what you have.
3. Do I need golden syrup?
Golden syrup or honey keeps the bars chewy and helps bind everything together. Maple syrup is a good alternative, adding a slight caramel note.
4. How long do I need to chill the bars?
Chill the mixture in the fridge for at least 2 hours until firm. If you’re in a rush, pop it in the freezer for about 30 minutes.
5. Can I freeze these bars?
Yes, you can freeze the bars wrapped tightly in plastic wrap. Thaw in the fridge for a few hours before slicing for best texture.
6. How do I get neat cuts?
Use a sharp knife and wipe it clean between cuts to prevent sticking. For cleaner edges, chill the bars before slicing.
7. Can I add extras?
Add nuts or dried fruit on top before setting for extra texture. Toasted nuts add crunch, dried fruit gives chewy bursts of flavor.
8. What’s a good dairy-free alternative?
Yes, you can swap butter for coconut oil for a dairy-free version. Expect a slightly different texture and flavor—more tropical and softer.
9. What if my chocolate seizes?
If chocolate seizes while melting, add a splash of warm cream or a little vegetable oil to smooth it out.
10. How should I store the bars?
Store in an airtight container in the fridge for up to 4 days. For longer storage, freeze and thaw as needed, keeping them fresh and fudgy.
These no bake chocolate biscuit bars are more than just a quick treat; they remind me of childhood afternoons and simple pleasures. Every bite offers that rich, fudgy hit that feels like a little rebellion against busy days and complicated recipes.
Sharing these bars with friends or family brings a quiet joy, especially when the chocolate aroma fills the room. Sometimes, it’s the simplest recipes that leave the biggest impression, especially when they’re packed with honest, genuine flavor.