
This no bake fudge bars recipe is like a little slice of childhood comfort, simplified for busy days. I remember sneaking bites from my grandma’s candy jar, the velvety texture melting on my tongue, the sweet chocolate scent lingering in the air. Now, I love how easy it is to whip up these bars whenever that craving hits, without turning on the oven or making a mess.
What makes this recipe special is that it captures that nostalgic, rich fudge flavor but cuts out all the fuss. It’s perfect for when you want something indulgent but don’t have hours to spare. Plus, it’s a no-fail kind of treat, easy to customize with nuts or a sprinkle of sea salt if you’re feeling fancy.
This recipe is inspired by childhood memories of rummaging through my grandma’s candy jar, trying to sneak a piece of fudge without getting caught. I love how no bake fudge bars bring that nostalgic sweet rush, but with a modern, simplified twist that cuts out the fuss and mess. It’s a quick fix for when you crave something rich and velvety, but don’t want to turn on the oven or wait hours.
The story behind this recipe
- This recipe came about during a particularly hectic week when I needed something quick, satisfying, and foolproof. I was craving that deep, fudge-y richness but didn’t want to fuss with melting chocolates or baking. It’s funny how a simple idea like mixing melted chocolate with butter and pressing it into a pan can turn into a little moment of calm and sweetness amidst chaos.
- I remember the first time I made these, I was half-asleep, just winging it with what I had on hand. The smell of warm chocolate filling the kitchen, the sticky texture as I pressed everything into the pan—those little sensory details stick with me. Now, they’re my go-to when I want a treat that’s honest, quick, and totally dependable.
- heading:
Ingredient breakdown: key components
- Unsalted butter: I prefer using real butter for that rich, creamy base that melts smoothly—swap for coconut oil if you want dairy-free, but it’ll change the richness slightly.
- Semi-sweet chocolate chips: The oozy, velvety texture is what makes these bars stand out. Dark chocolate works too, if you like a more intense flavor—just watch the bitterness.
- Sweetened condensed milk: It’s my secret weapon for that sticky, sweet glue that holds everything together. For a less sweet version, try evaporated milk with a touch of sugar.
- Vanilla extract: Adds a subtle warmth and depth—skip if you’re after a more minimalist fudge, but don’t skip the vanilla if you want that cozy smell wafting through the kitchen.
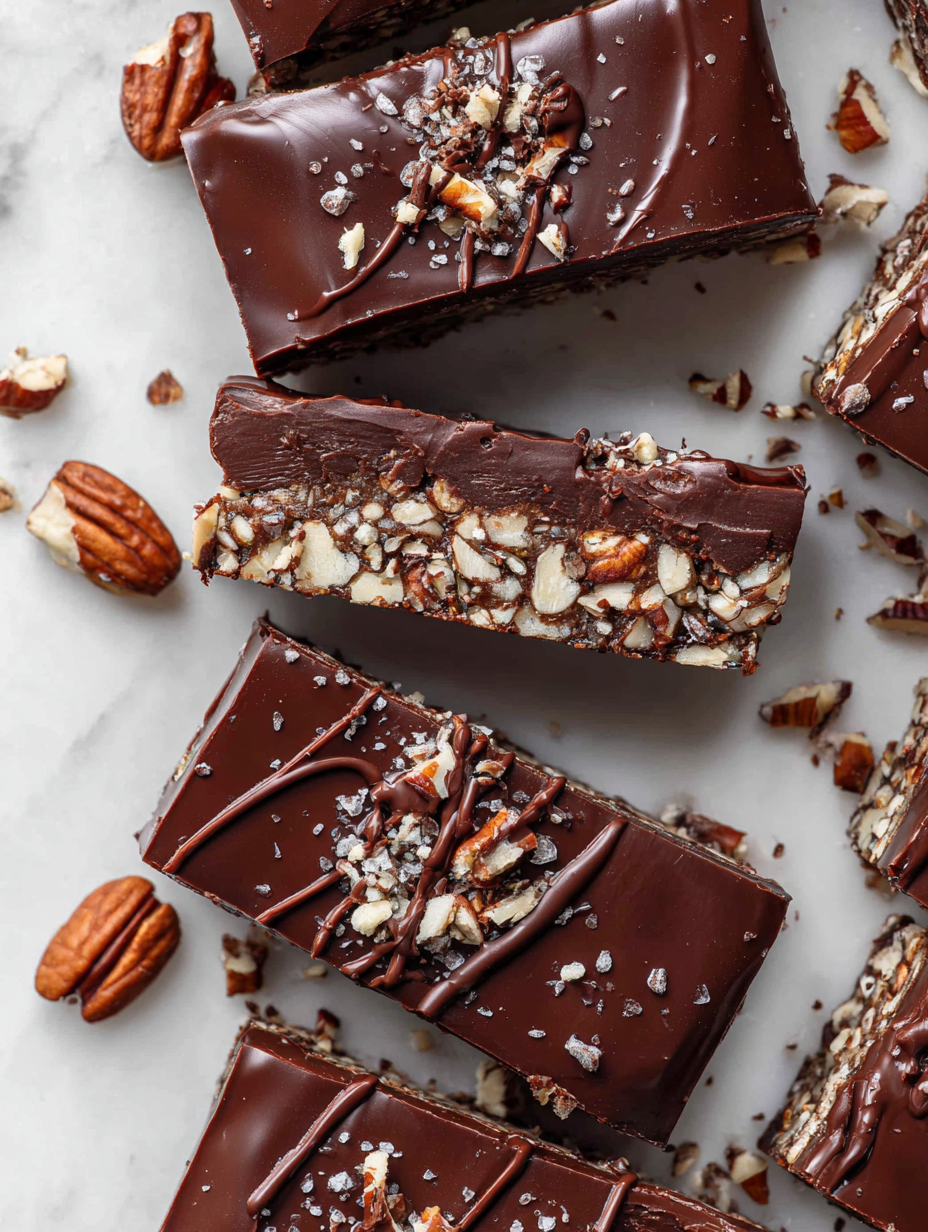
- Optional toppings (nuts, sea salt, sprinkles): I love a sprinkle of sea salt on top for contrast—try chopped pecans or walnuts for crunch, or keep it simple with a pinch of flaky sea salt for that salty-sweet punch.
- Cooking spray or parchment paper: Helps lift the set fudge easily from the pan. I always line my pan with parchment for clean, no-fuss cutting—don’t skip this step if you want tidy bars.
- Flavor boosts (coffee, peppermint, orange zest): A splash of espresso powder intensifies the chocolate, while a hint of peppermint or citrus zest can brighten up the richness—experiment to match your mood.
Spotlight on key ingredients
Chocolate chips:
- Semi-sweet chocolate chips: I love how they ooze when melted, creating that velvety fudge texture. Use dark chocolate for a deeper flavor, but watch for bitterness if you prefer sweeter bars.
- Sweetened condensed milk: Its sticky, rich sweetness is what binds everything together. If you want a less sweet version, try evaporated milk and a touch of sugar, but it won’t be as sticky.
Vanilla extract:
- Butter: I prefer real butter for that creamy, melt-in-your-mouth base. Swapping with coconut oil adds a hint of tropical aroma and makes it dairy-free, but expect a slightly different mouthfeel.
- Adds warmth and enhances the chocolate flavor. Skip if you want a more minimalist fudge, but it really helps round out the richness and makes the aroma inviting.
Notes for ingredient swaps
- Dairy-Free: Coconut oil or vegan butter can replace butter, but expect a slightly different richness and a coconut aroma.
- Chocolate Variations: Dark chocolate or dairy-free chips work well—just be mindful of the flavor intensity and sweetness level.
- Sweetener Swap: Maple syrup or honey can replace sweetened condensed milk—use less or dilute to avoid a overly sticky texture.
- Flavor Boosts: Add a splash of peppermint extract or orange zest instead of vanilla for a different aromatic twist.
- Nut Toppings: Chopped almonds, pecans, or seeds can substitute for traditional nuts—consider texture and flavor balance.
- Topping Alternatives: Use sea salt, sprinkles, or crushed cookies on top—each adds a different crunch and flavor contrast.
- Pan Lining: Parchment paper can be swapped for aluminum foil—just ensure easy lifting and clean slices.
Equipment & Tools
- Parchment paper: To line the pan for easy removal and clean cuts.
- Microwave-safe bowl: To melt chocolate and butter evenly.
- Spatula: To spread and smooth the mixture in the pan.
- Sharp knife: To cut the fudge into clean squares.
- Measuring cups and spoons: For accurate ingredient measurement.
Step-by-step guide to fudge bars
- Line a 9×13 inch pan with parchment paper, leaving overhang for easy lifting. Set aside.
- In a microwave-safe bowl, combine 2 cups semi-sweet chocolate chips and 1/2 cup unsalted butter. Microwave in 30-second bursts, stirring each time, until smooth and melted. About 1.5 minutes total.
- Stir in 1 cup sweetened condensed milk and 1 teaspoon vanilla extract until fully incorporated and glossy.
- Pour the chocolate mixture into the prepared pan. Use a spatula to spread evenly, smoothing the top. Tap the pan gently on the counter to release air bubbles.
- Optional: sprinkle with chopped nuts, sea salt, or sprinkles on top for added texture and flavor. Gently press toppings into the surface.
- Place the pan in the fridge for at least 2 hours, or until the fudge is firm and set. The mixture should feel firm to the touch and have a slight crackle when pressed.
- Once set, lift the fudge out using the parchment overhang. Place on a cutting board and slice into squares or rectangles with a sharp knife.
- Serve immediately or store in an airtight container. Let sit at room temperature for 10 minutes before serving if refrigerated to soften slightly.
Refrigerate until fully set, then lift from pan using parchment. Slice into bars and serve, or store in an airtight container in the fridge for up to a week.
How to Know It’s Done
- Fudge is firm and holds shape when sliced.
- Surface has a slight crackle when pressed gently.
- Chocolate is glossy and smooth, not grainy or oily.
No-Bake Fudge Bars
Ingredients
Equipment
Method
- Line a 9x13 inch pan with parchment paper, leaving overhang for easy removal. Set aside.
- Combine the chocolate chips and butter in a microwave-safe bowl. Microwave in 30-second bursts, stirring each time, until the mixture is smooth and glossy—about 1.5 minutes total.
- Stir in the sweetened condensed milk and vanilla extract until fully incorporated, creating a shiny, thick mixture.
- Pour the chocolate mixture into the prepared pan. Use a spatula to spread it evenly across the surface, smoothing out the top. Gently tap the pan on the counter to settle the mixture and remove air bubbles.
- If desired, sprinkle chopped nuts, sea salt, or sprinkles on top, pressing them lightly into the surface for better adhesion.
- Refrigerate the pan for at least 2 hours, or until the fudge is firm and set. The surface should feel crackly when gently pressed.
- Lift the fudge out of the pan using the parchment overhang, then transfer to a cutting board. Slice into squares or rectangles with a sharp knife.
- Serve immediately or store in an airtight container in the fridge. For softer texture, let the fudge sit at room temperature for 10 minutes before serving.
Tips for perfect fudge bars
- Use low heat: Melting chocolate gradually prevents scorching and keeps that glossy finish.
- Chill before slicing: Refrigerate until firm, then let sit at room temp for clean cuts and better texture.
- Tap the pan: Gently tapping helps release air bubbles and smooth the surface for a more even fudge.
- Add toppings early: Press nuts or sea salt into the surface right after pouring for better adhesion.
- Avoid over-mixing: Stir just until ingredients are combined to keep the fudge tender and not greasy.
- Use room temperature ingredients: Ensures smooth melting and avoids lumps in your mixture.
- Combine in stages: Add ingredients gradually, tasting and adjusting for flavor balance and texture.
Common mistakes and how to fix them
- FORGOT to line the pan with parchment → Use parchment to lift fudge easily.
- DUMPED in all ingredients at once → Add ingredients gradually, stirring between each addition.
- OVER-TORCHED the chocolate → Melt on low heat or short bursts to prevent burning.
- MISSED mixing in vanilla → Stir in vanilla thoroughly for even flavor distribution.
Quick fixes and pantry swaps
- When chocolate seizes or gets grainy, splash in a teaspoon of hot milk and stir vigorously.
- If fudge is too soft, dump it back in the fridge for 30 minutes to firm up quickly.
- Splash a little vanilla or salt on top if the flavor feels dull or flat after setting.
- Patch cracks by gently pressing them together with a warm spatula before chilling again.
- Shield over-salted fudge with a drizzle of melted chocolate to balance the flavor.
Prep, store, and reheat tips
- You can prepare the fudge mixture up to 24 hours in advance; keep it covered in the fridge for a fresh, chilled texture that’s easy to spread when ready.
- Store the finished fudge bars in an airtight container at room temperature for up to 3 days, preserving that velvety melt-in-your-mouth feel and rich chocolate aroma.
- For longer storage, refrigerate for up to a week or freeze for up to a month. Wrap tightly to prevent freezer burn and maintain flavor.
- Reheat refrigerated fudge briefly in the microwave in 10-second bursts until slightly softened, just enough to regain a silky, spreadable consistency—watch for melting edges and faint crackles.
Top questions about no bake fudge bars
1. Can I make these fudge bars vegan?
Yes, using dairy-free chocolate chips and coconut condensed milk, you can make it vegan, but the texture might be slightly less creamy.
2. Can I substitute dairy ingredients?
Absolutely. Just substitute the butter with coconut oil and choose dairy-free chocolate chips for a dairy-free version.
3. What if my fudge mixture is too stiff?
If the mixture is too thick to spread, warm it slightly in the microwave for 10 seconds and stir well.
4. How should I store these fudge bars?
Store the bars in an airtight container at room temperature for up to 3 days, or refrigerate for longer freshness.
5. Can I add toppings or salt on the fudge?
Yes, adding a pinch of sea salt on top enhances the chocolate flavor and adds a nice contrast.
6. Can I make parts of this recipe in advance?
You can prepare the melted chocolate mixture a day ahead, just keep it covered in the fridge and bring to room temp before spreading.
7. My fudge isn’t firming up, what should I do?
If your fudge isn’t setting, it might be too warm. Chill it longer or increase the amount of condensed milk slightly.
8. Can I use different types of chocolate chips?
Using semi-sweet or dark chocolate gives a richer flavor, but milk chocolate will make it sweeter and creamier.
9. How do I melt chocolate without burning it?
To prevent the chocolate from seizing or burning, melt it slowly over low heat or short microwave bursts, stirring often.
10. Can I add flavor enhancements like coffee or orange zest?
Yes, adding a teaspoon of espresso powder intensifies the chocolate flavor, making it more velvety and rich.
These no bake fudge bars are more than just a sweet treat; they carry a sense of calm and nostalgia, reminding me of simpler times. When I make them, the rich chocolate aroma fills the kitchen, evoking memories of childhood comfort and spontaneous moments of indulgence. It’s a straightforward recipe that fits perfectly into busy days but still feels special enough to share.
In times when I need a quick pick-me-up or a little moment of joy, this recipe is my go-to. They’re honest, no-fuss, and always satisfying—proof that sometimes, the simplest things make the biggest impact. No matter how many I make, I still find myself reaching for just one more to savor slowly.