This no bake vegan cheesecake is my go-to when chaos hits the kitchen and I need something sweet, fast. It’s a little rough around the edges, but honest and forgiving—perfect for those days when precision feels like too much. The best part? No oven, no fuss, just a simple mix and chill that somehow captures the creamy, tangy magic of a classic cheesecake.
I started making this recipe years ago, during a phase of experimenting with vegan desserts that didn’t require heating or complicated steps. It’s become my fallback, especially when I’m short on time or energy but craving something rich and satisfying. Trust me, once you get the hang of it, it’s hard to go back to baked versions—this one feels lighter, fresher, and just as indulgent.
This recipe is inspired by the chaos of my early vegan baking experiments, where I learned to embrace improvisation and trust my senses over strict measurements. It’s about turning what feels like a mess into something unexpectedly delightful, especially when I need a quick, comforting treat without the fuss.
Embracing Imperfection in Vegan Baking
- I love how this recipe turned my messy kitchen moments into something surprisingly elegant.
- There’s a quiet pride in creating something so rich from just a handful of simple ingredients.
- This cheesecake reminds me of lazy weekends, where improvising in the kitchen feels like a small act of rebellion.
- Sharing this with friends feels like passing along a secret, a little piece of my kitchen chaos turned calm.
Inspiration Behind This Cheesecake
This cheesecake was born out of a late-night craving and a cluttered fridge. I was experimenting with vegan ingredients and stumbled upon the idea of a no-bake, creamy dessert that could be whipped up in minutes. It’s become my go-to for impromptu gatherings or when I need something sweet without the fuss of baking. Every time I make it, I remember how simple ingredients can turn into something unexpectedly indulgent.
History and Fun Facts
- This recipe evolved from late-night kitchen experiments, where I combined vegan staples with a pinch of improvisation.
- It reflects a broader trend of minimalist, no-bake desserts gaining popularity for their simplicity and speed.
- The use of cashews and coconut in this cheesecake harks back to traditional raw desserts from health-conscious circles.
- I first discovered the creamy magic of this combo during a summer camping trip, where fresh ingredients were limited but flavor was essential.
Key Ingredients and Tips
- Cashews: I love how their natural creaminess makes the filling luxuriously smooth; soak them at least 4 hours or overnight to avoid grit—your blender will thank you.
- Coconut Oil: Adds a subtle richness and helps with setting; go for unrefined for a hint of coconut aroma, but refined works if you prefer a neutral taste.
- Lemon Juice: Brightens everything with a zing; squeeze fresh for the best aroma and flavor, especially if you want that tangy cheesecake punch.
- Maple Syrup: It’s my sweetener of choice—adds a mellow, caramel-like depth; adjust the amount for your preferred sweetness, but don’t skip it entirely.
- Digestive Cookies or Graham Crackers: For the crust, I like the crunch and slight sweetness; gluten-free options work well too—crush finely for a better base.
- Vegan Yogurt (optional): If I want extra tang, I stir in a spoonful; it keeps the texture light, but skip if you want a firmer bite.
- Salt: Just a pinch enhances all the flavors; don’t forget it—it’s the secret to making everything pop.
Spotlight on key ingredients
Cashews:
- I love how their natural creaminess makes the filling luxuriously smooth; soak them at least 4 hours or overnight to avoid grit—your blender will thank you.
- Coconut Oil: Adds a subtle richness and helps with setting; go for unrefined for a hint of coconut aroma, but refined works if you prefer a neutral taste.
- Lemon Juice: Brightens everything with a zing; squeeze fresh for the best aroma and flavor, especially if you want that tangy cheesecake punch.
Coconut Oil:
- It’s key for texture and flavor—melts into the creamy filling, giving a slight coconut aroma that’s not overwhelming.
- Lemon Juice: The bright, zesty punch is what keeps this cheesecake lively; fresh-squeezed is best, no bottled stuff.
- Maple Syrup: Adds mellow sweetness and depth, balancing the tang and richness—no need for refined sugar here, just natural goodness.
Notes for ingredient swaps
- Dairy-Free: Coconut cream can replace dairy cream for richness, but it adds a coconut flavor that might be more prominent.
- Sweetener: Agave syrup works instead of maple syrup, offering a slightly different sweetness profile—smoother and more neutral.
- Crust Base: Graham crackers can be swapped with digestive biscuits or even crushed pretzels for a salty crunch.
- Oil: Avocado oil can stand in for coconut oil, providing a mild flavor and similar fat content—just watch the consistency.
- Citrus: Lime juice can replace lemon for a slightly different tang, adding a more floral or tropical note.
- Vegan Yogurt: Silken tofu blended in can add creaminess and protein—skip if you prefer a lighter, more coconut-forward flavor.
Equipment & Tools
- Blender: To blend the filling until smooth and creamy.
- Springform pan: To shape and set the cheesecake easily.
- Mixing bowl: For mixing crust ingredients or preparing toppings.
- Spatula: To smooth the filling and crust layers.
- Measuring cups/spoons: To measure ingredients accurately.
Step-by-step guide to no bake cheesecake
- Gather your equipment: a blender, a springform pan (about 20cm diameter), a mixing bowl, and a spatula. The blender is key for smooth filling, and the pan for setting the cheesecake.
- Soak 1 ½ cups of cashews in hot water for at least 4 hours or overnight. Drain and rinse thoroughly. This softens them for a creamy texture.
- Prepare the crust: crush 200g of digestive cookies or graham crackers finely in a zip-top bag using a rolling pin. Mix with 3 tbsp melted coconut oil and a pinch of salt. Press into the bottom of your pan evenly. Chill in the fridge for 15 minutes.
- In the blender, combine the drained cashews, ½ cup coconut oil, ½ cup maple syrup, ¼ cup lemon juice, 1 tsp vanilla extract, and a pinch of salt. Blend until super smooth and creamy, about 2-3 minutes. Stop and scrape down the sides as needed.
- Taste the filling. It should be tangy, sweet, and silky. If too thick, add a splash of plant-based milk to loosen. If gritty, blend longer. The texture should be velvety, with no cashew grit remaining.
- Pour the filling over the chilled crust. Smooth the top with a spatula. Tap the pan gently on the counter to release air bubbles.
- Cover loosely with plastic wrap or foil. Chill in the fridge for at least 4 hours, preferably overnight. The cheesecake should set firm but still be creamy to the touch.
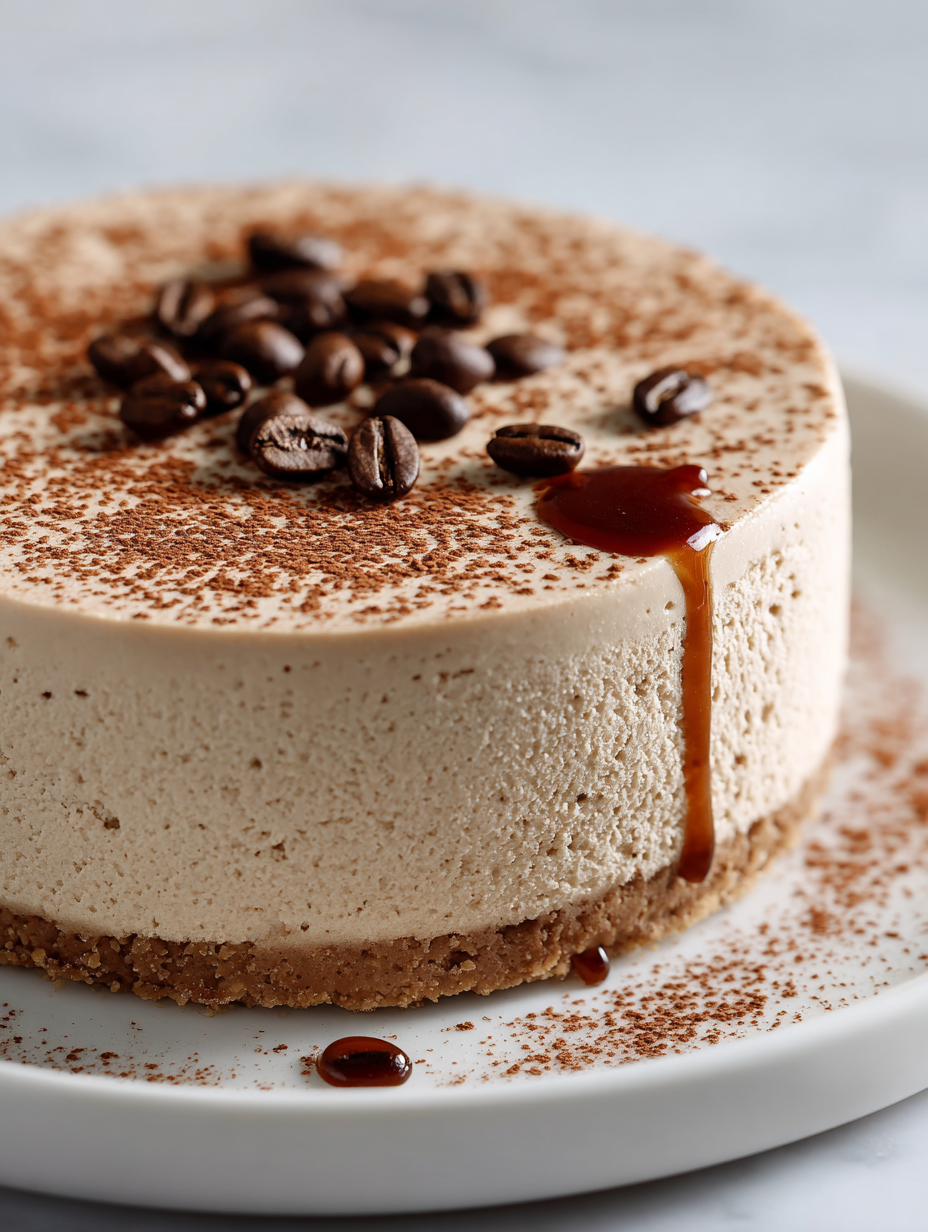
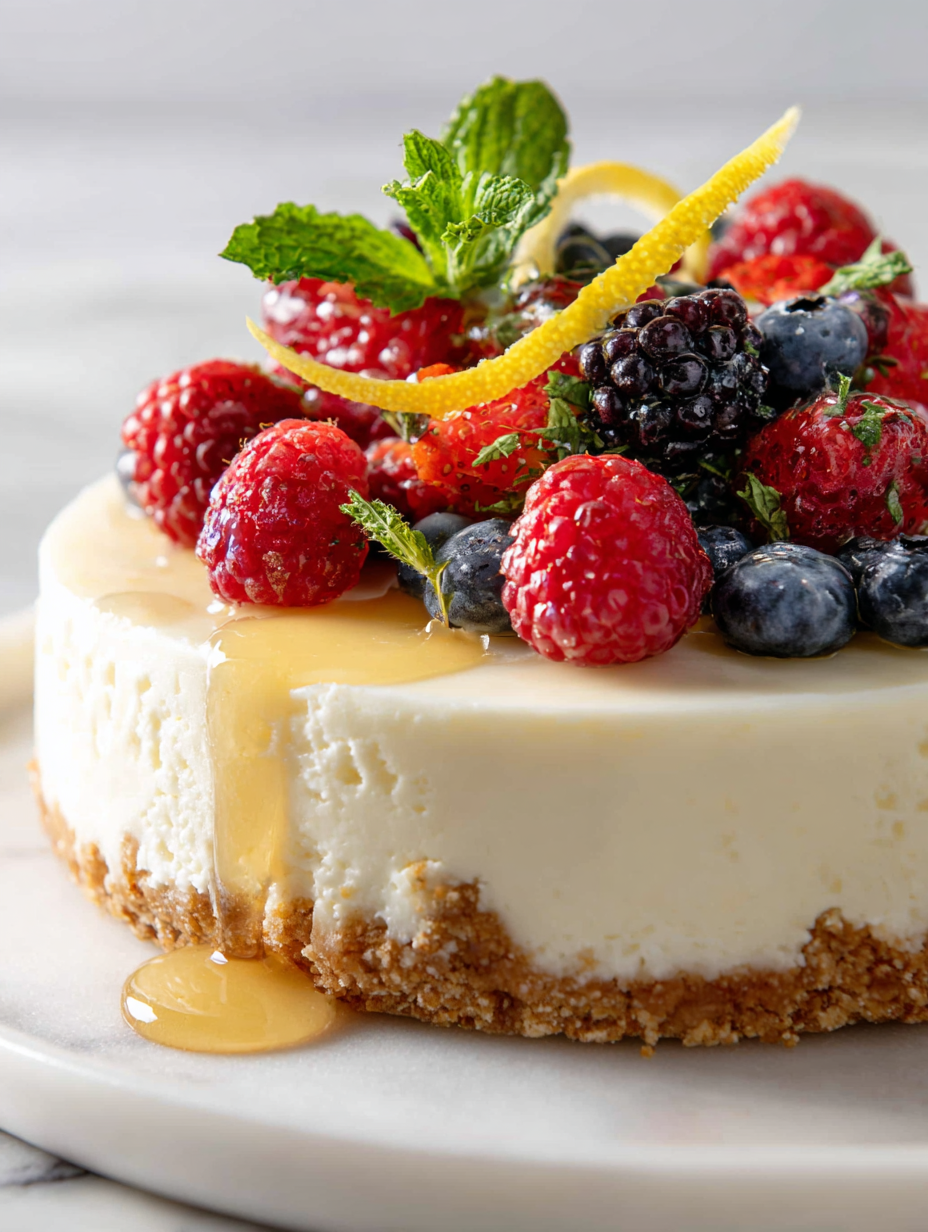
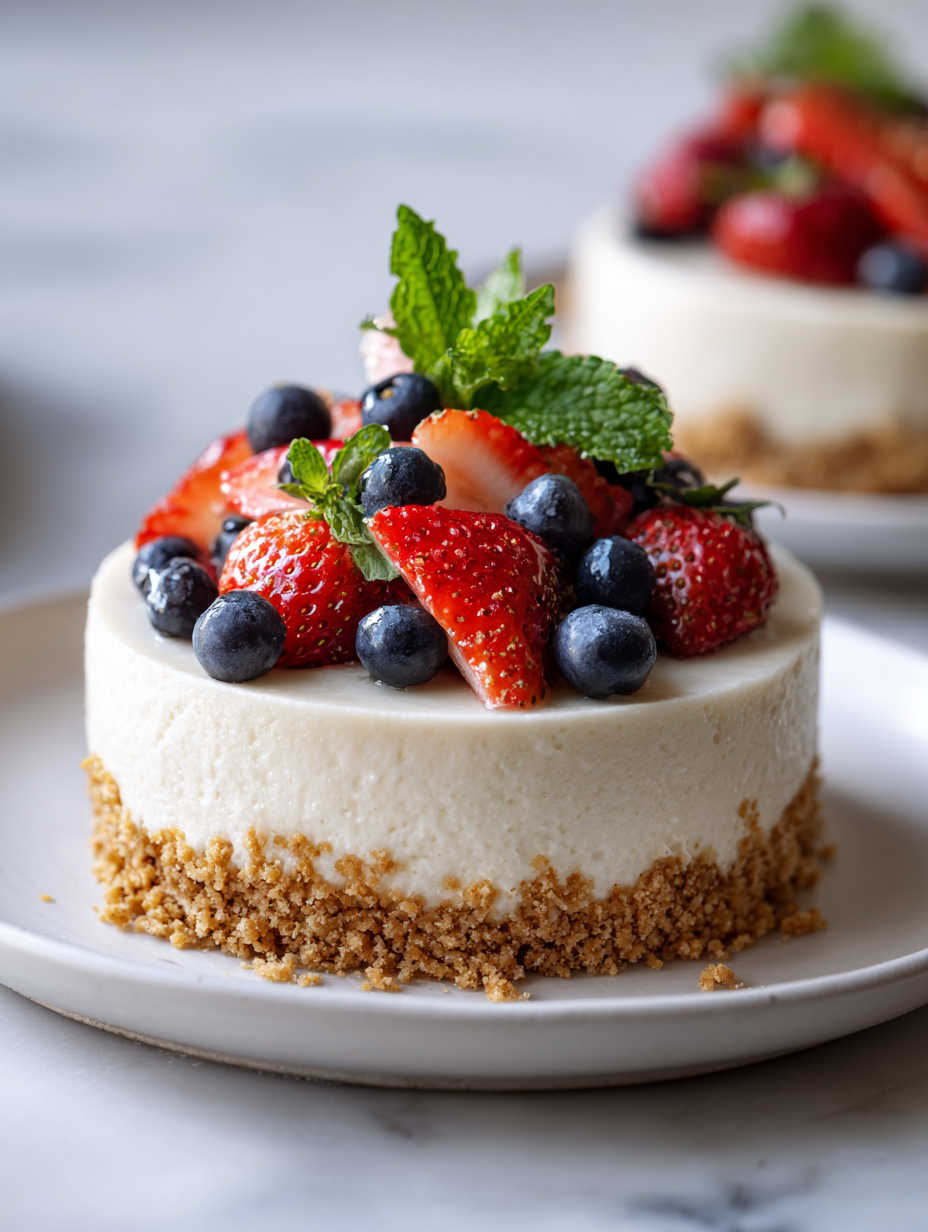
- Before serving, optionally garnish with fresh berries, a drizzle of vegan chocolate, or a sprig of mint. Keep chilled until ready to slice.
- Slice with a sharp knife dipped in hot water for clean cuts. Serve straight from the fridge for best texture and flavor.
Let the cheesecake chill in the fridge for at least 4 hours or overnight. Before serving, decorate as desired and slice with a hot knife for clean pieces. Serve cold for best texture and flavor.
How to Know It’s Done
- Filling is silky, with no cashew grit visible.
- Cheesecake holds its shape when sliced, not runny or overly soft.
- Crust is firm, with a slight crunch, and holds together when pressed.
No-Bake Vegan Cheesecake
Ingredients
Equipment
Method
- Begin by preparing your crust: crush the cookies into fine crumbs using a zip-top bag and rolling pin. Transfer to a mixing bowl and stir in melted coconut oil and a pinch of salt. Press this mixture firmly into the bottom of a springform pan, then chill in the fridge for about 15 minutes to set.
- Drain and rinse your soaked cashews thoroughly. In your blender, combine the cashews, melted coconut oil, maple syrup, freshly squeezed lemon juice, vanilla extract, and a pinch of salt. Blend on high until the mixture is silky smooth, about 2-3 minutes, stopping to scrape down the sides as needed. It should be creamy and thick, with no grit visible.
- Pour the cashew filling over the chilled crust, smoothing the top with a spatula. Gently tap the pan on the counter to release any air bubbles and create an even surface.
- Cover the cheesecake loosely with plastic wrap or foil, then place it in the fridge to chill and set for at least 4 hours or preferably overnight. The filling will firm up and develop a luscious, creamy texture.
- Once set, remove the cheesecake from the fridge. Optionally, decorate with fresh berries, a drizzle of vegan chocolate, or a sprig of mint for an attractive finish.
- Use a hot knife dipped in warm water to slice clean, neat pieces. Serve chilled and enjoy the luscious, tangy flavor with a light, creamy texture that’s perfect for any occasion.
Pro tips for perfect cheesecake
- Bold the crust: Press the crust mixture firmly into the pan with the bottom of a glass for an even base.
- Chill for texture: Allow the cheesecake to chill at least 4 hours, or overnight, for a firm, sliceable consistency.
- Blend until silky: Stop blending once the filling is completely smooth, with no cashew grit remaining, for that creamy mouthfeel.
- Hot knife trick: Dip your knife in hot water before slicing to achieve clean, neat slices.
- Adjust sweetness: Taste the filling before setting; add more maple syrup if you prefer a sweeter, more balanced flavor.
- Rehydrate cashews: Soak cashews in hot water for at least 4 hours—this avoids gritty texture and makes blending effortless.
- Use fresh lemon: Squeeze fresh lemon juice for a bright, zingy flavor that elevates the entire cheesecake experience.
Common mistakes and how to fix them
- FORGOT to check the cheesecake’s firmness before removing from fridge.
- DUMPED the crust mixture into the pan without pressing evenly—use the bottom of a glass.
- OVER-TORCHED the crust, causing it to burn; keep an eye and remove once golden.
- MISSED the soaking step for cashews, leading to gritty texture—soak longer for creaminess.
Quick Fixes and Pantry Swaps
- If the filling is too thick, splash in a teaspoon of plant-based milk and blend briefly, until silky.
- When the crust crumbles, patch it by pressing it back into the pan with the bottom of a glass.
- Splash hot water on your knife before slicing for clean, smooth cuts every time.
- DUMPED too much lemon juice? Add a pinch more maple syrup to balance the tang.
- Shield the cheesecake with foil if edges start to over-torch while chilling—keep that creamy texture intact.
Prep, store, and reheat tips
- You can prepare the crust and filling a day in advance; keep them covered and chilled in the fridge. The creamy texture benefits from resting, developing a richer flavor.
- Store the assembled cheesecake, covered tightly with plastic wrap, in the fridge for up to 3 days. The flavors meld beautifully overnight, with the texture becoming even creamier.
- For longer storage, freeze the cheesecake for up to 1 month. Wrap it well to prevent freezer burn, and let it thaw in the fridge for a few hours before serving. The texture may be slightly firmer, but still deliciously smooth.
- Reheating is not necessary, but if you prefer slightly softer texture, let it sit at room temperature for 10–15 minutes. The cheesecake will become more luscious and easier to cut, with a gentle aroma of coconut and lemon.
Top questions about vegan cheesecake
1. Do I need to soak the cashews overnight?
Soaking cashews overnight softens them, making the filling super smooth and avoiding gritty bites. If short on time, soak in hot water for at least 4 hours.
2. Can I use a regular cake pan instead of a springform?
Yes, using a springform pan helps you easily remove the cheesecake without damaging its shape. A regular cake pan can work if lined properly.
3. How do I know when the cheesecake is ready to serve?
Chill the cheesecake for at least 4 hours, preferably overnight. It should be firm, hold its shape when sliced, and have a creamy but set texture.
4. My filling is too thick or runny, what should I do?
If the filling is too thick, add a splash of plant-based milk and blend until smooth. For thinner filling, add a little more lemon juice or syrup.
5. How should I store the cheesecake?
Store leftovers covered in the fridge for up to 3 days. For longer storage, freeze for up to a month and thaw in the fridge before serving.
6. The crust is crumbling or over-baked, how can I fix it?
If the crust crumbles when pressing, press it firmly and evenly into the pan. To prevent burning, keep an eye on it and remove once golden.
7. Can I swap lemon juice for lime or other citrus?
Use fresh lemon juice for the brightest flavor. For a different tang, lime juice can be a good substitute—just adjust sweetness if needed.
8. Why is my filling greasy or separating during blending?
Avoid over-blending to prevent heat build-up, which can make the mixture oily. Blend until very smooth and creamy, stopping to scrape down sides.
9. How do I adjust the sweetness level?
For a sweeter flavor, increase maple syrup slightly. For less sweetness, reduce accordingly but taste the filling before setting.
10. Can I add toppings or flavorings after setting?
Yes, you can add fresh berries or vegan chocolate on top for extra flavor and presentation. Chill briefly to set toppings if needed.
This no-bake vegan cheesecake isn’t just a quick fix; it’s a reminder that simplicity can still be indulgent. When the fridge does the work overnight, the result is a silky, tangy slice that tastes like a little celebration. It’s a small act of patience that unlocks real satisfaction.
In times when I crave comfort without complication, this dessert is my go-to. It’s imperfect, honest, and deeply personal—just like the moments I spend in the kitchen. Sharing it feels like passing on a secret that’s been waiting to be rediscovered.