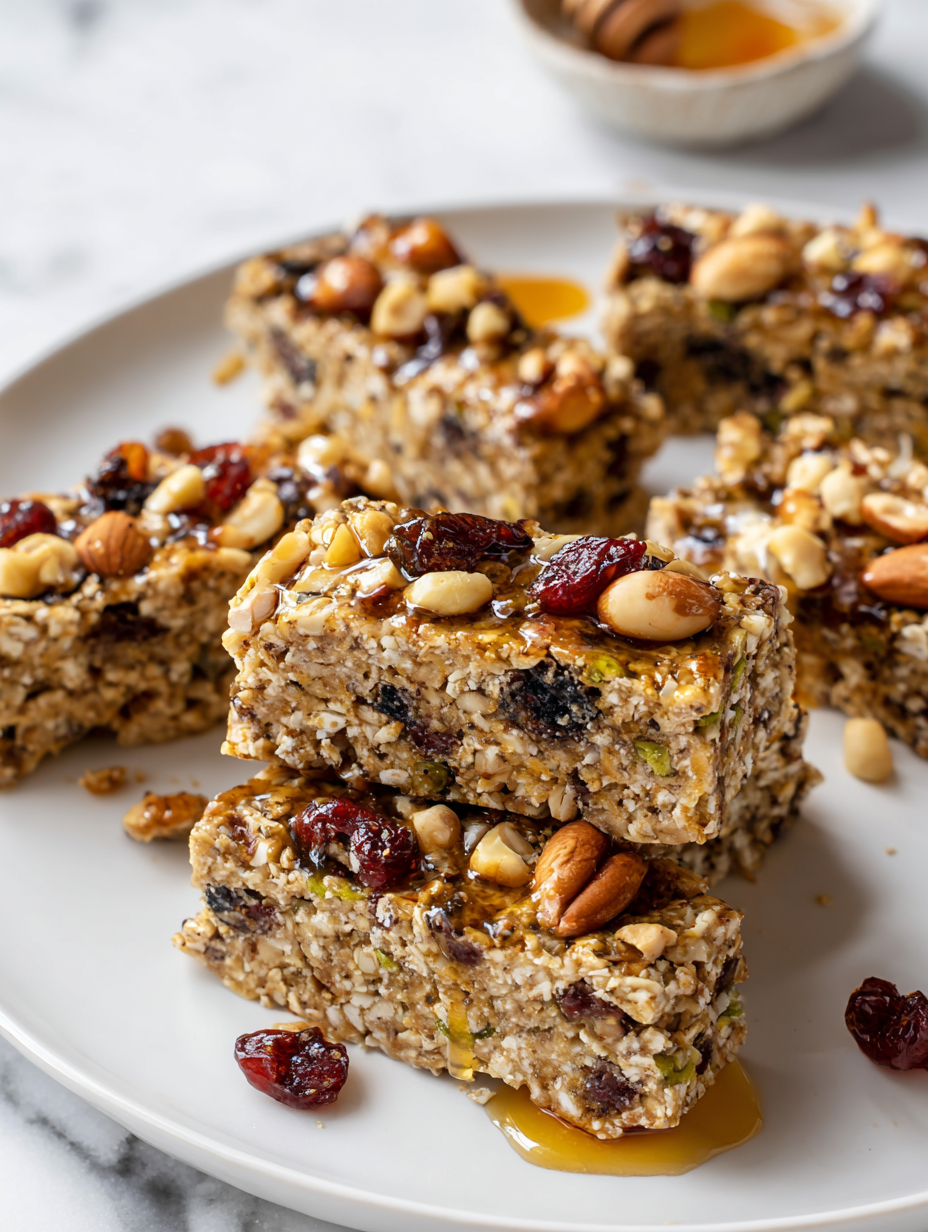
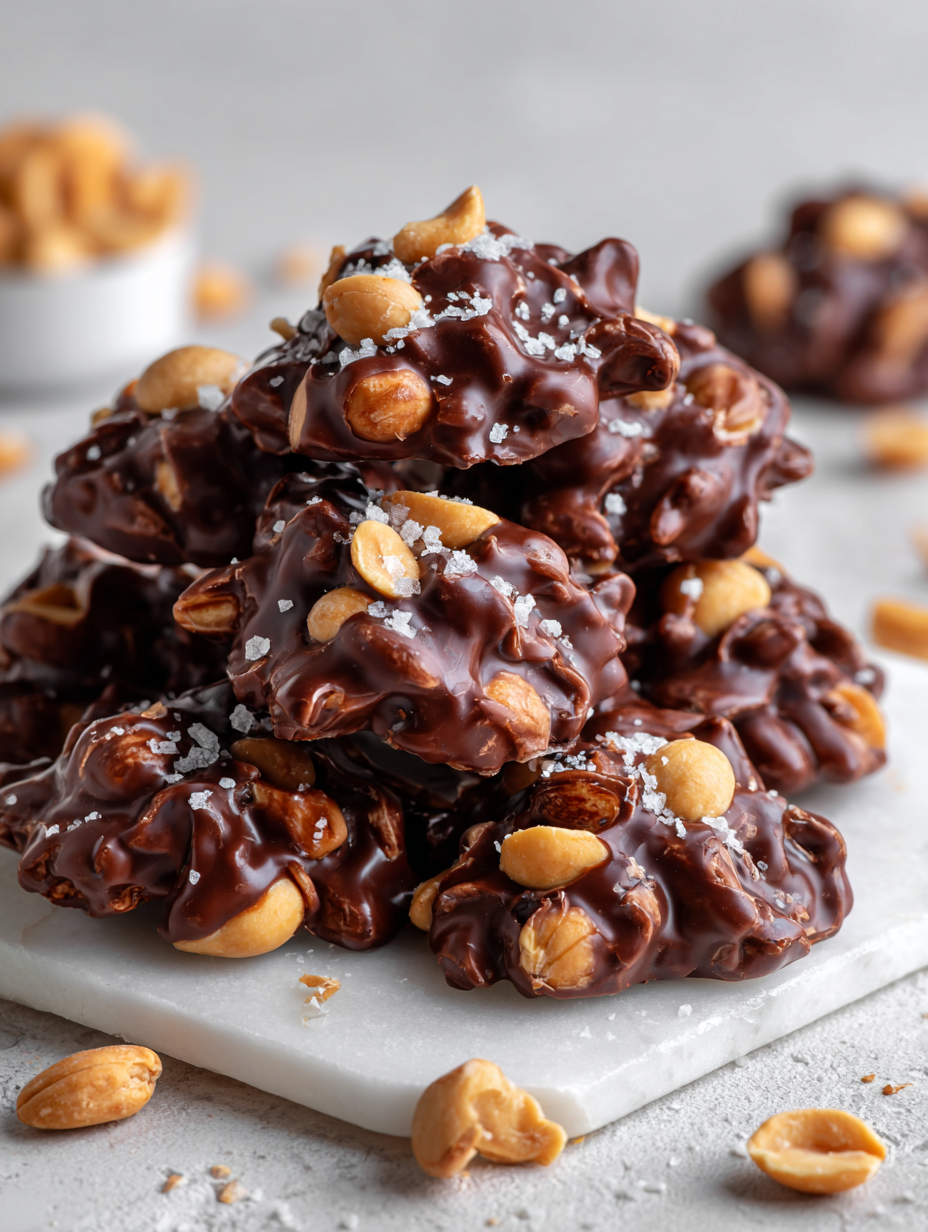
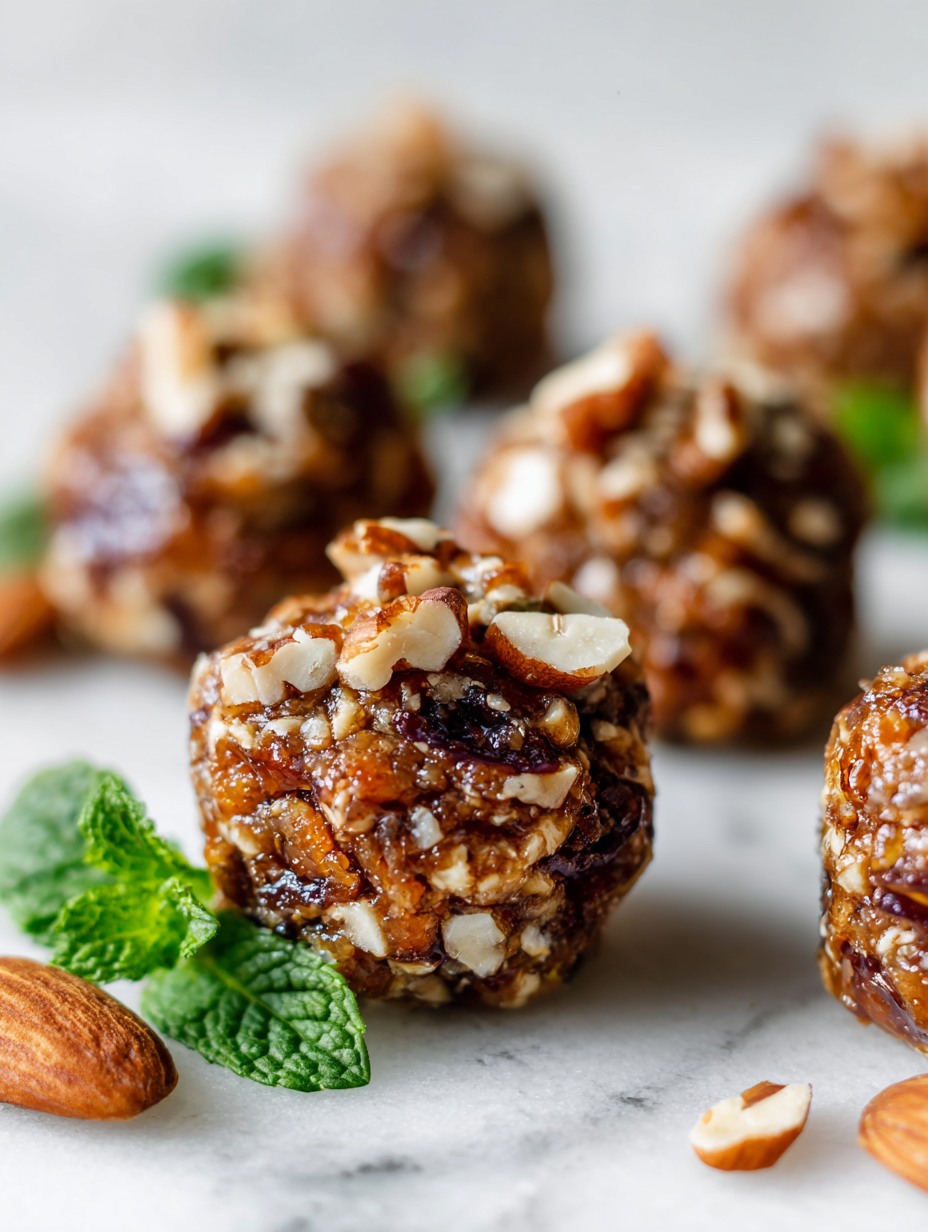
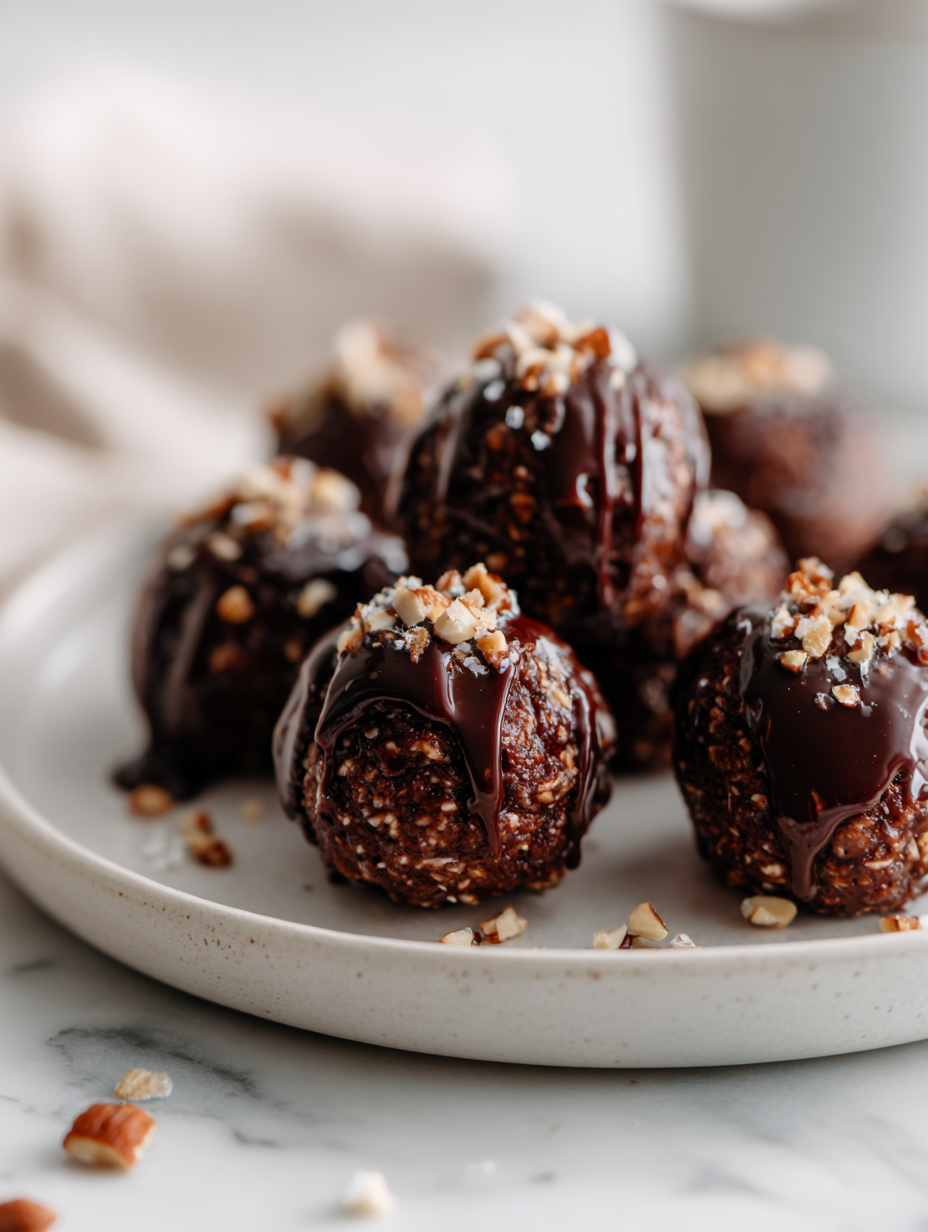
No Bake Date Bars Recipe
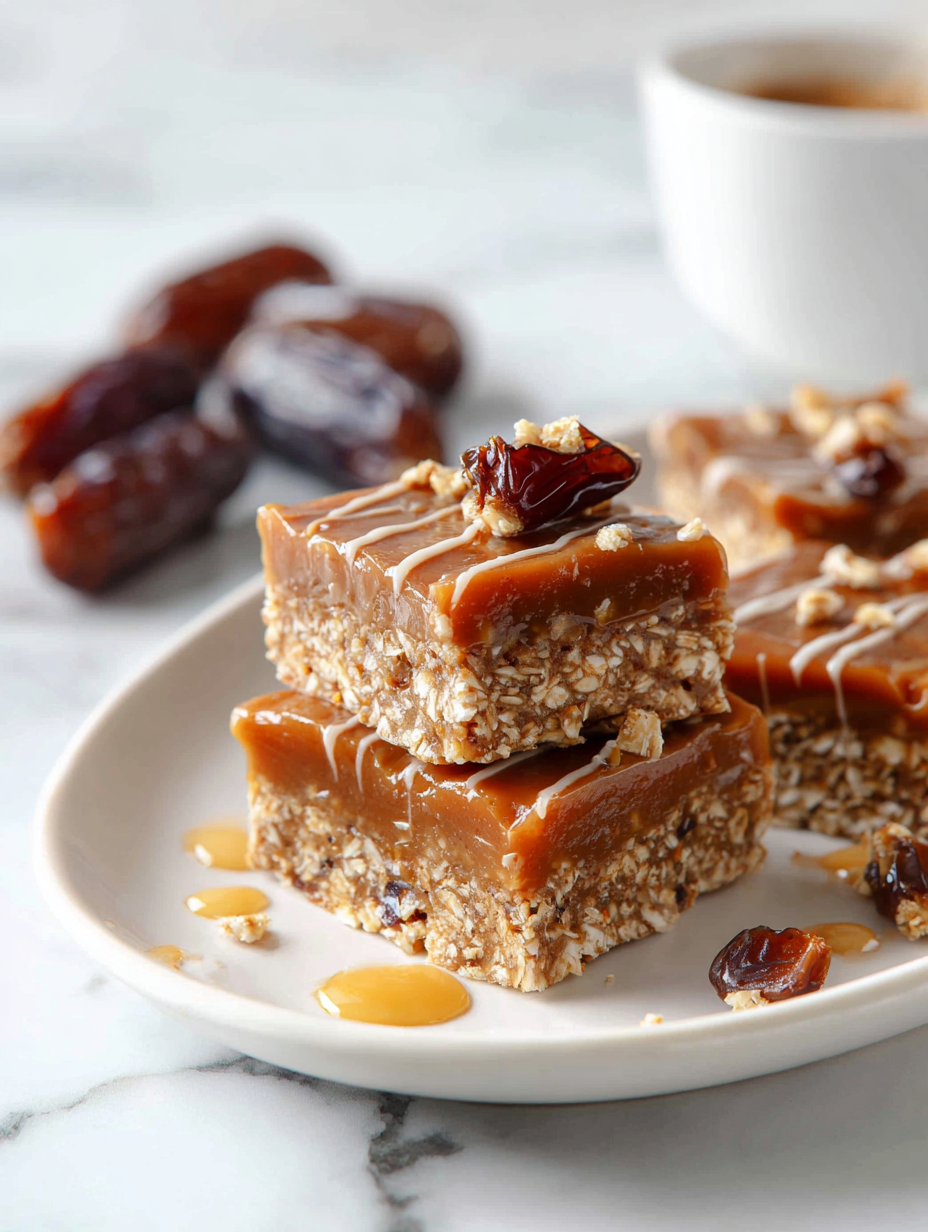
Sometimes, I just need a sweet fix that I can whip up in minutes without heating up the kitchen. These no-bake date bars are my go-to for those moments—rich, chewy, and surprisingly simple to make. They feel like a little reward, no matter how hectic the day gets. What I love most is how flexible … Read more