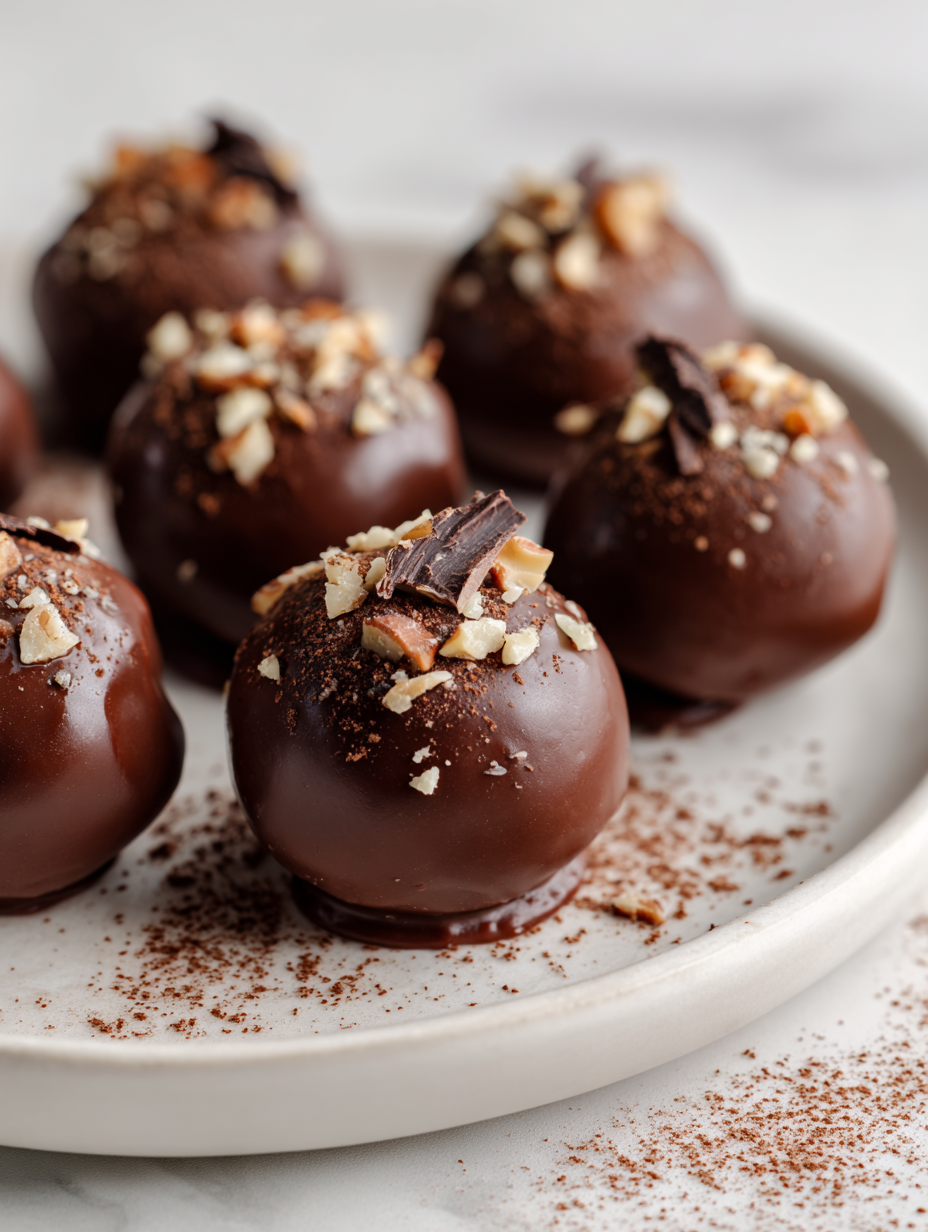
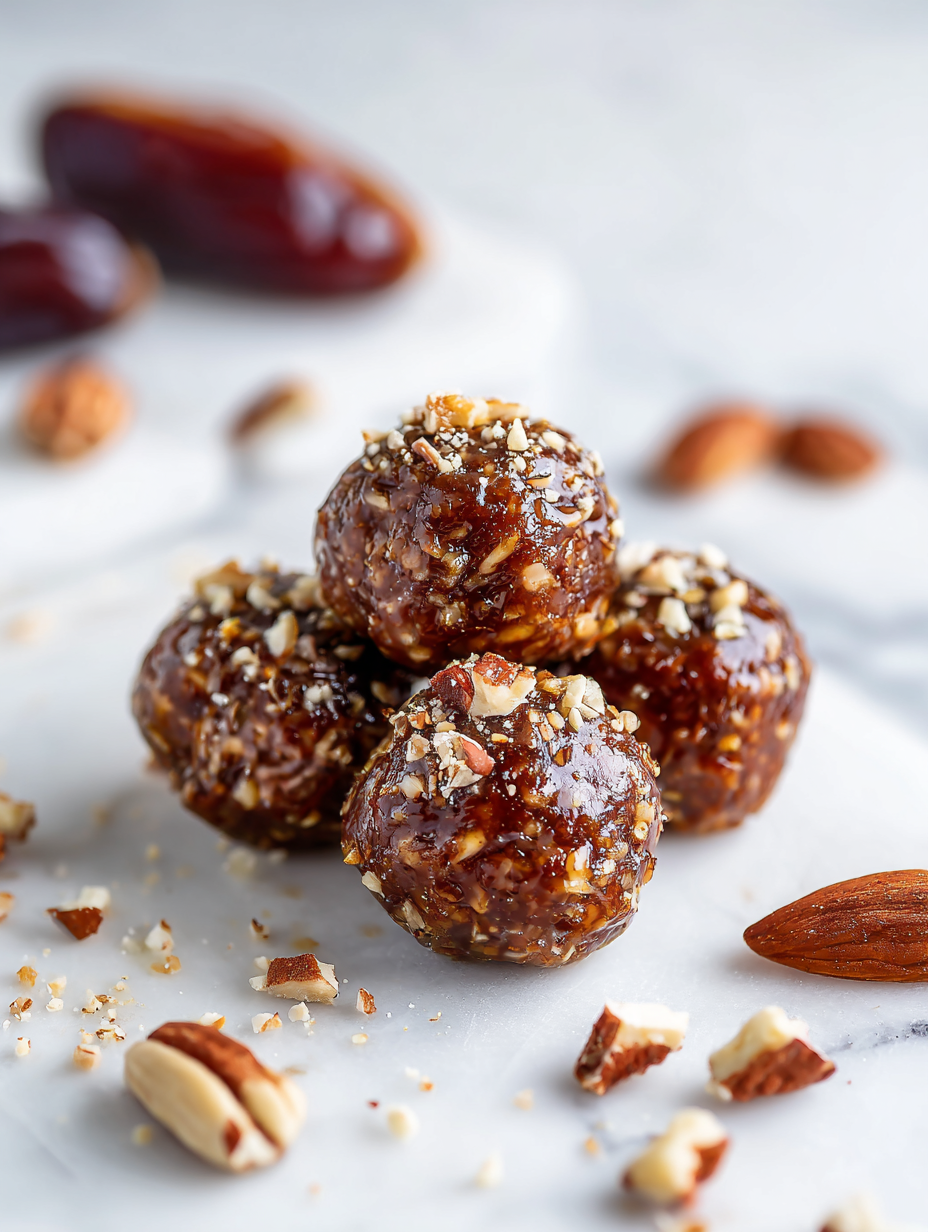
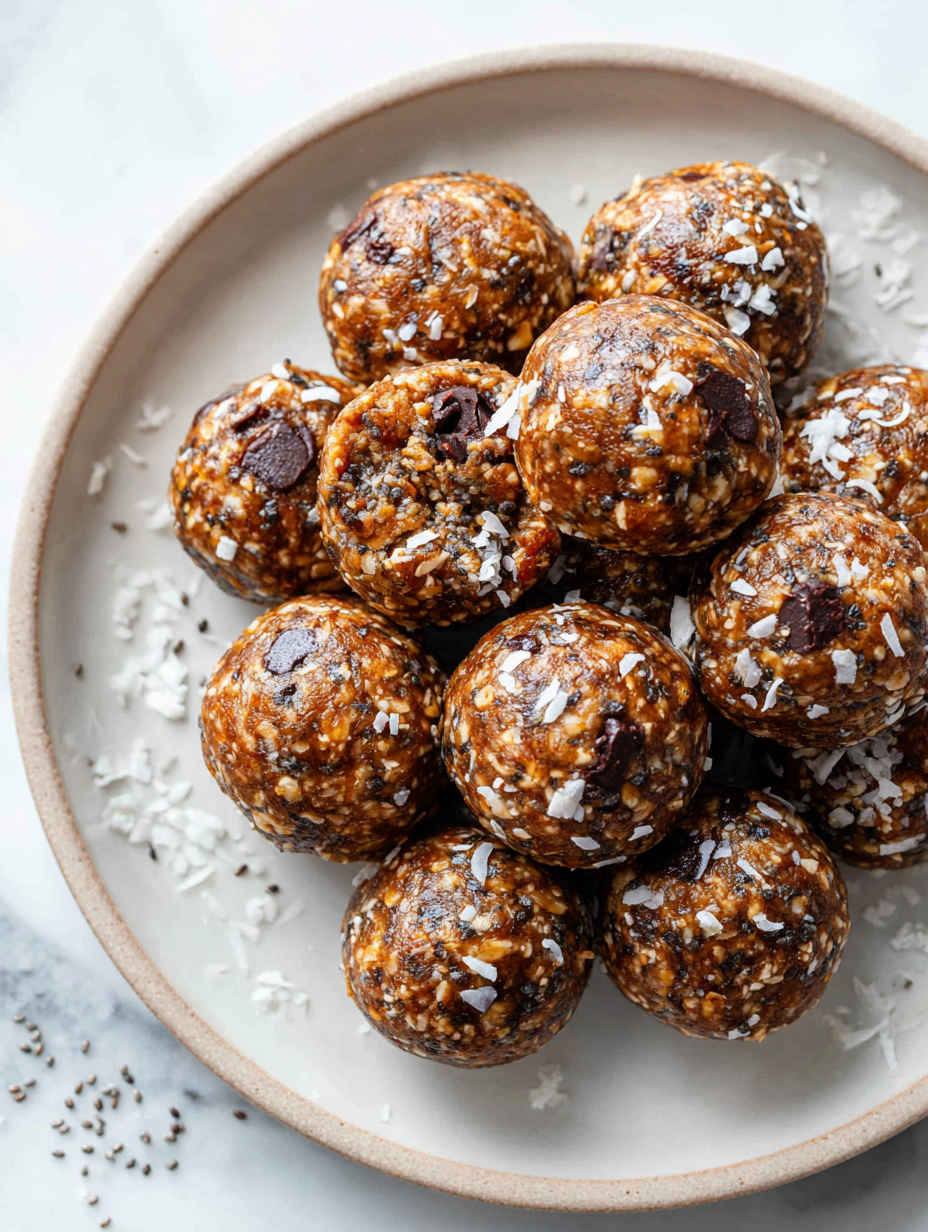
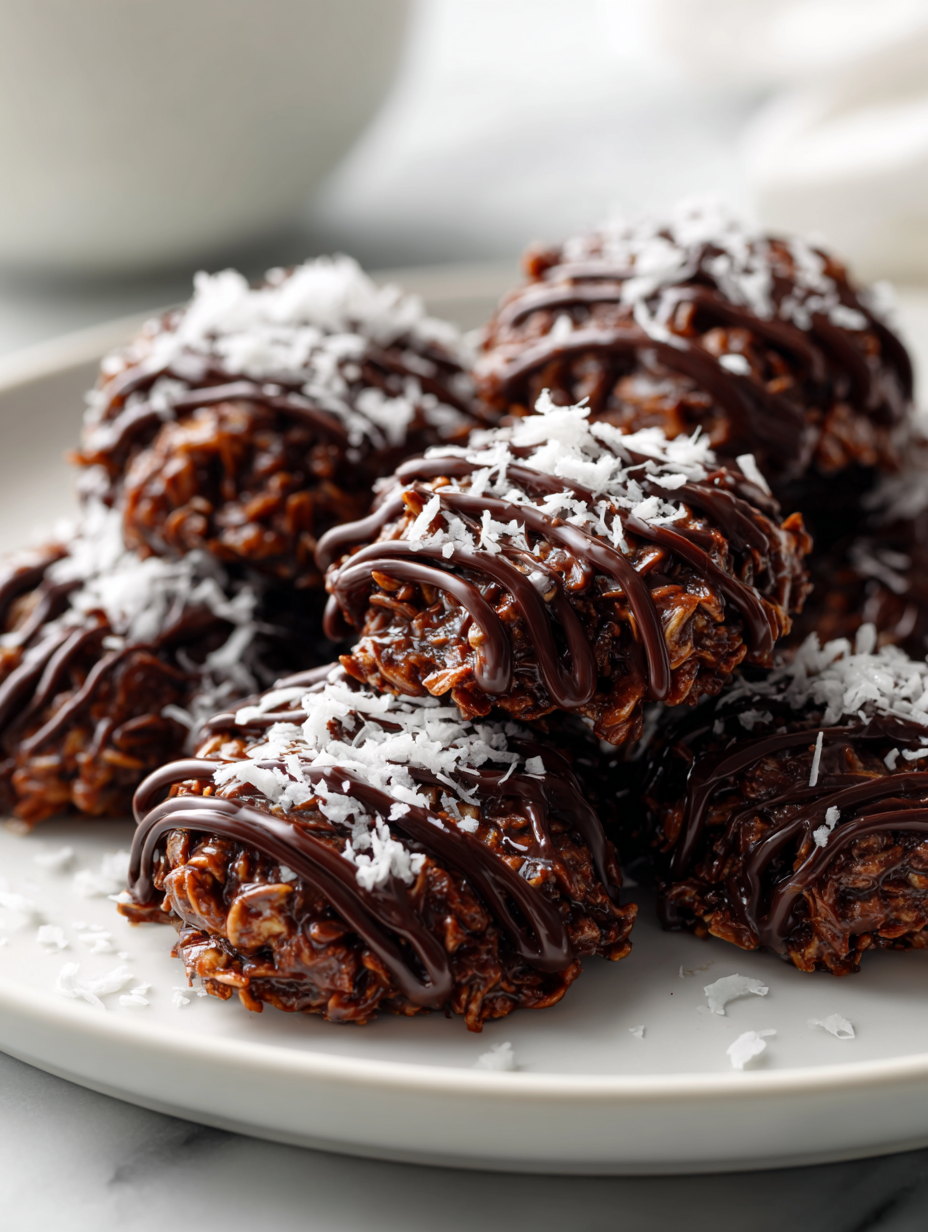
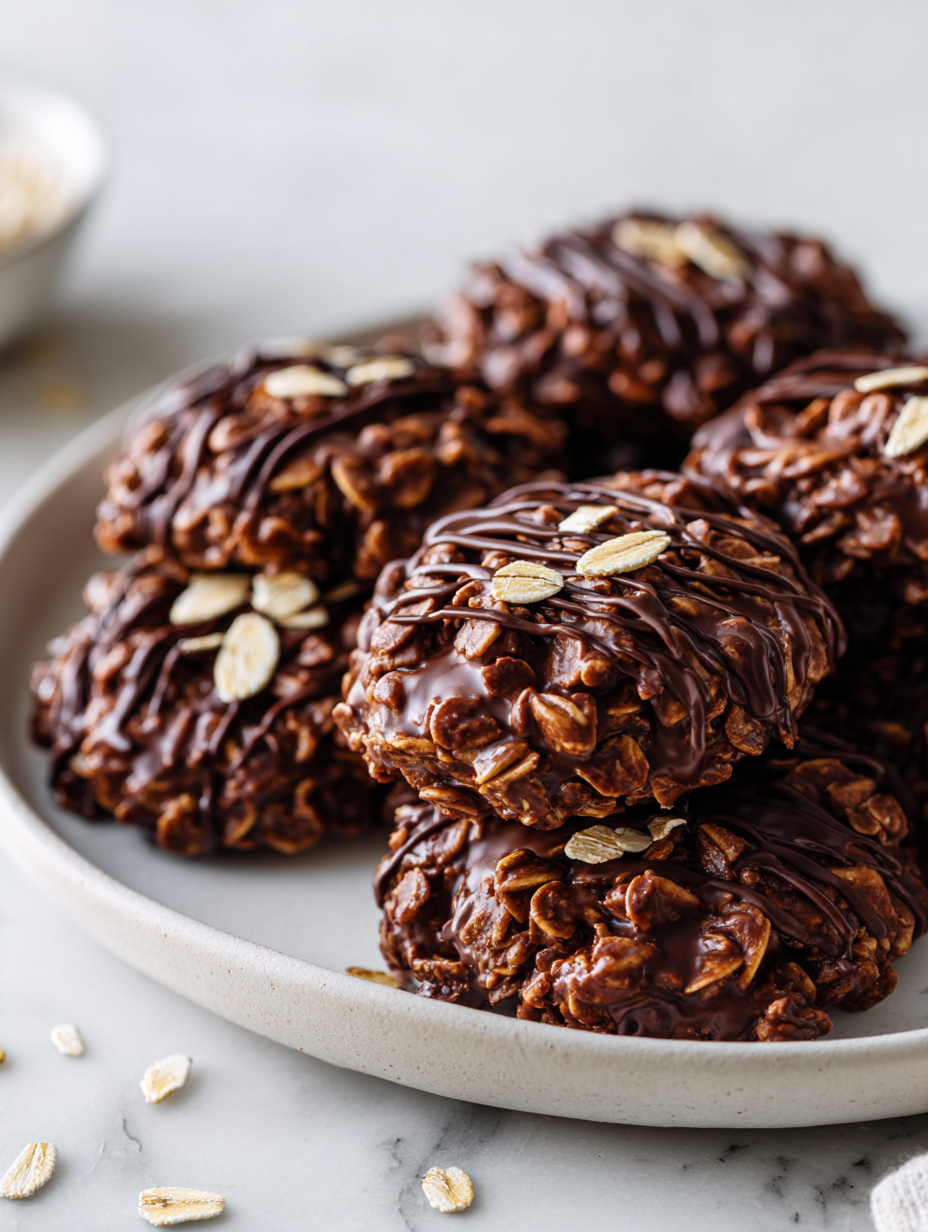
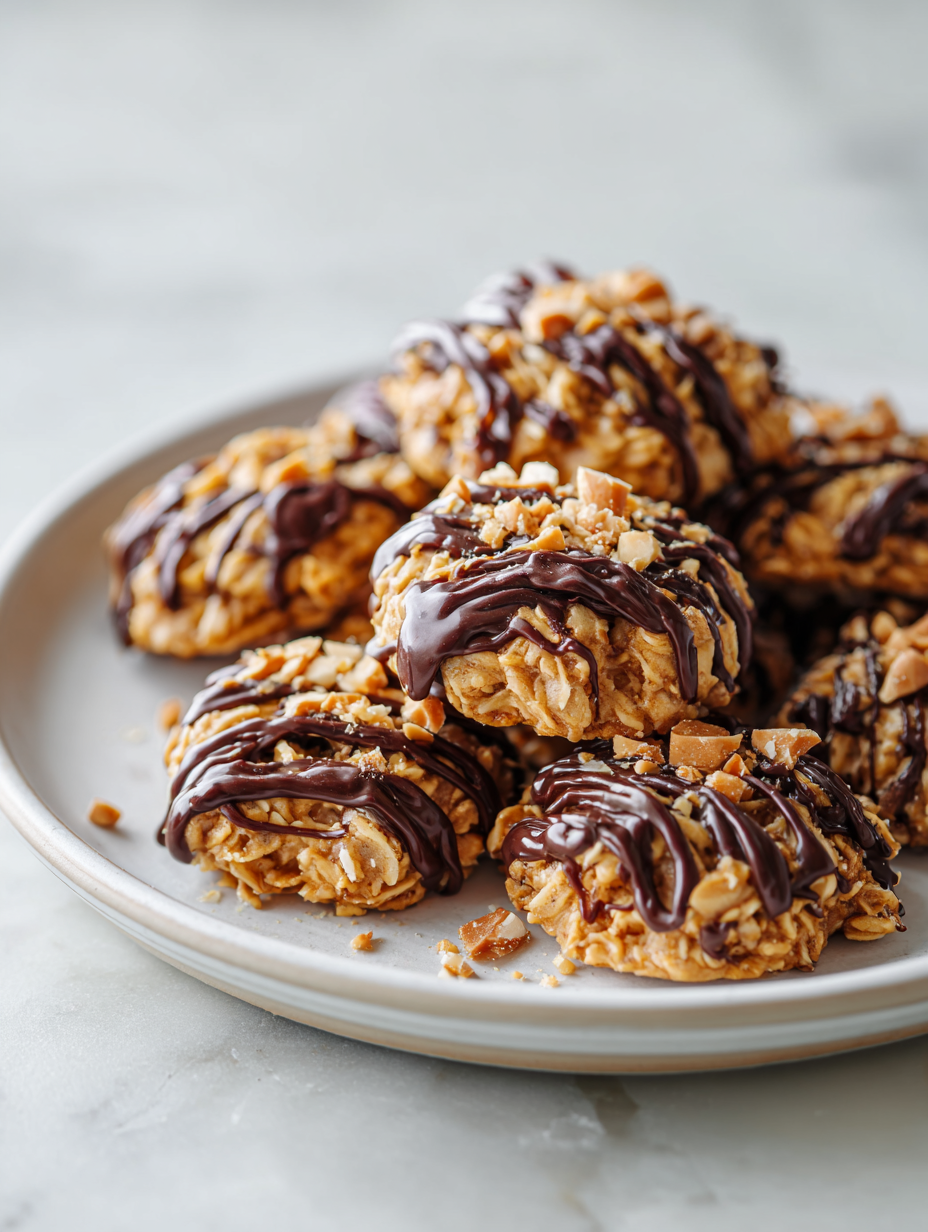
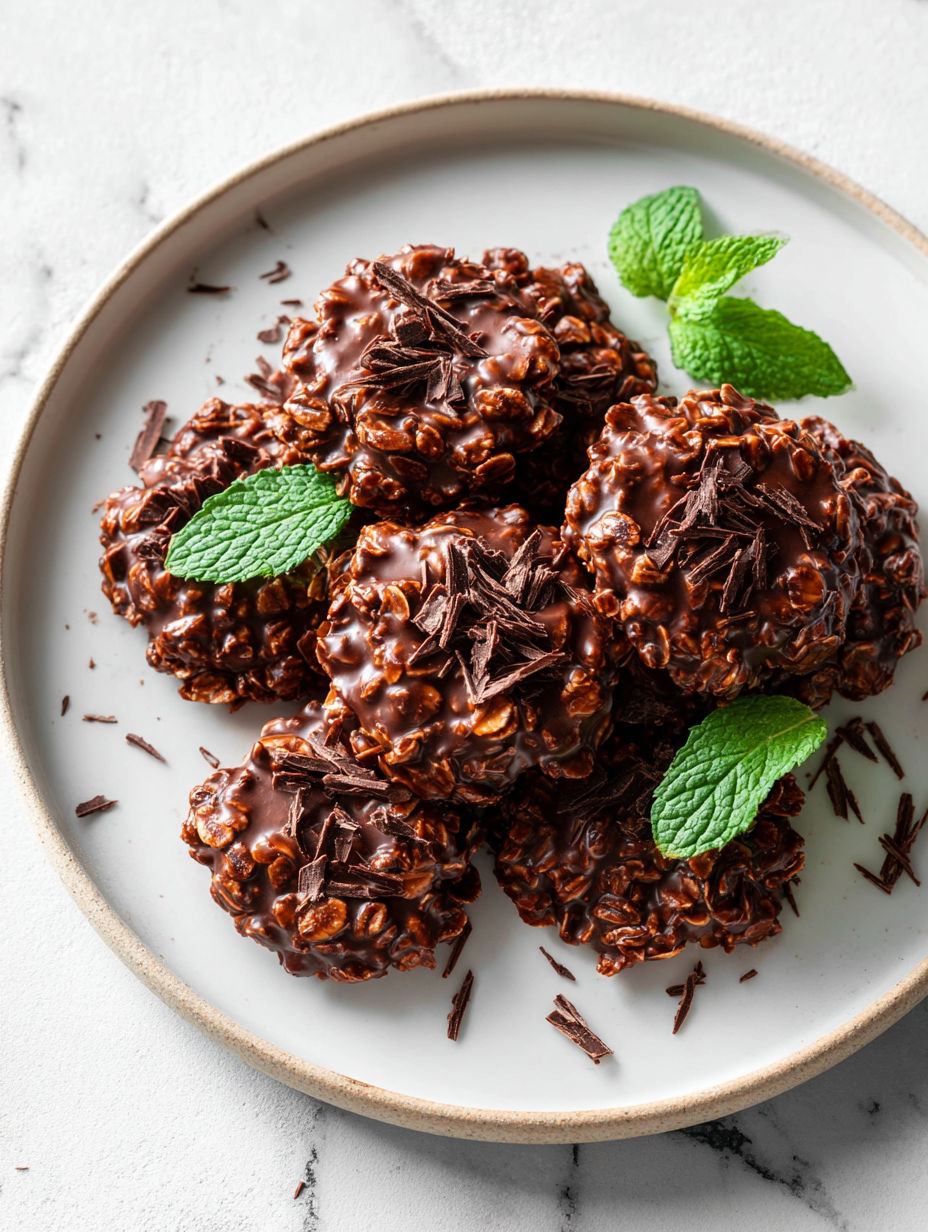
No Bake Chocolate Peanut Clusters Recipe
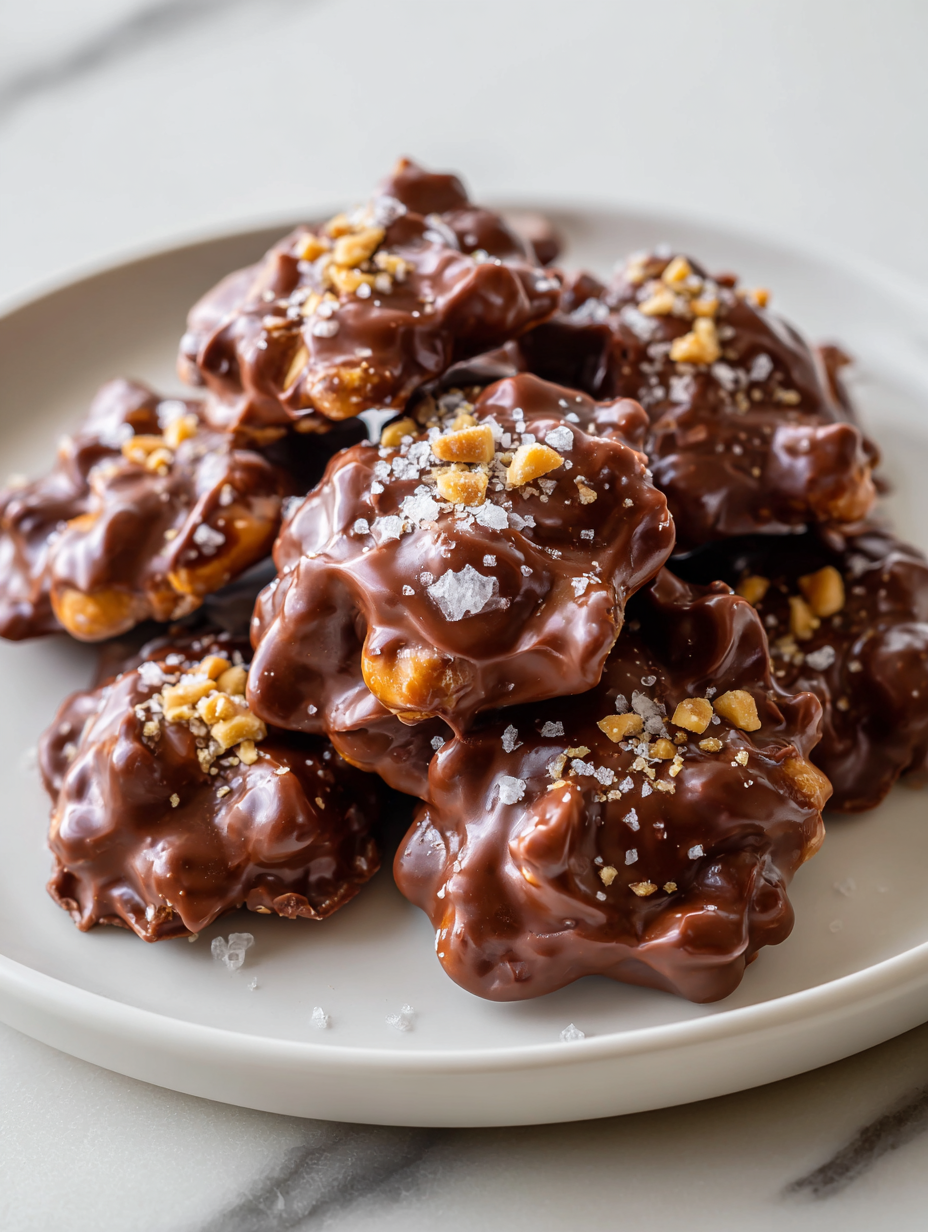
This no-bake chocolate peanut clusters recipe is a little rebellion against the usual fuss of baking. It’s about reclaiming that childhood joy of popping sweet, salty bites into your mouth without waiting around for the oven to heat up. But here’s the twist—using good quality chocolate and fresh peanuts makes this treat feel indulgent, not … Read more