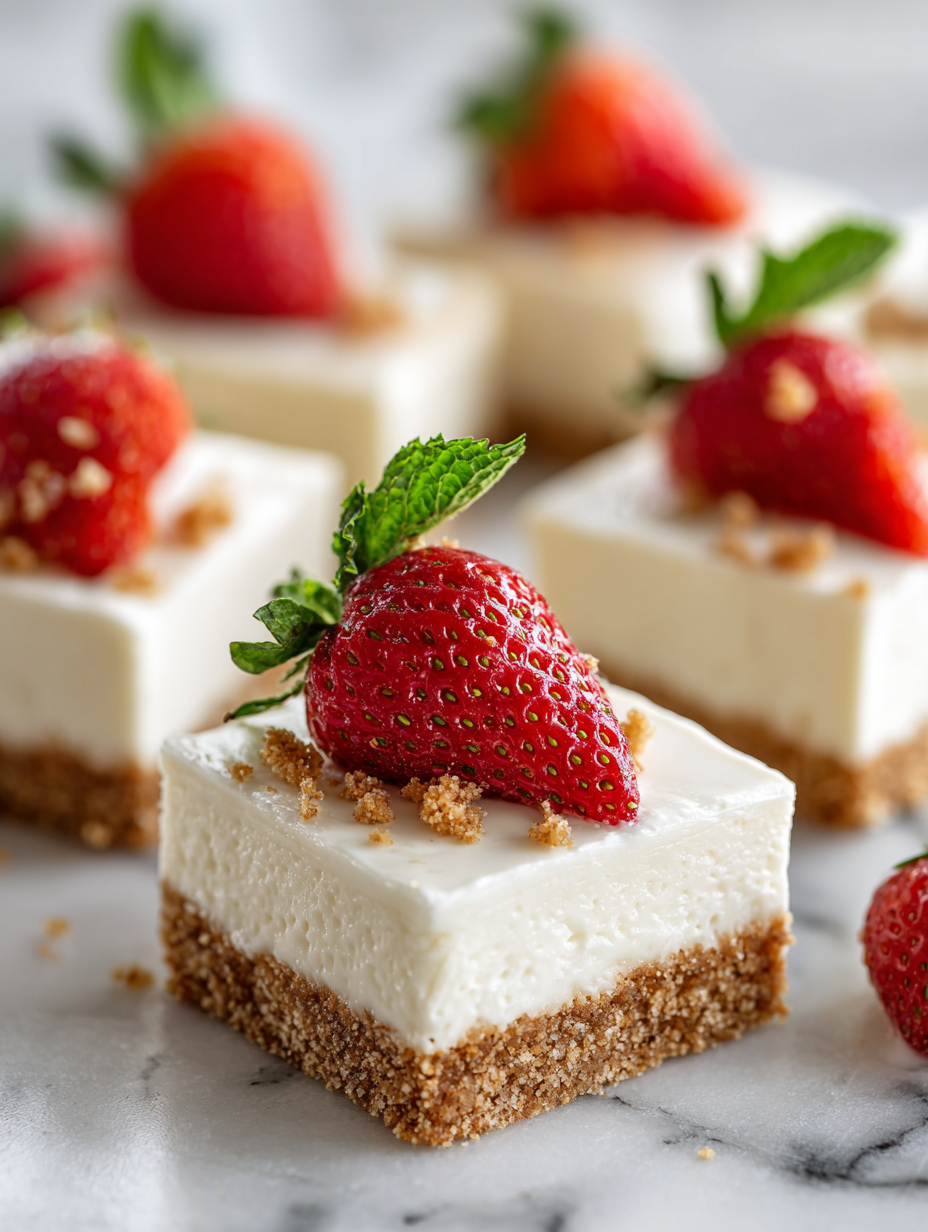
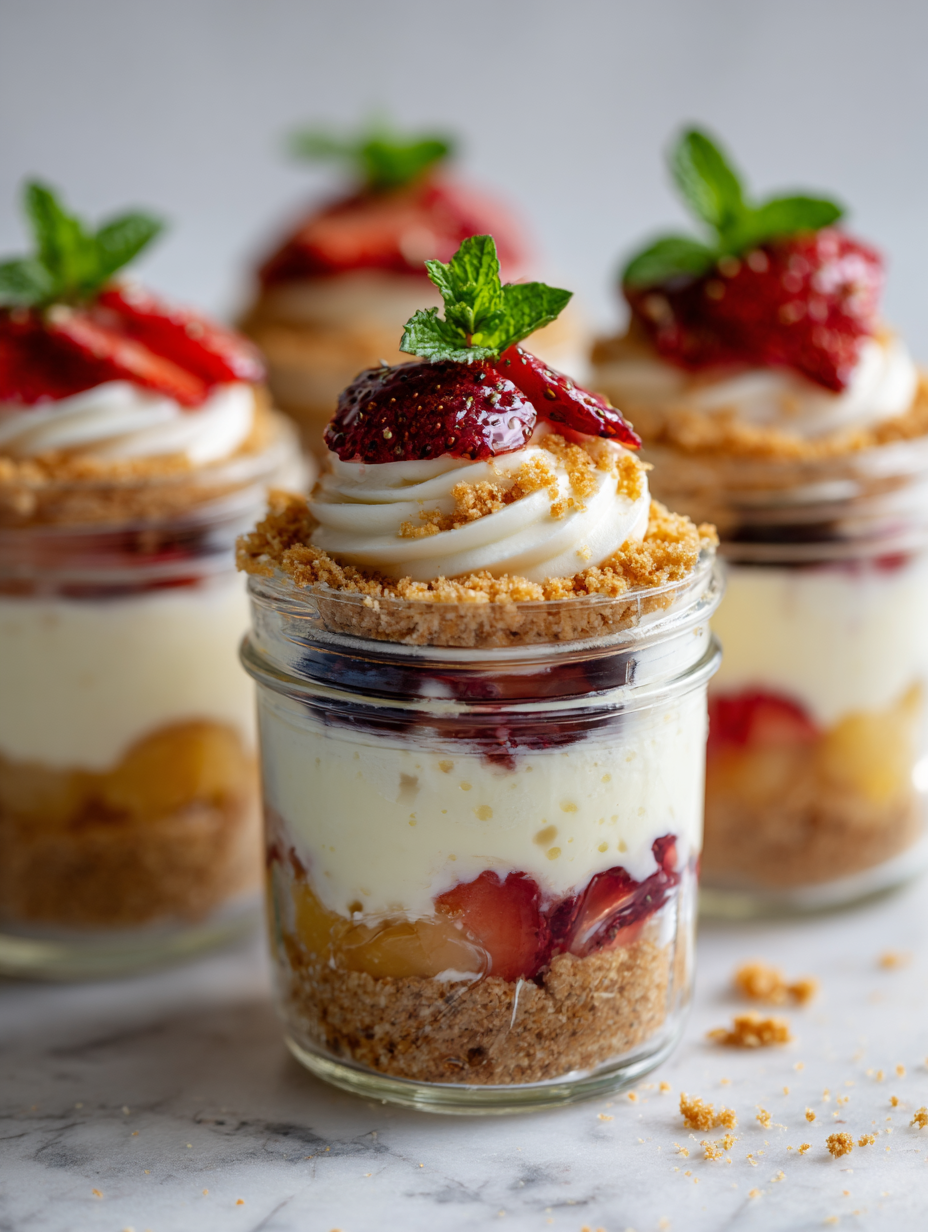
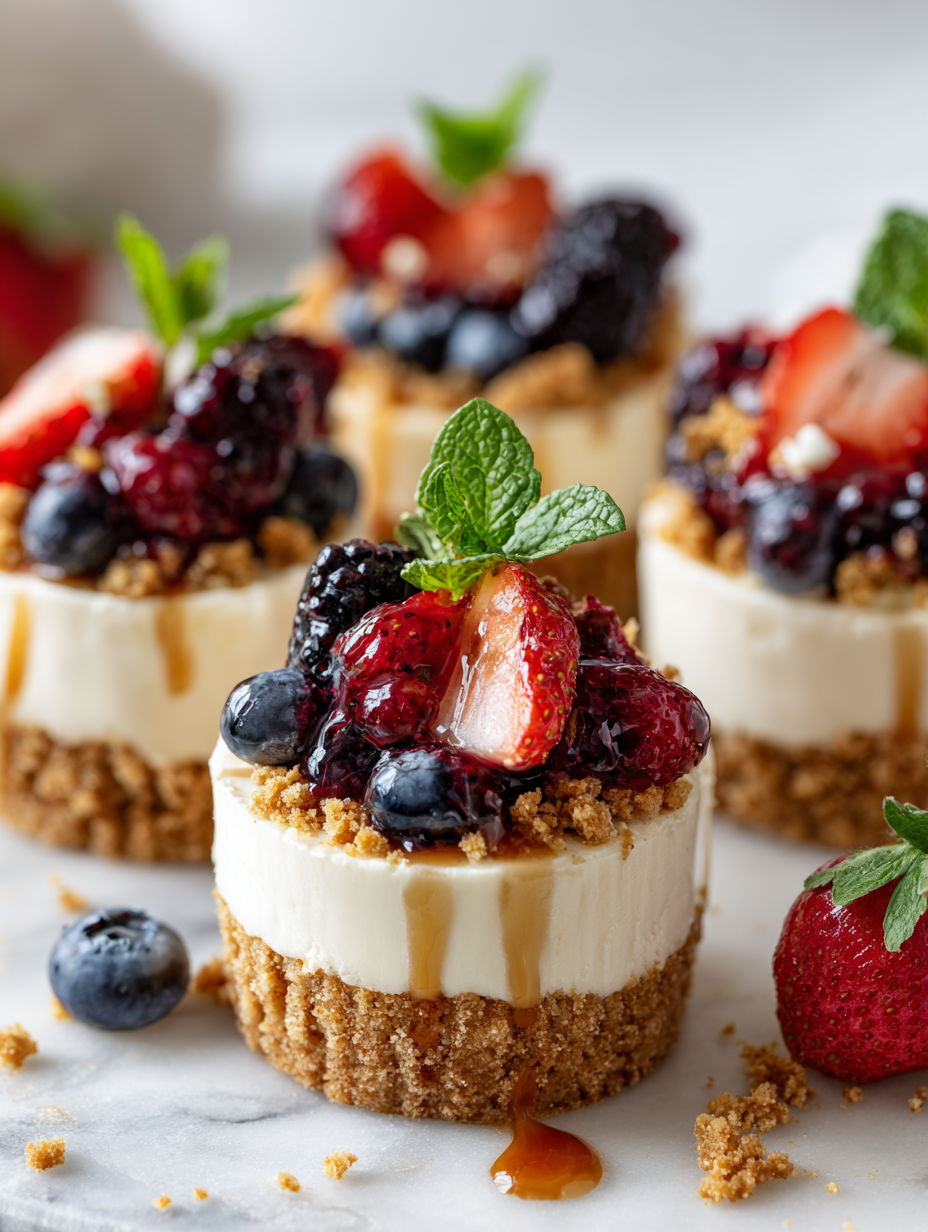
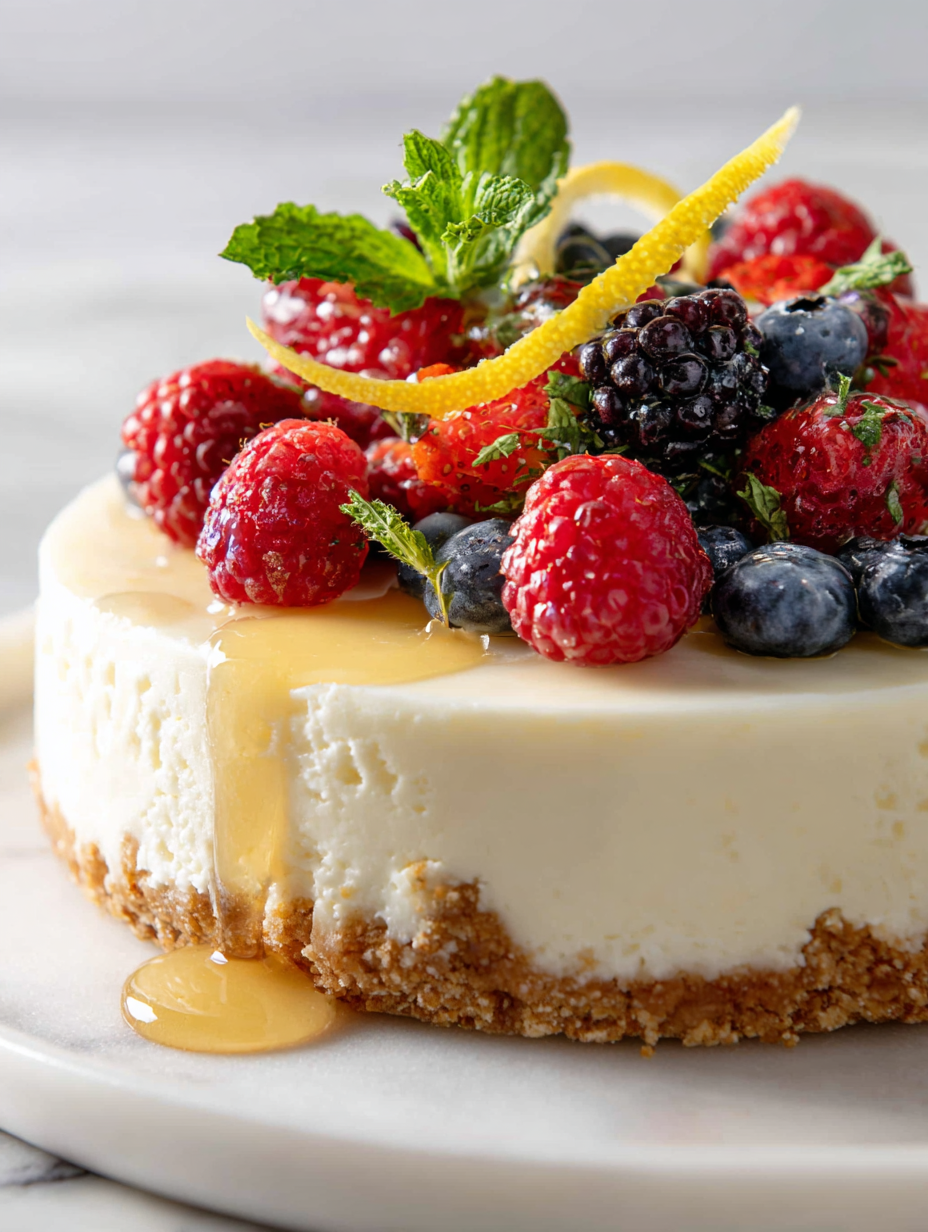
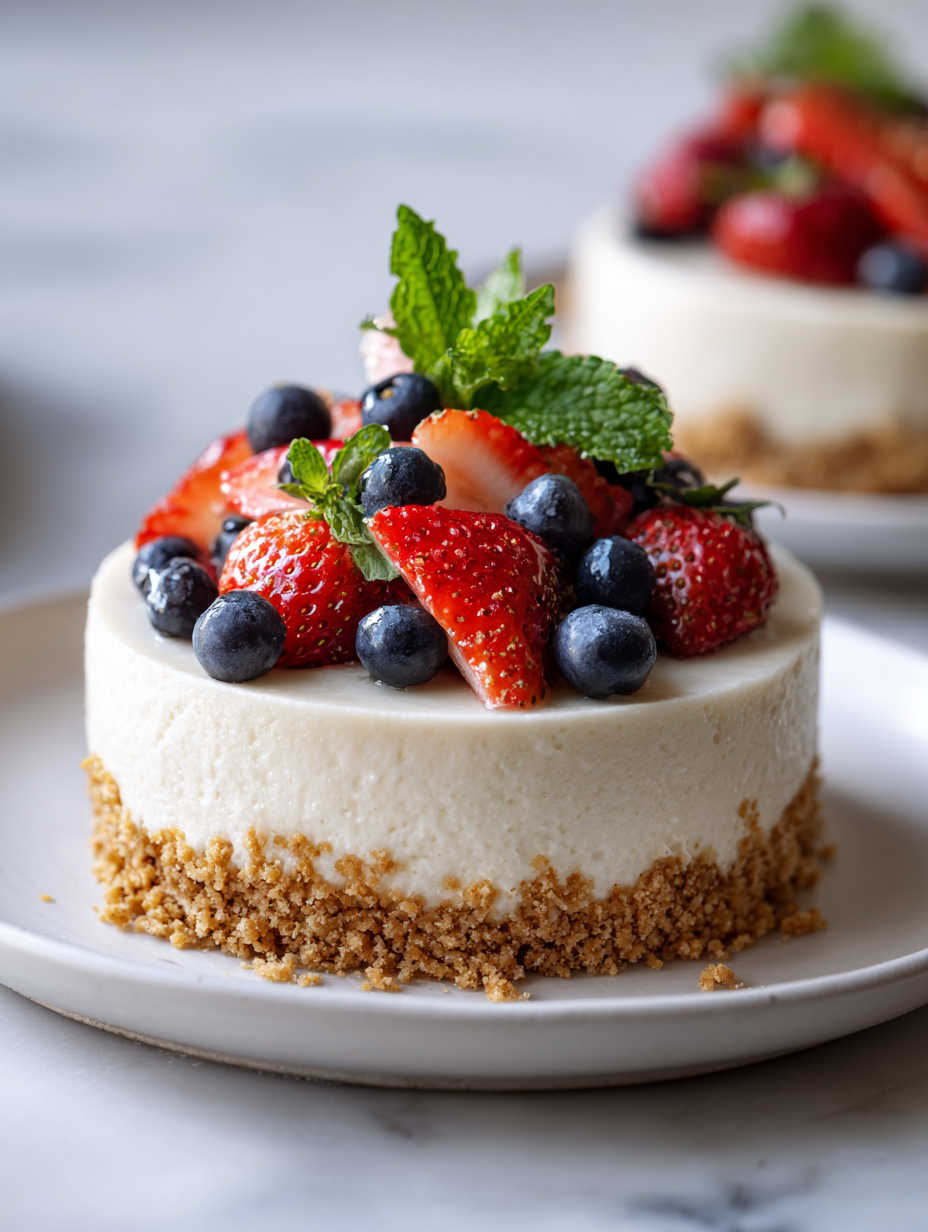
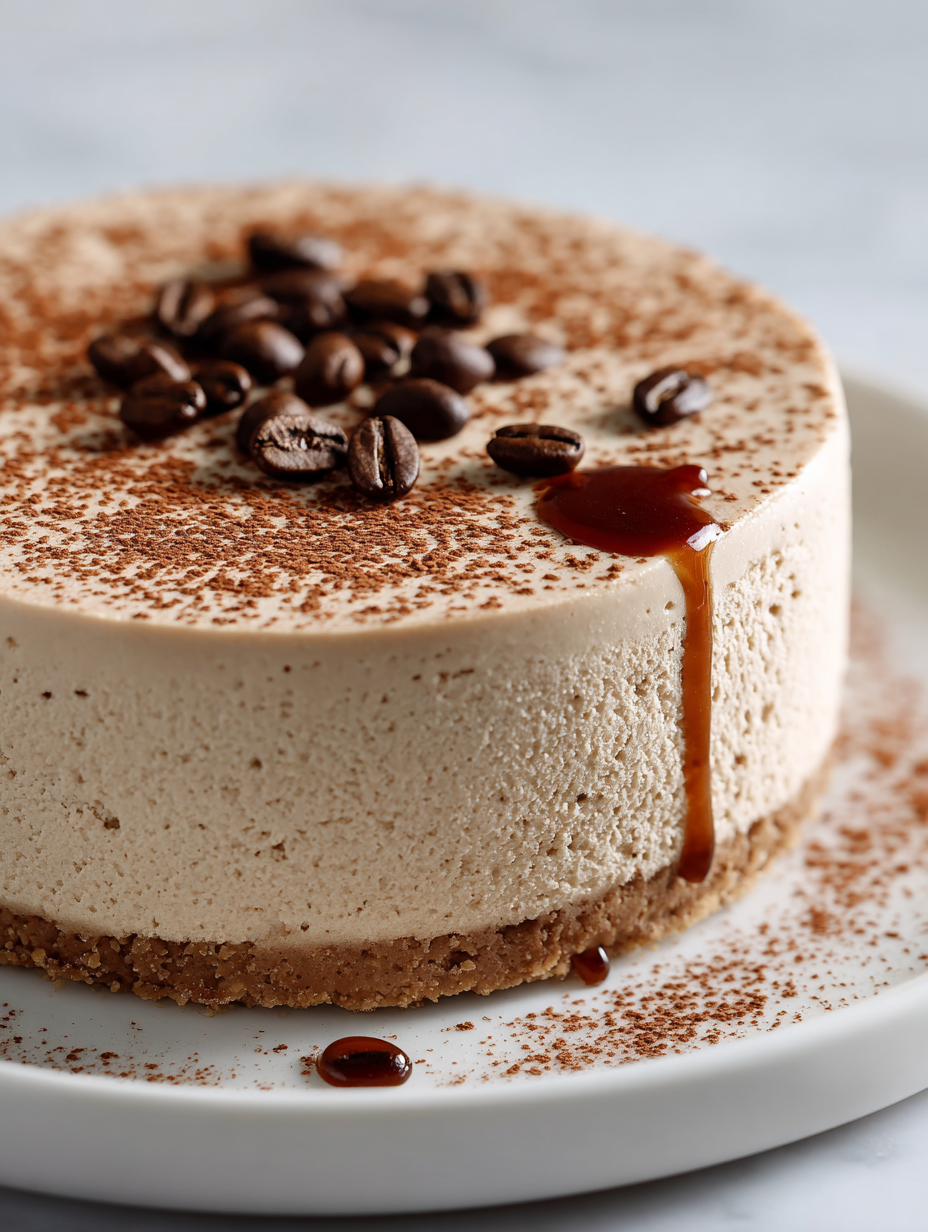
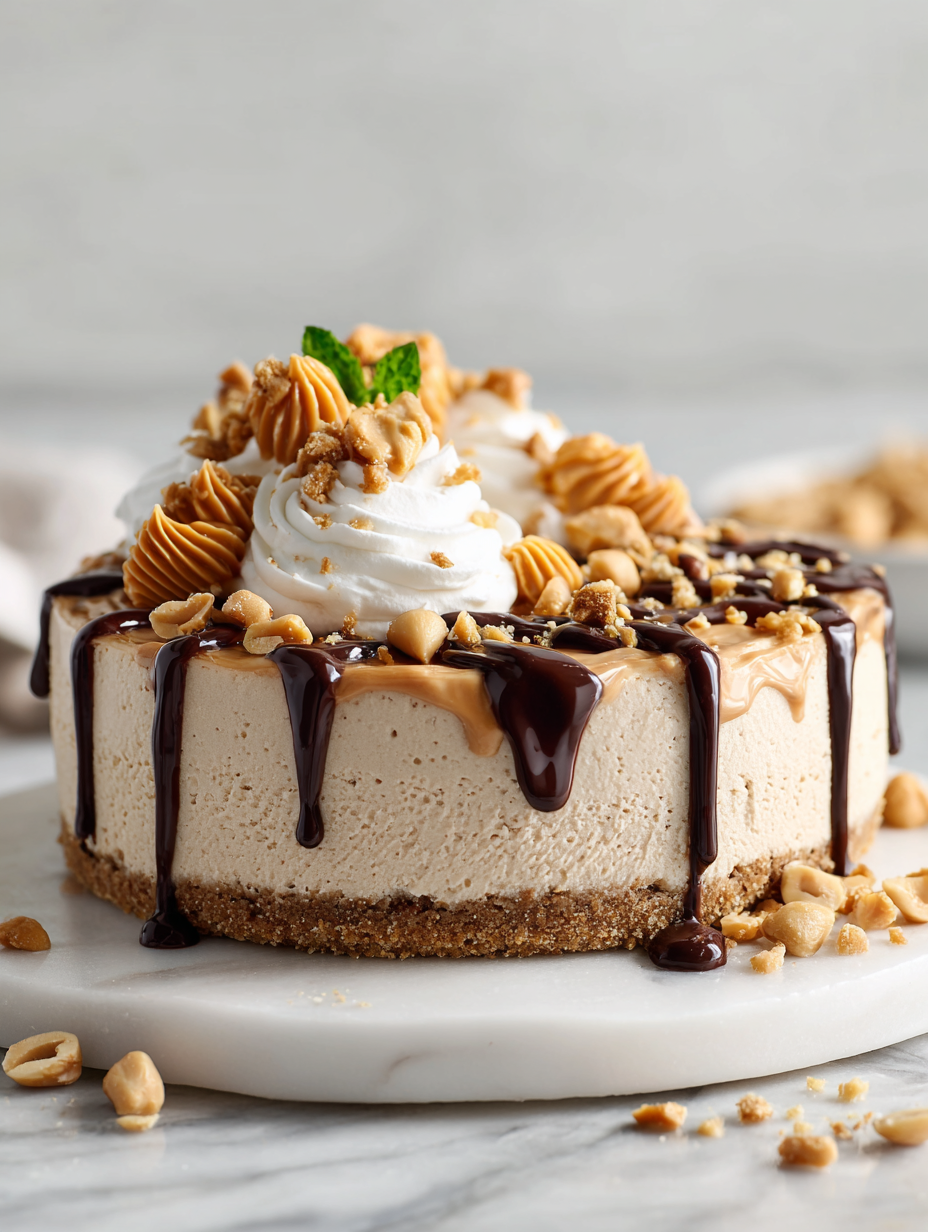
No Bake Mini Cheesecakes Recipe
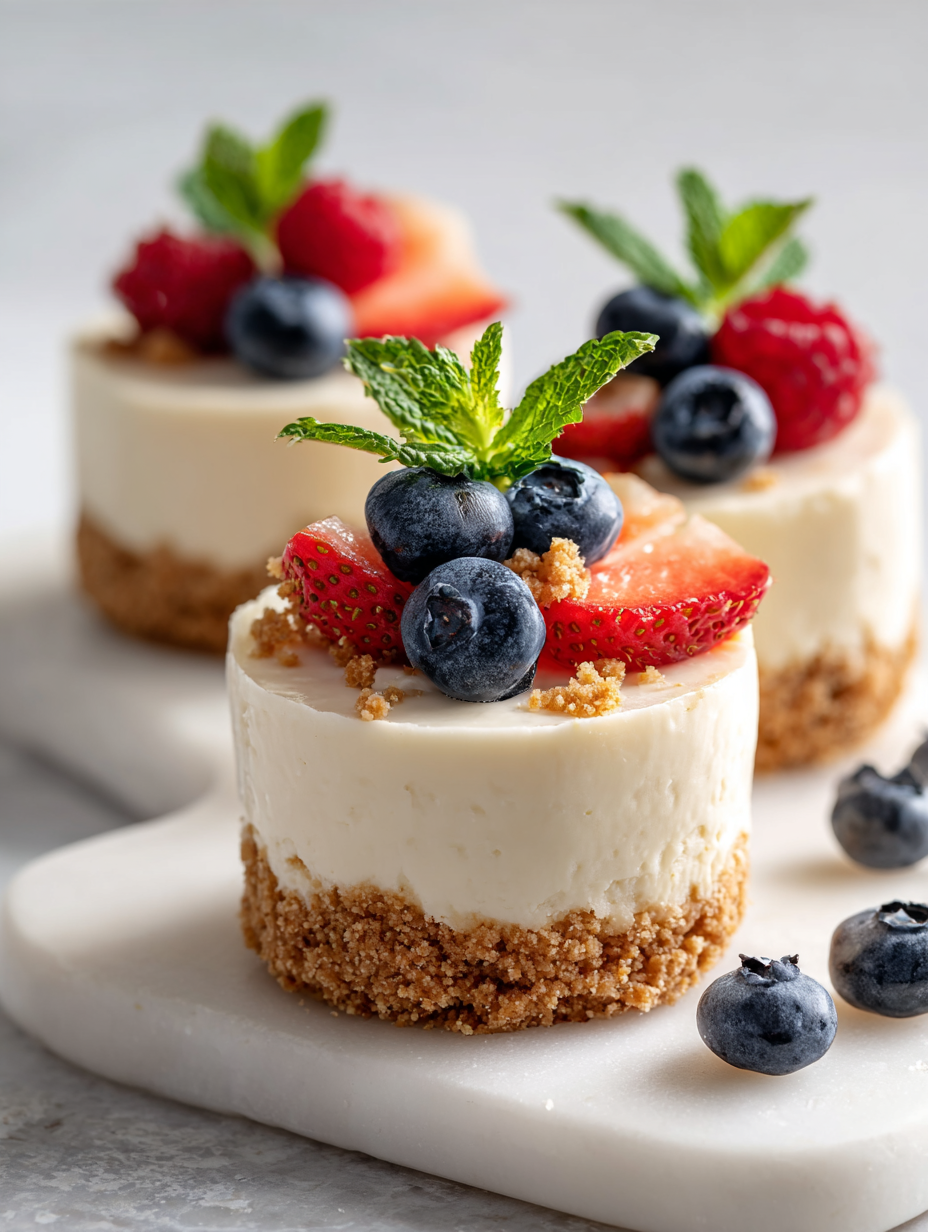
There’s something oddly calming about assembling these mini cheesecakes. It’s like a tiny, slow ritual in the middle of a hectic week, a moment where the world slows down just enough to focus on a few simple steps. The act of pressing crust, smoothing out the filling, and topping each one feels almost meditative, turning … Read more