
Frosting can make or break a sugar cookie, especially when you’re aiming for that perfect texture. I’ve learned that the secret isn’t just in the sweetness, but in how the frosting feels against the cookie—creamy enough to spread smoothly, yet firm enough to hold a pretty shape. It’s a tiny detail that transforms simple cookies into something with a bit of finesse.
This frosting is my go-to because it’s forgiving and customizable. Sometimes I add a splash of vanilla for warmth, other times a touch of lemon zest to brighten it up. Whatever the flavor, I always pay attention to the texture—the difference between a glaze that slides off and one that sits just right is what makes me keep coming back to this recipe.
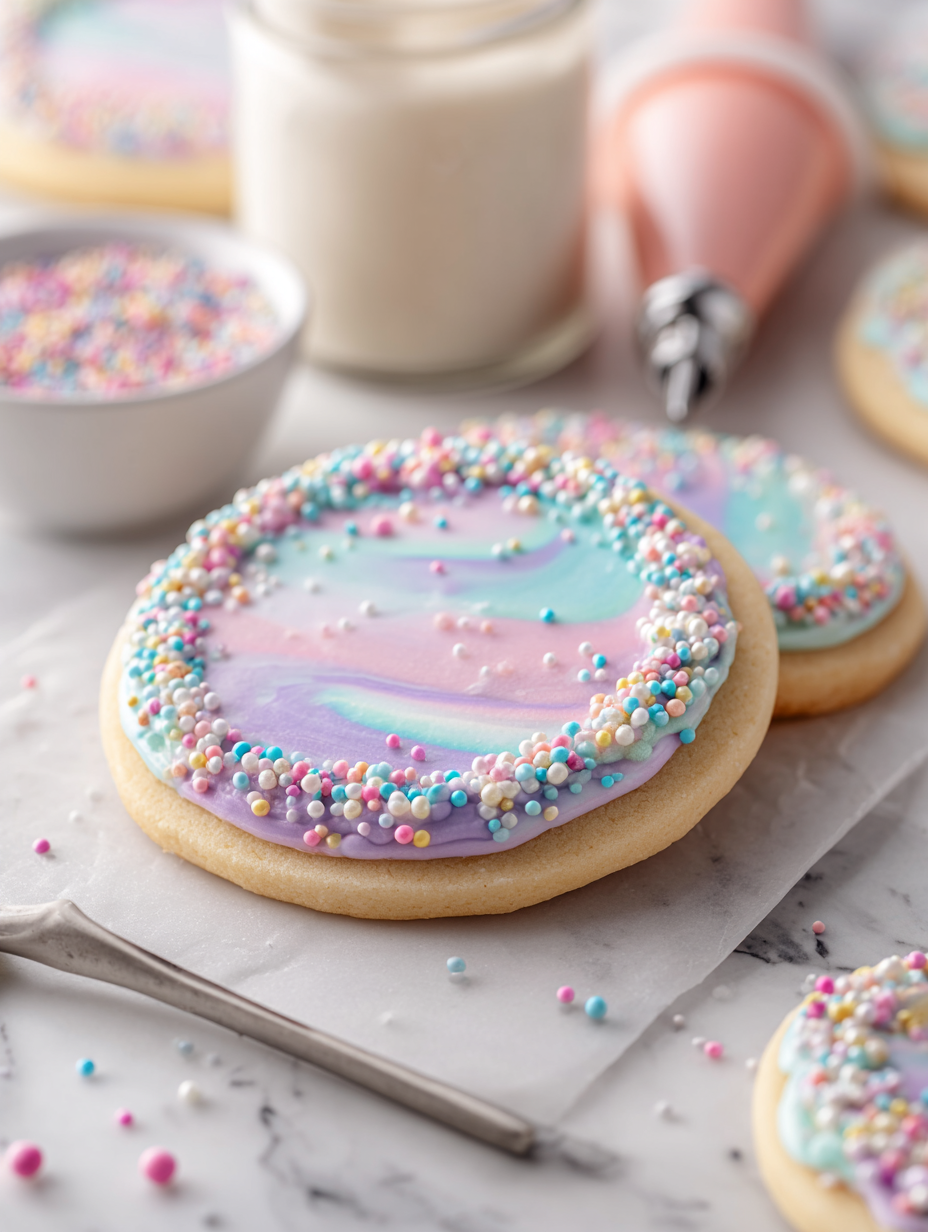
Focusing on the overlooked importance of the frosting’s texture—how a perfect balance between creamy and firm can elevate simple sugar cookies into a memorable treat.
The story behind this recipe
- I remember the first time I tried piping frosting onto sugar cookies as a kid. My hand was shaky, but the joy of creating little swirls and shapes stuck with me. That messy, imperfect frosting was my first lesson in how a simple touch can turn a cookie into a craft.
- Years later, I realized that the secret isn’t just in the flavor, but in how the frosting feels. I wanted something that would hold its shape, spread smoothly, and still taste like sweet, buttery dreams. This frosting is my answer to that need, built from trial and plenty of messy kitchen days.
- It’s become a staple for holiday baking, birthday treats, and just because. Whenever I make it, I think of all those childhood afternoons spent decorating and the quiet pride of a well-done piping job. It’s honest, forgiving, and perfect for those moments when you just want a cookie that looks as good as it tastes.
Ingredient breakdown
- Powdered sugar: I love how it dissolves smoothly, creating that silky frosting. If yours feels grainy, sift it well or add a tiny bit more milk.
- Butter: Using softened butter helps everything blend effortlessly. If you want a richer flavor, swap in a touch of cream cheese, but watch the texture.
- Milk or cream: I prefer a splash of heavy cream for depth—just enough to loosen the frosting to spread easily. For a lighter touch, go with milk, but don’t overdo it.
- Vanilla extract: A teaspoon adds warmth and depth. Skip it for a more neutral frosting, or try almond extract for a nutty twist that really sings.
- Food coloring: I like gel colors—they’re vibrant and don’t thin out the frosting. Always add a little at a time to avoid a pastel mess, and stir until shimmeringly smooth.
- Lemon zest (optional): A tiny bit brightens the whole thing with a fresh, zingy note. Skip if you prefer classic sweetness, but honestly, it’s a nice little surprise.
- Cornstarch (if needed): Sometimes I dust in a pinch to stiffen up the frosting for piping. Just a sprinkle, then mix until it’s firm but still workable—no cracking!
Spotlight on key ingredients
Powdered sugar:
- I love how it dissolves smoothly, creating that silky frosting. If yours feels grainy, sift it well or add a tiny bit more milk.
- Butter: Using softened butter helps everything blend effortlessly. If you want a richer flavor, swap in a touch of cream cheese, but watch the texture.
- Milk or cream: I prefer a splash of heavy cream for depth—just enough to loosen the frosting to spread easily. For a lighter touch, go with milk, but don’t overdo it.
Vanilla extract & Food coloring:
- Vanilla extract: A teaspoon adds warmth and depth. Skip it for a more neutral frosting, or try almond extract for a nutty twist that really sings.
- Food coloring: I like gel colors—they’re vibrant and don’t thin out the frosting. Always add a little at a time to avoid a pastel mess, and stir until shimmeringly smooth.
Notes for ingredient swaps
- Dairy-Free: Swap butter for coconut oil or dairy-free margarine. Keep in mind, coconut oil can add a slight coconut aroma, which can be lovely or subtle.
- Vegan: Use vegan butter or margarine and replace dairy cream with almond or soy milk. Expect a slightly different richness and texture.
- Gluten-Free: Ensure powdered sugar is pure and add a pinch of gluten-free baking powder if you’re mixing in other ingredients—just to keep things light.
- Lemon or Citrus: Substitute vanilla with lemon or orange extract for a bright, zesty twist that wakes up the sweetness.
- Coloring: Use natural food colorings like beet juice or turmeric for a more muted, earthy hue—watch for tint intensity and adjust accordingly.
- Sweetener: For a less sweet frosting, cut back on powdered sugar slightly or add a teaspoon of honey or maple syrup for depth.
- Thickening: If frosting is too runny, stir in a bit more powdered sugar; if too stiff, thin with a splash of milk or cream, just enough to loosen it up.
Equipment & Tools
- Medium mixing bowl: To combine and mix ingredients thoroughly.
- Whisk or hand mixer: To achieve a smooth, fluffy frosting quickly.
- Spatula: For scraping down sides and folding ingredients.
- Piping bags and tips: For decorating with precision and flair.
Step-by-step guide to frosting
- Gather your equipment: a medium mixing bowl, a whisk or hand mixer, a spatula, and piping bags with tips for decorating.
- In the bowl, combine 2 cups of powdered sugar with 1/4 cup of softened butter. Mix on low speed until crumbly, then increase to medium until smooth, about 2 minutes.
- Add 1 teaspoon of vanilla extract and 1-2 tablespoons of heavy cream or milk. Mix again on medium, scraping down sides, until frosting is smooth and fluffy, about 1-2 minutes.
- If you want colored frosting, add gel food coloring a tiny bit at a time. Mix until evenly tinted, stopping before it becomes too thin.
- Check the consistency: it should be creamy but firm enough to hold shape. If it’s too soft, add a pinch more powdered sugar; if too stiff, add a drop more milk.
- Transfer frosting into piping bags or spread with a spatula if decorating with a spatula. Cover with plastic wrap if not using immediately to prevent drying.
- Let the frosting rest at room temperature for 10–15 minutes to develop flavor and slight firmness.
- Finish decorating your cooled sugar cookies: pipe, spread, or swirl as desired. For best results, use within 2 days for optimal texture and flavor.
Let the frosting rest uncovered at room temperature for 10–15 minutes. Decorate cooled cookies with piping or spreading. Use within 2 days for the best texture and flavor.
How to Know It’s Done
- Frosting holds its shape when piped; no sagging or spreading.
- Color is vibrant but not runny; consistent throughout.
- Texture is creamy, smooth, and slightly fluffy, not sticky or grainy.
Perfect Sugar Cookie Frosting
Ingredients
Equipment
Method
- In a medium bowl, whisk together the sifted powdered sugar and softened butter until the mixture is crumbly and begins to come together.
- Use a hand mixer or whisk to beat the mixture on medium speed for about 2 minutes, until it becomes smooth, fluffy, and creamy.
- Add the vanilla extract and a tablespoon of heavy cream or milk. Continue mixing on medium speed, scraping down the sides, until the frosting is silky and spreadable, about 1-2 minutes.
- If you want colored frosting, add small amounts of gel food coloring, stirring until fully incorporated and vibrant. Add lemon zest if using, for a bright flavor.
- Check the consistency: it should be creamy and firm enough to hold its shape. If it’s too soft, sprinkle in a little more powdered sugar; if too stiff, stir in a tiny splash of milk.
- Transfer the frosting into piping bags for decorating or spread with a spatula onto cooled sugar cookies. Cover with plastic wrap if not used immediately to prevent drying.
- Allow the frosting to rest at room temperature for 10-15 minutes to develop flavor and slightly firm up for piping or spreading.
- Decorate your cooled cookies with piping tips or smooth spreads, creating swirls, stars, or gentle waves as you desire.
- Once decorated, let the frosting set for about 30 minutes at room temperature before serving or storing.
Pro tips for perfect frosting
- Bolded mini-head: Use room temperature ingredients → Ensures smooth, lump-free frosting that spreads evenly.
- Bolded mini-head: Mix on low first → Prevents powder sugar from flying everywhere and creates a silky base.
- Bolded mini-head: Add liquid gradually → Stops frosting from becoming too runny, keeps texture creamy but firm.
- Bolded mini-head: Incorporate food coloring last → Achieves vibrant hues without thinning out the frosting too much.
- Bolded mini-head: Chill for 10 minutes before piping → Firms up the frosting for crisp, clean decorations.
- Bolded mini-head: Use a spatula for spreading → Gives control and helps achieve an even, smooth surface.
- Bolded mini-head: Avoid overmixing after adding liquid → Keeps frosting light and prevents it from becoming airy or runny.
Common mistakes and how to fix them
- FORGOT to sift powdered sugar → Sift thoroughly to prevent grainy frosting.
- DUMPED in extra milk → Add milk gradually, stop before frosting gets too runny.
- OVER-TORCHED the butter → Use low heat, stir constantly for a smooth, creamy texture.
- MISSED resting time → Let frosting sit 10-15 minutes for better spreadability and flavor.
Quick fixes and pantry swaps
- If frosting is too runny → Splash in a pinch more powdered sugar and mix until firm.
- When frosting cracks during piping → Patch with a small dab of fresh frosting and smooth out.
- Splash a bit of vanilla or lemon for extra shine and flavor if color dulls over time.
- When frosting feels too thick → Shield by adding a drop of milk or cream, then stir until smooth.
- Dumped in too much food coloring → Rescue with a teaspoon of plain frosting to dilute the hue and restore consistency.
Prep, store, and reheat tips
- Prepare the frosting up to 24 hours ahead; store in an airtight container in the fridge. It thickens slightly, but whisking before use restores the smoothness.
- Frosting can be refrigerated for up to 3 days. Bring to room temperature and stir well to regain its creamy texture before frosting your cookies.
- For longer storage, freeze in a sealed container for up to 1 month. Thaw overnight in the fridge, then re-whisk until fluffy and smooth.
- Reheated frosting may separate or become grainy. Gently warm in a double boiler or microwave in short bursts, stirring until it’s silky again. Check for a creamy, spreadable consistency.
Top questions about sugar cookie frosting
1. How do I know if my frosting is the right consistency?
Frosting should be smooth, creamy, and hold a slight peak when piped. It shouldn’t be too runny or too stiff.
2. What if my frosting is grainy?
If your frosting feels grainy, sift the powdered sugar again or add a tiny splash of milk and beat until smooth.
3. How can I make the frosting smoother?
Use room temperature butter and powdered sugar for a silky, easy-to-spread frosting. Cold ingredients make it lumpy.
4. How do I get vibrant colors without ruining the frosting?
Color your frosting with gel food coloring, adding a little at a time until you reach your desired shade—avoid thinning it out too much.
5. Should I chill the frosting before decorating?
For piping, chill the frosting for 10-15 minutes so it firms up slightly, making it easier to decorate cleanly.
6. My frosting is too soft or too stiff—what do I do?
If the frosting is too soft to pipe, add a sprinkle of powdered sugar and mix until it firms up. For too stiff, stir in a drop of milk.
7. Can I make this frosting ahead of time?
Store leftover frosting in an airtight container in the fridge for up to 3 days. Re-whisk before using to restore creaminess.
8. How do I store frosting for later use?
You can freeze frosting for up to a month. Thaw in the fridge and re-whisk until creamy before decorating.
9. What if my frosting cracks while piping?
If the frosting cracks during piping, gently rewarm it slightly or patch with a small dab of fresh frosting and smooth out.
10. Quick fixes for frosting that’s too thin or thick?
To fix runny frosting, add more powdered sugar gradually. For stiff frosting, stir in a small amount of milk or cream.
Frosting might seem like a tiny detail, but its texture can really elevate a simple sugar cookie. When you get that perfect balance between creamy and firm, it’s like a little victory in the kitchen. Plus, it’s so satisfying to pipe or spread something that looks as good as it tastes.
In the end, it’s these small moments—smooth, glossy frosting, that satisfying crack when you cut into a cookie—that make baking feel meaningful. No matter how chaotic the kitchen gets, those perfect swirls and clean edges remind me why I love this messy, sweet craft.