
Growing up, these no-bake chocolate coconut bars were my Sunday afternoon treat, a little indulgence that didn’t require turning on the oven. There’s something about the chewy coconut and melty chocolate that instantly transports me back to lazy weekends and messy hands. Now, I find myself craving that nostalgic crunch, but with a grown-up twist—less sugar, more texture, and a bit more sophistication in flavor.
Making these bars is almost meditative. No fuss, just melting, mixing, pressing, and waiting. It’s the kind of recipe that’s perfect when you want something sweet but don’t want to deal with hot pans or lengthy cooling times. Plus, they store beautifully in the fridge, making them an easy grab-and-go treat or a quick gift for friends.
What I love most is how adaptable they are. A sprinkle of sea salt, a handful of toasted nuts, or even a dash of vanilla can totally change the character of these bars. They’re a blank canvas that brings back childhood joy while giving you space to experiment—no oven needed, just good ingredients and a little patience.
Focusing on the nostalgic comfort of childhood snacks, this recipe elevates the simple joy of no-bake chocolate coconut bars with a modern, health-conscious twist that makes them perfect for grown-up cravings.
Inspiration Behind the Bars
This recipe came together on a rainy afternoon when I was craving something sweet but didn’t want to turn on the oven. I remembered how my grandma used to stash coconut and chocolate in her pantry, and I started experimenting. The first batch was a mess—melty, sticky, but so delicious. It’s funny how simple ingredients can turn into something that feels like a little treasure, especially when you’re not expecting to bake but still want something homemade.
Ingredient breakdown: key components
- Coconut flakes: I prefer toasted for a smoky aroma that’s rich and nutty—just watch them closely so they don’t burn. Skip or use untoasted if you want a milder flavor.
- Dark chocolate: I use 70% cocoa for depth without it being overly bitter—melt slowly over low heat, and don’t rush the process to avoid seizing. Feel free to swap with semi-sweet for a sweeter bite.
- Sweetened condensed milk: It’s the glue that holds everything together, adding that lush, creamy sweetness. If you want a lighter version, try coconut cream—just expect a slightly different texture.
- Shredded coconut: Fresh or dried, I love the texture it adds—chewy and slightly chewy. For a more intense coconut flavor, toast it lightly before mixing in.
- Butter or coconut oil: I use butter for richness, but coconut oil makes it dairy-free and adds a subtle coconut note. Warm gently to prevent separation and keep the mixture glossy.
- Vanilla extract: I add a splash to enhance all the flavors—the aroma is warm and inviting. Skip if you prefer a more straightforward chocolate taste.
- Sea salt: Just a pinch to amplify the sweetness and balance the richness. Sprinkle on top or mix in—either way, it makes the chocolate pop.
Spotlight on key ingredients
Coconut flakes:
- I prefer toasted for a smoky aroma that’s rich and nutty—just watch them closely so they don’t burn. Skip or use untoasted if you want a milder flavor.
- Shredded coconut: Fresh or dried, I love the texture it adds—chewy and slightly chewy. For a more intense coconut flavor, toast it lightly before mixing in.
Dark chocolate & condensed milk:
- Dark chocolate: I use 70% cocoa for depth without it being overly bitter—melt slowly over low heat, and don’t rush the process to avoid seizing. Feel free to swap with semi-sweet for a sweeter bite.
- Sweetened condensed milk: It’s the glue that holds everything together, adding that lush, creamy sweetness. If you want a lighter version, try coconut cream—just expect a slightly different texture.
Notes for ingredient swaps
- Dairy-Free: Swap regular butter for coconut oil or vegan margarine for a dairy-free version that still melts smoothly and adds a subtle coconut aroma.
- Sweetener: Use honey or maple syrup instead of condensed milk for a different sweetness profile—expect a slightly thinner, less creamy texture.
- Chocolate: Try milk chocolate or vegan dark chocolate to alter the richness and sweetness; expect a softer melt and milder cocoa flavor.
- Coconut: Unsweetened shredded coconut can be used in place of sweetened if you prefer less sweetness; toast it lightly for more depth.
- Additional Nuts: Incorporate toasted chopped nuts like almonds or pecans for crunch; omit if you want a more uniform chew.
- Flavor Boost: Add a teaspoon of espresso powder or a splash of vanilla extract to heighten richness and aroma—adjust to taste.
- Texture: For a chunkier bite, stir in mini chocolate chips or chopped dried fruits—expect more chewy bits and bursts of flavor.
Equipment & Tools
- 20cm (8-inch) square pan: To hold and shape the bars.
- Parchment paper: For easy removal and clean edges.
- Microwave-safe bowl: To melt and combine ingredients smoothly.
- Spatula: To spread and press the mixture evenly.
- Sharp knife: To cut the set bars cleanly.
Step-by-step guide to no bake bars
- Line a 20cm (8-inch) square pan with parchment paper, leaving some overhang for easy removal.
- Combine 1 1/2 cups (150g) shredded coconut, 1/2 cup (90g) dark chocolate chips, and 1/4 cup (60ml) sweetened condensed milk in a microwave-safe bowl.
- Microwave in 30-second bursts, stirring each time, until the mixture is smooth and glossy, about 1-2 minutes total.
- Add 1 tablespoon (15g) butter or coconut oil, and a teaspoon (5ml) vanilla extract to the melted mixture. Mix well.
- Pour the mixture into the prepared pan, spreading evenly with a spatula. Press down firmly to compact.
- Sprinkle a pinch of sea salt on top, then press lightly to embed. Optionally, add extra coconut or chocolate shavings for decoration.
- Place the pan in the fridge for at least 2 hours, or until firm and set. The mixture should be hard and no longer jiggle.
- Once set, lift out the slab using the parchment overhang. Cut into bars or squares with a sharp knife.
- Serve immediately or store in an airtight container in the fridge for up to a week, layering with parchment to prevent sticking.
Chill the bars in the fridge for at least 2 hours until firm. Use parchment overhang to lift out and cut. Serve immediately or store in an airtight container in the fridge, layering with parchment paper to prevent sticking.
How to Know It’s Done
- The mixture is smooth, shiny, and well combined before pouring.
- The bars are firm and hold shape after resting in the fridge for 2 hours.
- The chocolate feels firm and crackles slightly when broken or bitten into.
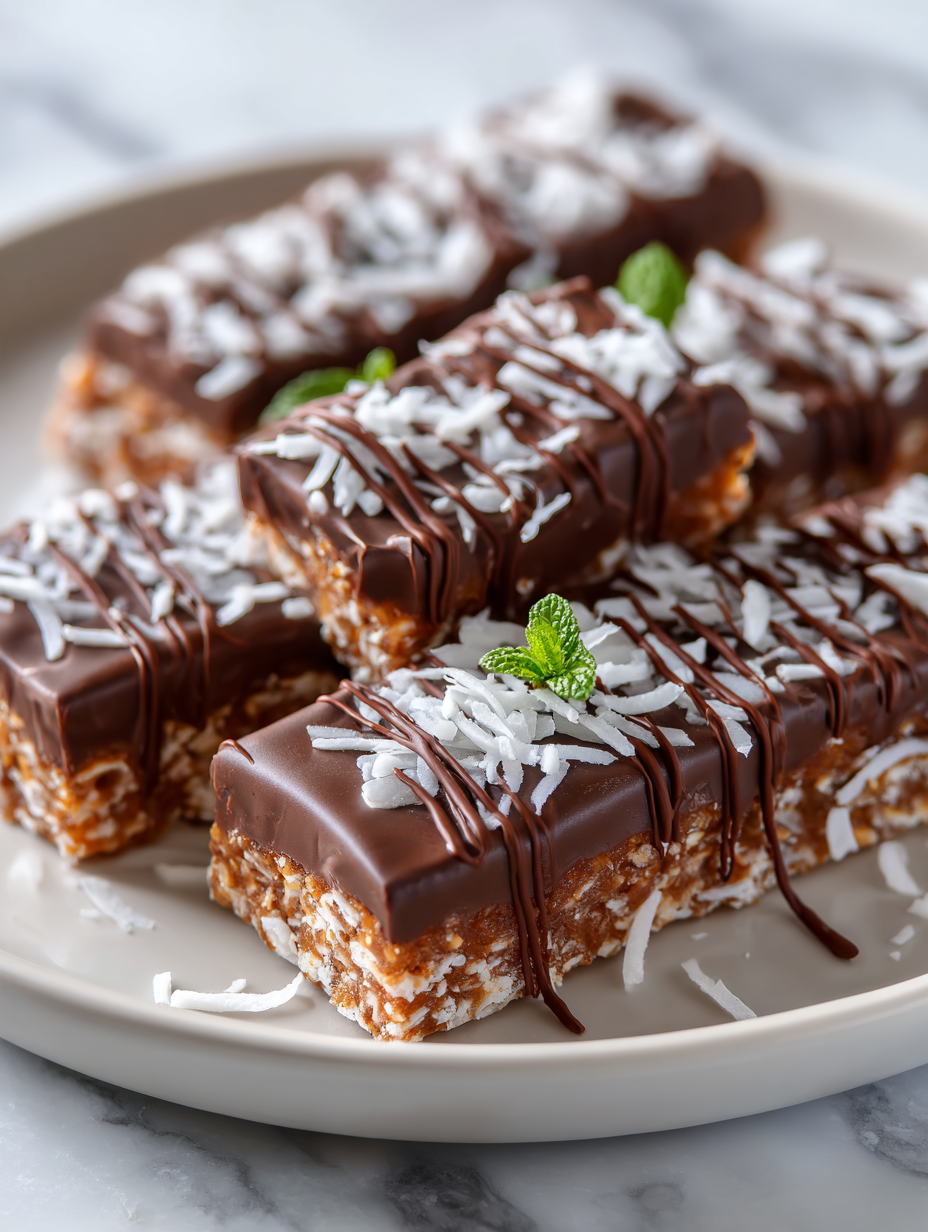
No-Bake Chocolate Coconut Bars
Ingredients
Equipment
Method
- Line your square pan with parchment paper, leaving some overhang for easy removal.
- In a microwave-safe bowl, combine toasted shredded coconut, dark chocolate chips, and sweetened condensed milk.
- Microwave the mixture in 30-second bursts, stirring well each time, until everything is melted and glossy, about 1-2 minutes total.
- Add butter or coconut oil and vanilla extract to the melted mixture, stirring until smooth and shiny.
- Pour the mixture into your prepared pan and spread evenly with a spatula, pressing down firmly to compact it.
- Sprinkle a pinch of sea salt over the top, pressing lightly to embed it into the surface.
- Place the pan in the fridge and chill for at least 2 hours until the mixture is firm and set.
- Once chilled, lift out the block using the parchment overhang and place on a cutting board.
- Cut into squares or bars with a sharp knife dipped in hot water for clean slices.
- Serve immediately or store the bars in an airtight container in the fridge for up to a week. Enjoy the chewy, fudgy texture with a glossy finish!
Pro tips for perfect bars
- Use room temperature ingredients for smoother melting and mixing.
- Chill the mixture briefly before pressing into the pan—it firms up for cleaner cuts.
- When melting chocolate, stir constantly to prevent seizing and achieve a glossy finish.
- Press the mixture firmly into the pan to ensure the bars hold together well.
- Sprinkle sea salt on top before chilling to enhance the chocolate flavor and add contrast.
- Use a sharp knife dipped in hot water for cleaner cuts through the firm bars.
- For extra shine, briefly warm the cut edges with your finger or spatula before serving.
Common mistakes and how to fix them
- FORGOT to line the pan with parchment → Use parchment for easy removal.
- DUMPED ingredients in without melting properly → Melt chocolate and fats slowly for smoothness.
- OVER-TORCHED the chocolate → Remove from heat once just melted, avoid searing.
- STIRRED too vigorously after melting → Gentle stirring prevents seizing and keeps texture smooth.
Quick Fixes and Pantry Swaps
- When mixture is too sticky → Splash in a little warm water to loosen.
- If bars crack when cutting → Patch with a dab of melted chocolate for seamless edges.
- When chocolate seizes during melting → DUMP in a teaspoon of vegetable oil and stir gently.
- Splash extra coconut into the mixture if it seems too soft or oily.
- When bars feel soft after refrigeration → Shield with a layer of parchment and chill longer for firmness.
Prep, store, and reheat tips
- Prepare the mixture and press into the pan a day ahead; it firms up better after chilling overnight, enhancing flavor and texture.
- Store the bars in an airtight container lined with parchment in the fridge for up to a week; the coolness intensifies the chocolate aroma.
- Refrigerated bars become firm and shiny; bring to room temperature for a softer bite, about 10–15 minutes before serving.
- To reheat a single bar, microwave on low for 10 seconds until just slightly softened—watch for melting or over-softening.
- If the bars develop a slight film or lose their shine, re-chill for 30 minutes to restore their glossy finish and firm texture.
Top questions about these bars
1. Can I use unsweetened coconut?
Yes, you can use shredded unsweetened coconut, but expect a less sweet, more chewy bar. Toast it lightly for extra flavor.
2. Can I make these dairy-free?
Absolutely. Just replace condensed milk with coconut cream or another sweetener, but the texture might be a bit different—less sticky, more crumbly.
3. My mixture is too sticky to press?
If the mixture feels too sticky to press, pop it in the fridge for 10 minutes, then press again. It firms up nicely.
4. How do I melt chocolate without burning it?
Yes, melting chocolate over low heat or in short bursts in the microwave prevents seizing and keeps it smooth and glossy.
5. How long do these last in the fridge?
Store the bars in an airtight container in the fridge for up to a week. They become firmer and more intensely chocolatey when cold.
6. How can I get clean cuts?
To cut clean slices, dip your knife in hot water and wipe dry between cuts. It helps prevent sticking and jagged edges.
7. Can I add nuts or dried fruit?
Yes, adding chopped nuts or dried fruits can give extra crunch or chew, but keep the mixture balanced so it doesn’t become too crumbly.
8. Why are my bars soft even after chilling?
If the bars feel soft after chilling, let them rest at room temperature for 10–15 minutes to soften slightly before serving.
9. Should I add salt?
A pinch of sea salt enhances the chocolate flavor and balances the sweetness. Sprinkle on top before chilling for best effect.
10. Can I freeze the bars?
Yes, you can freeze these bars in an airtight container for up to a month. Thaw in the fridge or at room temperature for a few minutes before eating.
These no-bake chocolate coconut bars are more than just a sweet treat; they’re a nostalgic reminder of simpler times, with a modern twist that makes them perfect for now. The combination of rich chocolate and chewy coconut feels like a little piece of comfort you can whip up in minutes, no oven required. Sharing them feels natural—like passing along a secret from my kitchen to yours, with a bit of love in every bite.
In the end, it’s about those small moments—pressing the mixture into the pan, waiting for it to set, and then breaking into that first perfect square. They’re a reminder that sometimes, the simplest ingredients can create something truly satisfying, especially when you need that quick, honest fix of sweetness.