
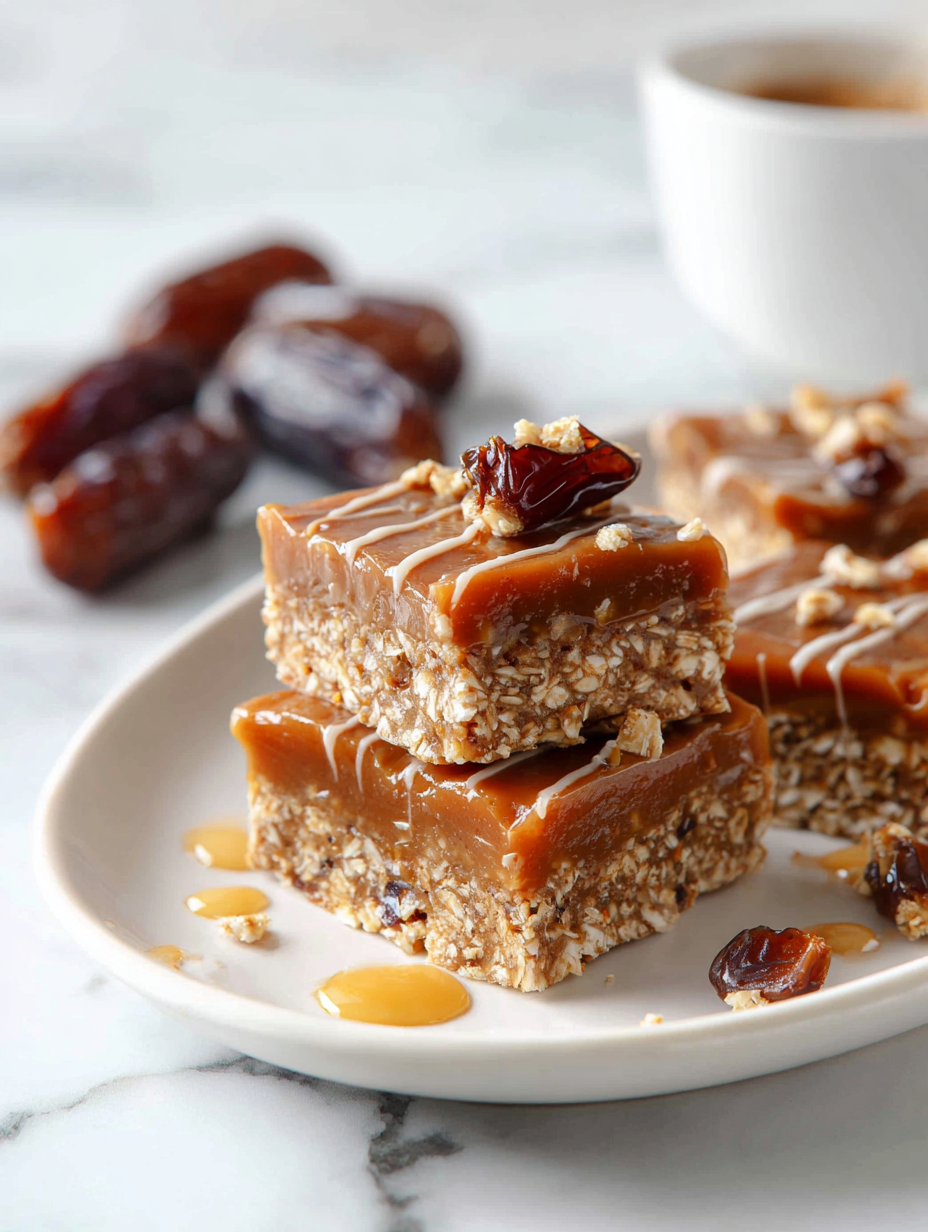
Sometimes, I just need a sweet fix that I can whip up in minutes without heating up the kitchen. These no-bake date bars are my go-to for those moments—rich, chewy, and surprisingly simple to make. They feel like a little reward, no matter how hectic the day gets.
What I love most is how flexible this recipe is. You can swap in different nuts or add a sprinkle of sea salt on top for that perfect salty-sweet balance. It’s a treat that feels indulgent but comes together with ingredients I usually have on hand—no fuss, no oven, just pure, straightforward goodness.
Plus, there’s something nostalgic about the sticky sweetness of dates blending with the crunch of nuts. It’s like a no-nonsense comfort snack that reminds me of childhood treats but with a modern twist. Perfect for a quick energy boost or a little afternoon indulgence that won’t weigh you down.
This recipe is inspired by those times I need a quick, no-fuss treat that feels indulgent but requires minimal effort, perfect for when the craving hits but I don’t want to turn on the oven or spend hours in the kitchen.
The story behind this recipe
This recipe came together during a particularly hectic week when I needed something sweet but didn’t want to turn on the oven or mess around with complicated steps. I was craving the sticky, caramel-like richness of dates combined with crunch, but in a way that’s quick and fuss-free. One afternoon, I threw together what I had—dates, nuts, a dash of cocoa—and was surprised how satisfying it was. It’s become my secret weapon for when I need a little indulgence without the hassle, especially when fresh treats aren’t around.
Ingredient breakdown: key components
- Medjool dates: They’re naturally sticky and sweet, almost caramel-like. If yours are dry, soak them for 10 minutes to soften and enhance that oozy texture.
- Rolled oats: I prefer a slightly toasted flavor, so I give them a quick dry roast in the pan first. If you’re gluten-free, make sure to pick certified oats for a cleaner taste.
- Nuts (almonds or walnuts): Their crunch is the backbone here. Toast them lightly for extra flavor, but if you’re allergic, sunflower seeds work just as well and keep that satisfying bite.
- Butter or coconut oil: Adds richness and helps everything bind. For a dairy-free version, swap in a nut or seed butter—just expect a slightly different melt-in-your-mouth feel.
- Sea salt: A pinch elevates the sweetness and brings all the flavors alive. Don’t skip it; the contrast makes these bars irresistible, especially if you add a sprinkle on top.
- Optional add-ins (chocolate chips, shredded coconut): These are my little wild cards. Chocolate melts into gooey pockets, while coconut adds a chewy, tropical note—try both or neither for a pure date experience.
- Vanilla extract: Just a splash enhances the caramel undertones of the dates. Skip if you want a more straightforward, fruit-forward flavor—sometimes simple is best.
Spotlight on key ingredients
Medjool dates:
- Their sticky, caramel-like sweetness makes these bars naturally rich and gooey. Soaking dry dates helps enhance that oozy texture and makes blending easier.
- Nuts (almonds or walnuts): Their crunch provides contrast and texture. Toast them lightly to boost flavor, but raw nuts work if you want a milder bite.
Rolled oats:
- I prefer to toast them quickly for a nutty aroma that complements the sweet dates. They also help bind the mixture, adding a chewy texture.
- Sea salt: Just a pinch amplifies the sweetness and balances the richness. Flaky sea salt on top adds a satisfying crunch and a burst of flavor.
Notes for ingredient swaps
- Medjool dates: I find them sticky and rich, but if yours are dry, soak for 10 minutes to soften and boost that oozy caramel texture. Swap with dried figs for a slightly different fruity sweetness.
- Rolled oats: Toast lightly for a nutty aroma, or use gluten-free oats if needed. If you’re out, crushed graham crackers or rice cereal can add crunch and act as a binder.
- Nuts (almonds or walnuts): Toast for extra flavor and crunch, or substitute with sunflower seeds or pumpkin seeds if allergies are a concern. They keep that satisfying bite.
- Butter or coconut oil: Adds richness and helps everything bind. For a dairy-free version, use nut or seed butter—expect a slightly different melt-in-your-mouth feel.
- Sea salt: Just a pinch brightens the sweetness and enhances flavors. Use flaky sea salt for texture or skip if you prefer a pure fruit and nut flavor.
- Optional add-ins (chocolate chips, shredded coconut): Chocolate chips melt into gooey pockets for decadence; shredded coconut adds chewiness and a tropical note. Feel free to skip for a more straightforward date flavor.
- Vanilla extract: A splash deepens the caramel undertones. If you don’t have it, a touch of honey or maple syrup can add sweetness and complexity.
Equipment & Tools
- 20cm (8-inch) square pan: To shape and chill the bars.
- Mixing bowl: Combine ingredients evenly.
- Spoon or spatula: Mix and press mixture into the pan.
- Parchment paper: Prevent sticking and make removal easy.
- Sharp knife: Cutting into bars.
Step-by-step guide to no bake date bars
- Gather your equipment: a 20cm (8-inch) square pan, a mixing bowl, a spoon, and parchment paper. Line the pan with parchment for easy removal.
- Pit and chop the Medjool dates into small pieces. Measure out the nuts and oats. Have your butter or coconut oil ready to melt.
- In a small saucepan over low heat (around 50°C / 122°F), melt the butter or coconut oil until just liquefied. Remove from heat.
- In a mixing bowl, combine chopped dates, nuts, oats, and a pinch of sea salt. Pour over the melted fat. Mix thoroughly until everything is evenly coated and sticky.
- Transfer the mixture into your prepared pan. Press it down firmly with the back of a spoon or your hands so it’s compact and even. Work quickly if your mixture starts to stick.
- Use a spatula or spoon to smooth the top, ensuring no air pockets. If the mixture is too sticky, dampen your hands slightly to help press down.
- Place the pan in the fridge for at least 2 hours, or until firm. The longer it chills, the better it slices.
- Once set, lift the whole block out of the pan using the parchment paper. Slice into bars or squares with a sharp knife.
- Optional: sprinkle with extra sea salt or drizzle melted chocolate on top before cutting. Serve immediately or store.
Chill the bars in the fridge for at least 2 hours until firm. Slice with a sharp knife, then serve or store in an airtight container.
How to Know It’s Done
- The mixture should be sticky, holding together when pressed.
- The edges look firm and slightly caramelized after chilling.
- The bars are firm but not rock-hard, with a slight give when pressed.
No-Bake Date Bars
Ingredients
Equipment
Method
- Line your square pan with parchment paper for easy removal. Set aside.
- Chop the pitted Medjool dates into small pieces; soaking dry dates in warm water for 10 minutes can help soften them for easier blending.
- In a small saucepan over low heat, melt the butter or coconut oil until just liquid—your kitchen will smell warm and slightly nutty.
- In a large mixing bowl, combine the chopped dates, toasted oats, chopped nuts, and a pinch of sea salt. Pour the melted fat over and stir thoroughly until everything is coated and sticky.
- Use a spoon or spatula to transfer the mixture into the prepared pan. Press it down firmly with the back of the spoon or damp hands, working quickly to keep it manageable.
- Smooth the top of the mixture with your spatula, ensuring it’s even and compact. Sprinkle a little extra sea salt on top if desired.
- Place the pan in the fridge and chill for at least 2 hours, or until the mixture is firm and slices easily.
- Once set, lift the block out of the pan using the parchment paper. Use a sharp knife warmed slightly to cut into bars or squares.
- Optional: drizzle melted chocolate over the bars or sprinkle with extra sea salt for added flavor. Serve immediately or store in an airtight container in the fridge.
Notes
Pro Tips for Perfect Bars
- Bolded mini-head: Use a slightly damp spatula to press the mixture evenly, preventing sticking and ensuring a compact bar.
- Bolded mini-head: Toast your nuts lightly until fragrant—this enhances their flavor and adds a subtle smoky aroma.
- Bolded mini-head: Soak dry dates in warm water for 10 minutes to soften and make blending smoother, boosting that oozy texture.
- Bolded mini-head: Chill the assembled bars for at least 2 hours; this helps them set and makes slicing cleaner and easier.
- Bolded mini-head: When pressing into the pan, work quickly if your mixture is sticky—damp hands or spatula help keep it manageable.
- Bolded mini-head: For extra flavor, sprinkle a pinch of flaky sea salt on top before chilling—salty contrast elevates the sweetness.
- Bolded mini-head: Use a sharp, warm knife to cut through the chilled bars—this prevents crumbling and gives neat edges.
Common mistakes and how to fix them
- FORGOT to measure ingredients precisely, leading to crumbly bars. Use a scale for accuracy.
- DUMPED hot mixture into pan; let it cool slightly first to prevent melting the pan.
- OVER-TORCHED the nuts; toast on low heat, stirring constantly for even color.
- MISSED chilling time; ensure bars are fully set before cutting for clean edges.
Quick Fixes and Pantry Swaps
- If mixture is too dry, splash with a teaspoon of hot water and stir thoroughly.
- When bars stick to the pan, patch with a damp cloth around the edges before lifting.
- Splash a little lemon juice if dates are too sweet or bland, brightening the flavor.
- Patch cracks by pressing the mixture back together with damp hands or a warm spatula.
- Shield delicate toppings with parchment during chilling to prevent smudging or melting.
Prep, store, and reheat tips
- Prepare the mixture a day in advance; keep it covered in the fridge to meld flavors and keep it sticky.
- Store the sliced bars in an airtight container in the fridge for up to one week. The dates will become a bit chewier, but still delicious.
- For longer storage, freeze the bars wrapped tightly in plastic wrap and then in a freezer bag; they’ll keep for up to 3 months.
- Reheat from frozen by letting the bars sit at room temperature for 10 minutes or warming them slightly in a low oven, just enough to release a sweet, nutty aroma. They should be firm but slightly sticky to the touch.
Top questions about no bake date bars
1. Can I use dried dates that aren’t Medjool?
Yes, soaking dry dates in warm water for 10 minutes softens them, making blending much easier and improving that oozy texture.
2. Can I substitute the nuts in the recipe?
Absolutely. You can swap nuts with sunflower seeds or pumpkin seeds for a different crunch or allergy-friendly option.
3. Can I make these dairy-free?
Yes, just melt some coconut oil or butter to help bind the mixture. Expect a slightly different melt-in-your-mouth feel with coconut oil.
4. How long do I need to chill the bars?
Chill the bars for at least 2 hours until firm. If you cut too early, they’ll be crumbly and hard to handle.
5. How do I get neat slices?
Use a sharp, warm knife to cut through the chilled bars. It prevents crumbling and gives clean edges.
6. How should I store leftover bars?
Store in an airtight container in the fridge for up to a week. For longer, freeze wrapped bars for up to 3 months.
7. What if the mixture is too sticky to press?
If the mixture is too sticky, dampen your hands or spatula slightly to press it into the pan without sticking.
8. Can I add salt or toppings?
Adding a pinch of flaky sea salt on top before chilling enhances the sweet, caramel flavor and adds crunch.
9. My mixture is too dry, what now?
If the mixture feels dry, splash with a teaspoon of warm water and stir to moisten and bring everything together.
10. Can I add chocolate on top?
You can melt chocolate and drizzle it over the bars after they set for extra richness and a glossy finish.
These no-bake date bars are a real lifesaver when I need something sweet without the fuss of baking. They come together quickly and keep well in the fridge, which means I can indulge anytime a craving hits. Plus, they remind me of simpler times, when a handful of ingredients could turn into a satisfying treat.
If you’re after a snack that’s honest, chewy, and just a little indulgent, these bars are my go-to. They’re not fancy, but they hit all the right notes—sticky, nutty, and just enough sweetness. Enjoy them whenever you need a quick, no-judgment kind of dessert or energy boost.